Perodua Myvi Passo Audio System Upgrades - Soundproofing, Speakers, Subwoofers

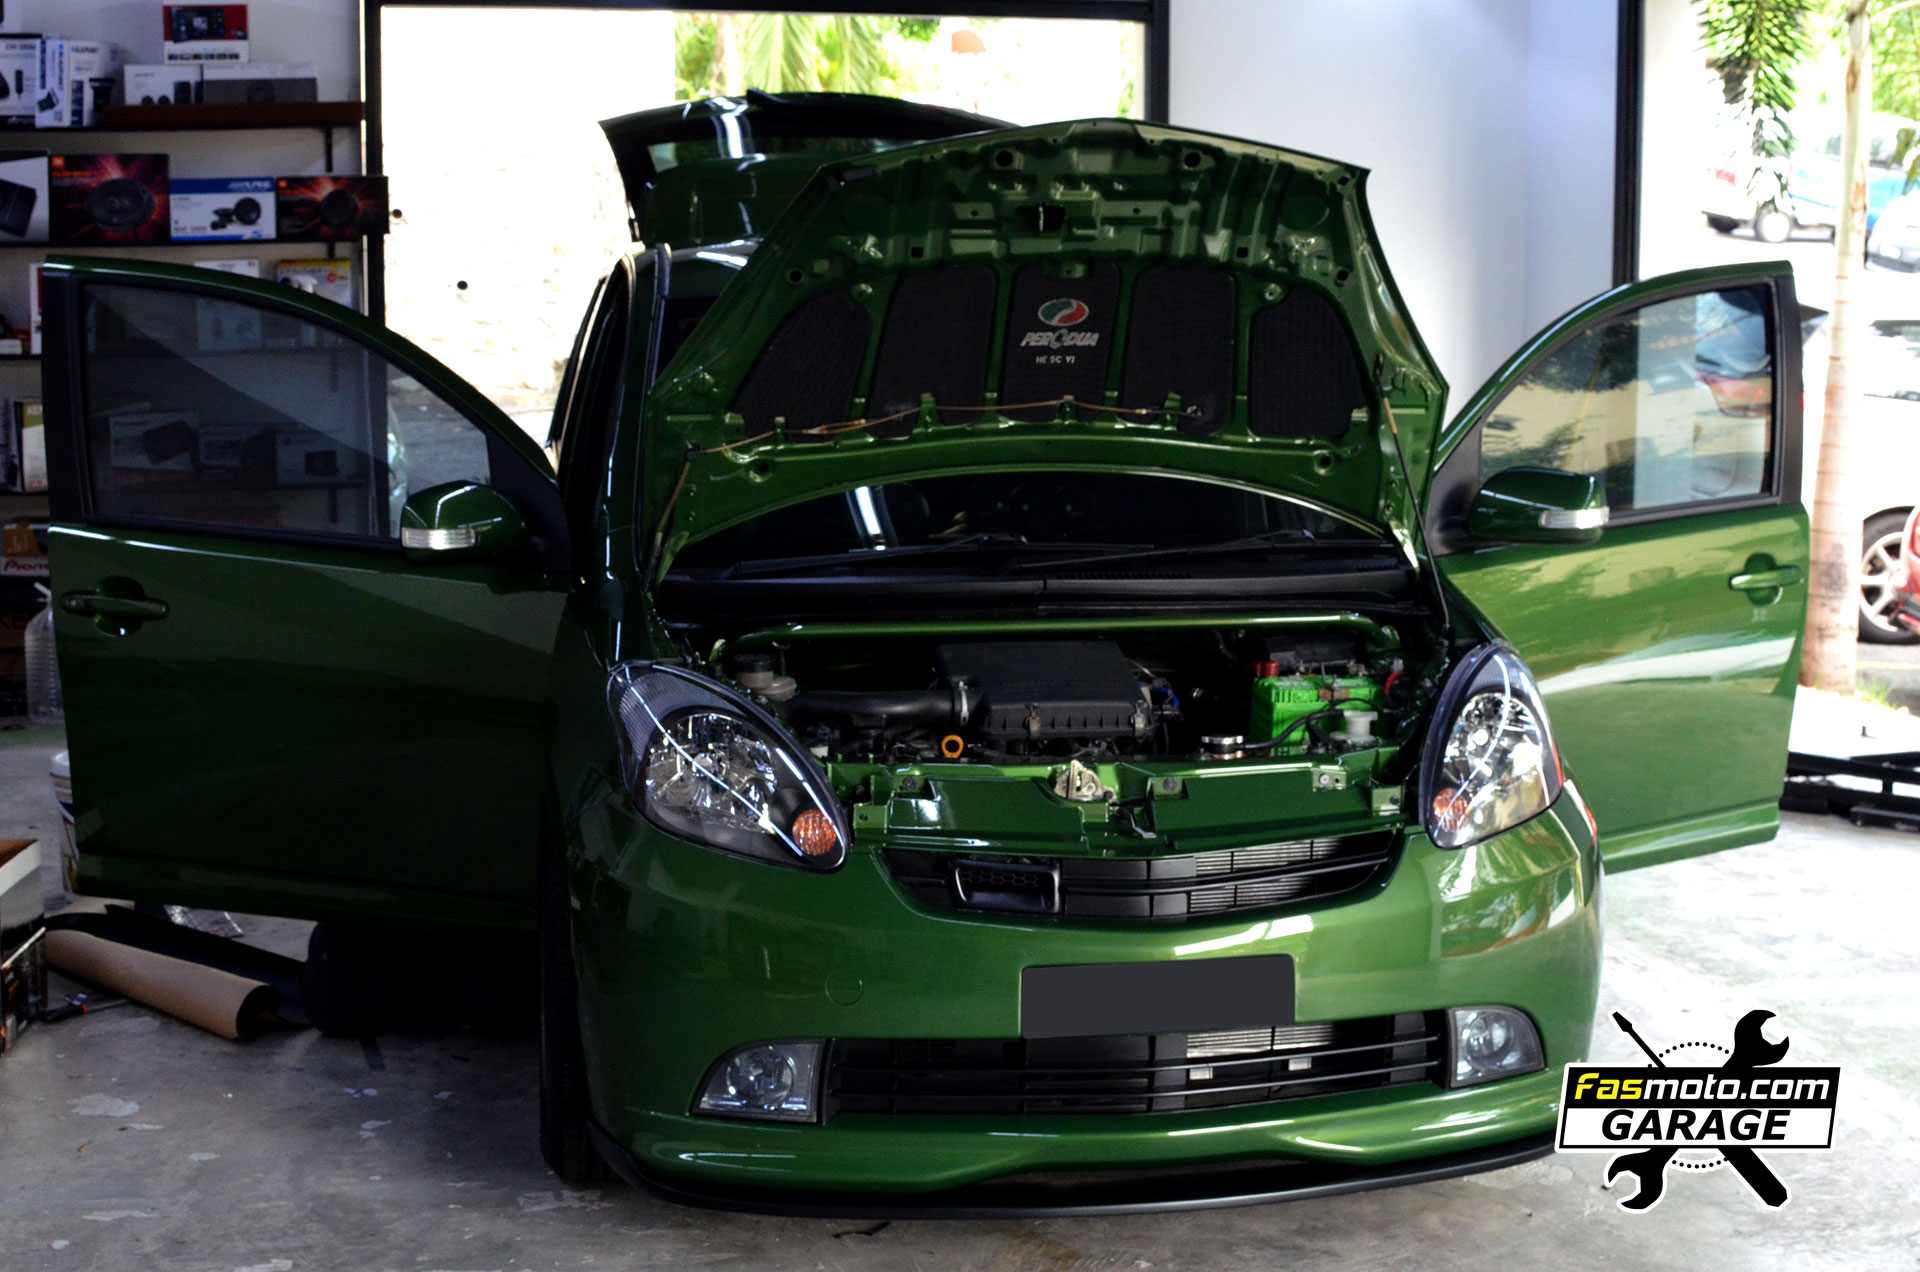
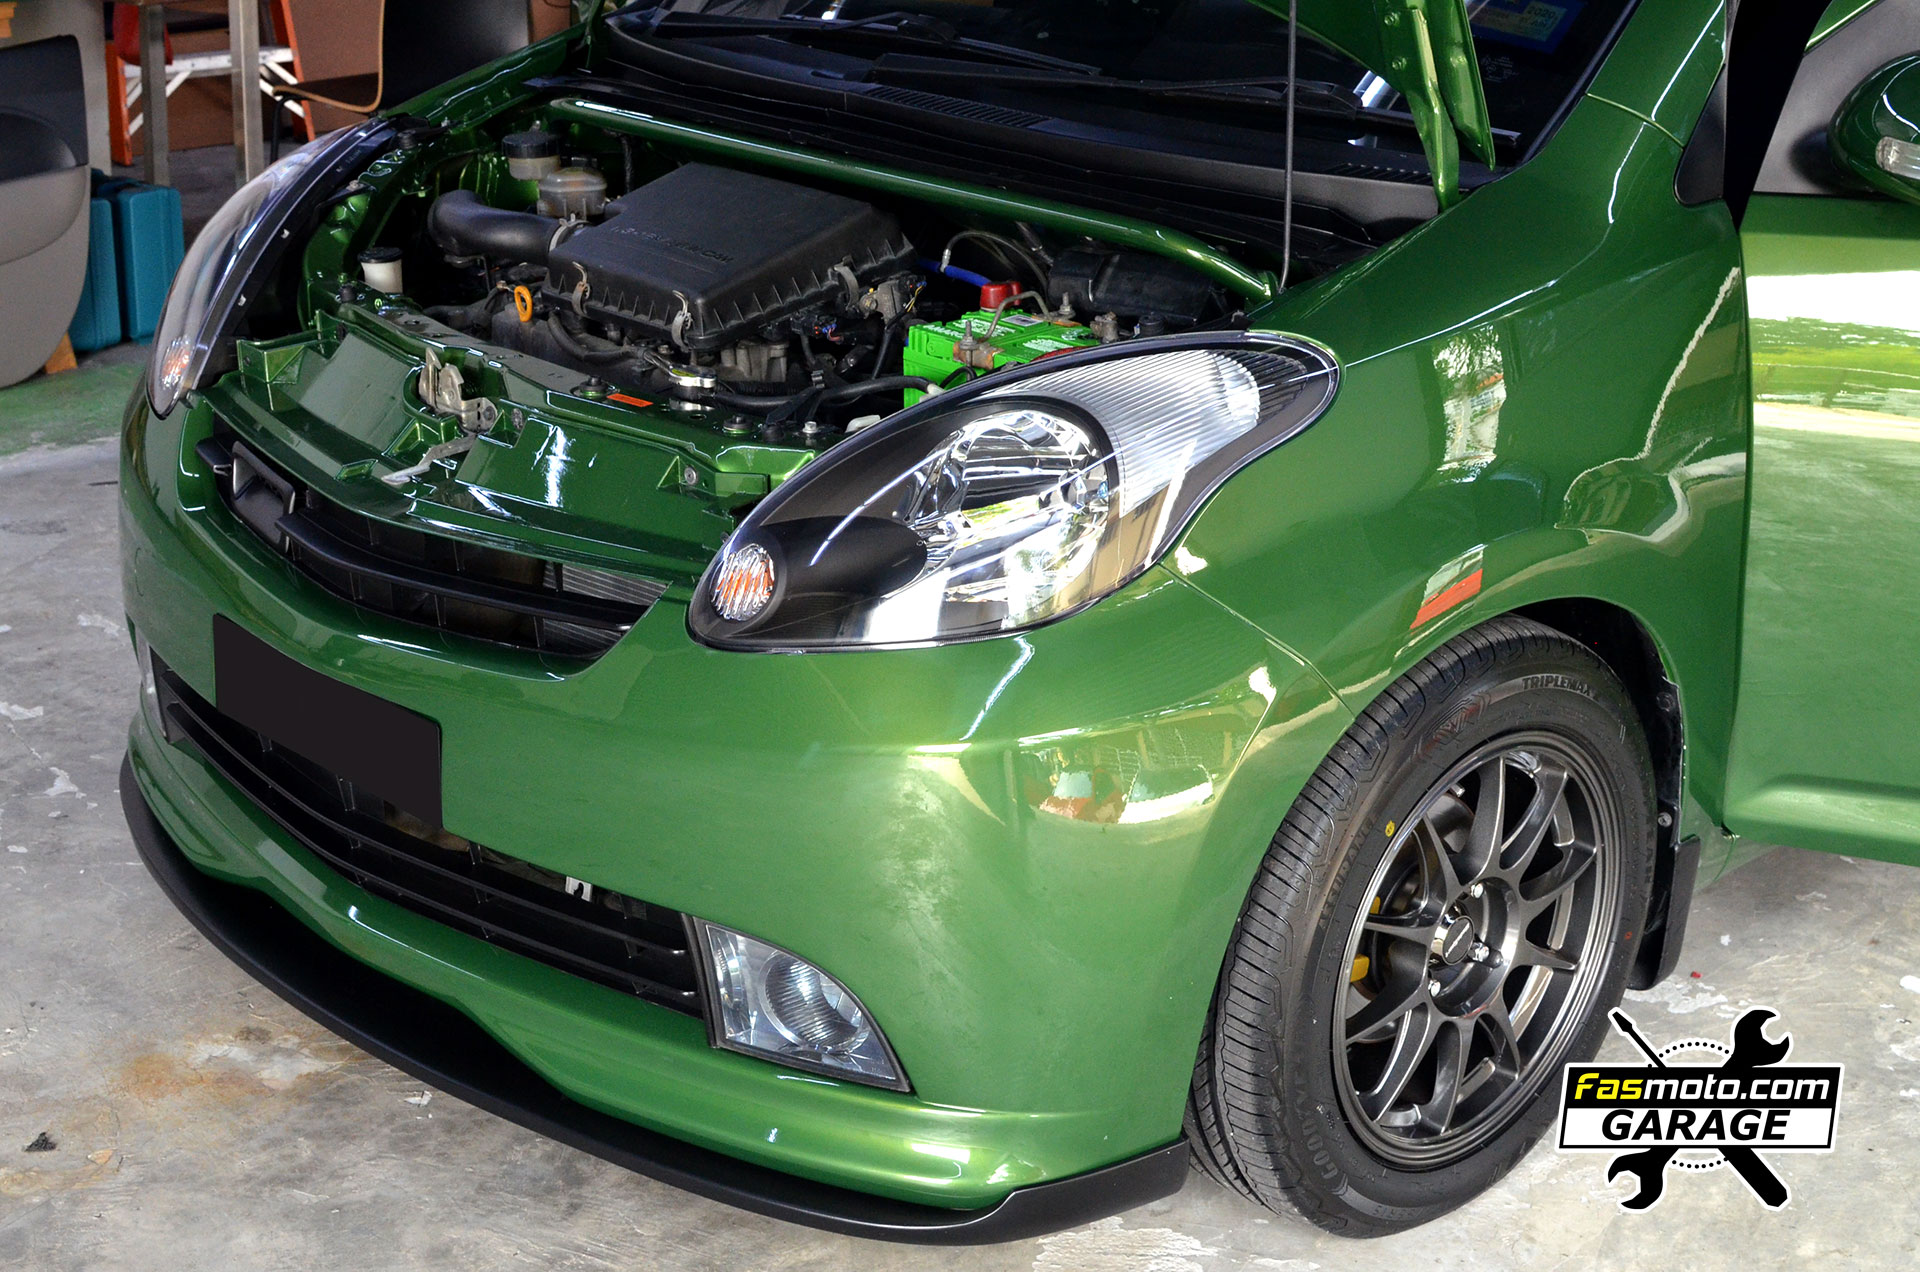
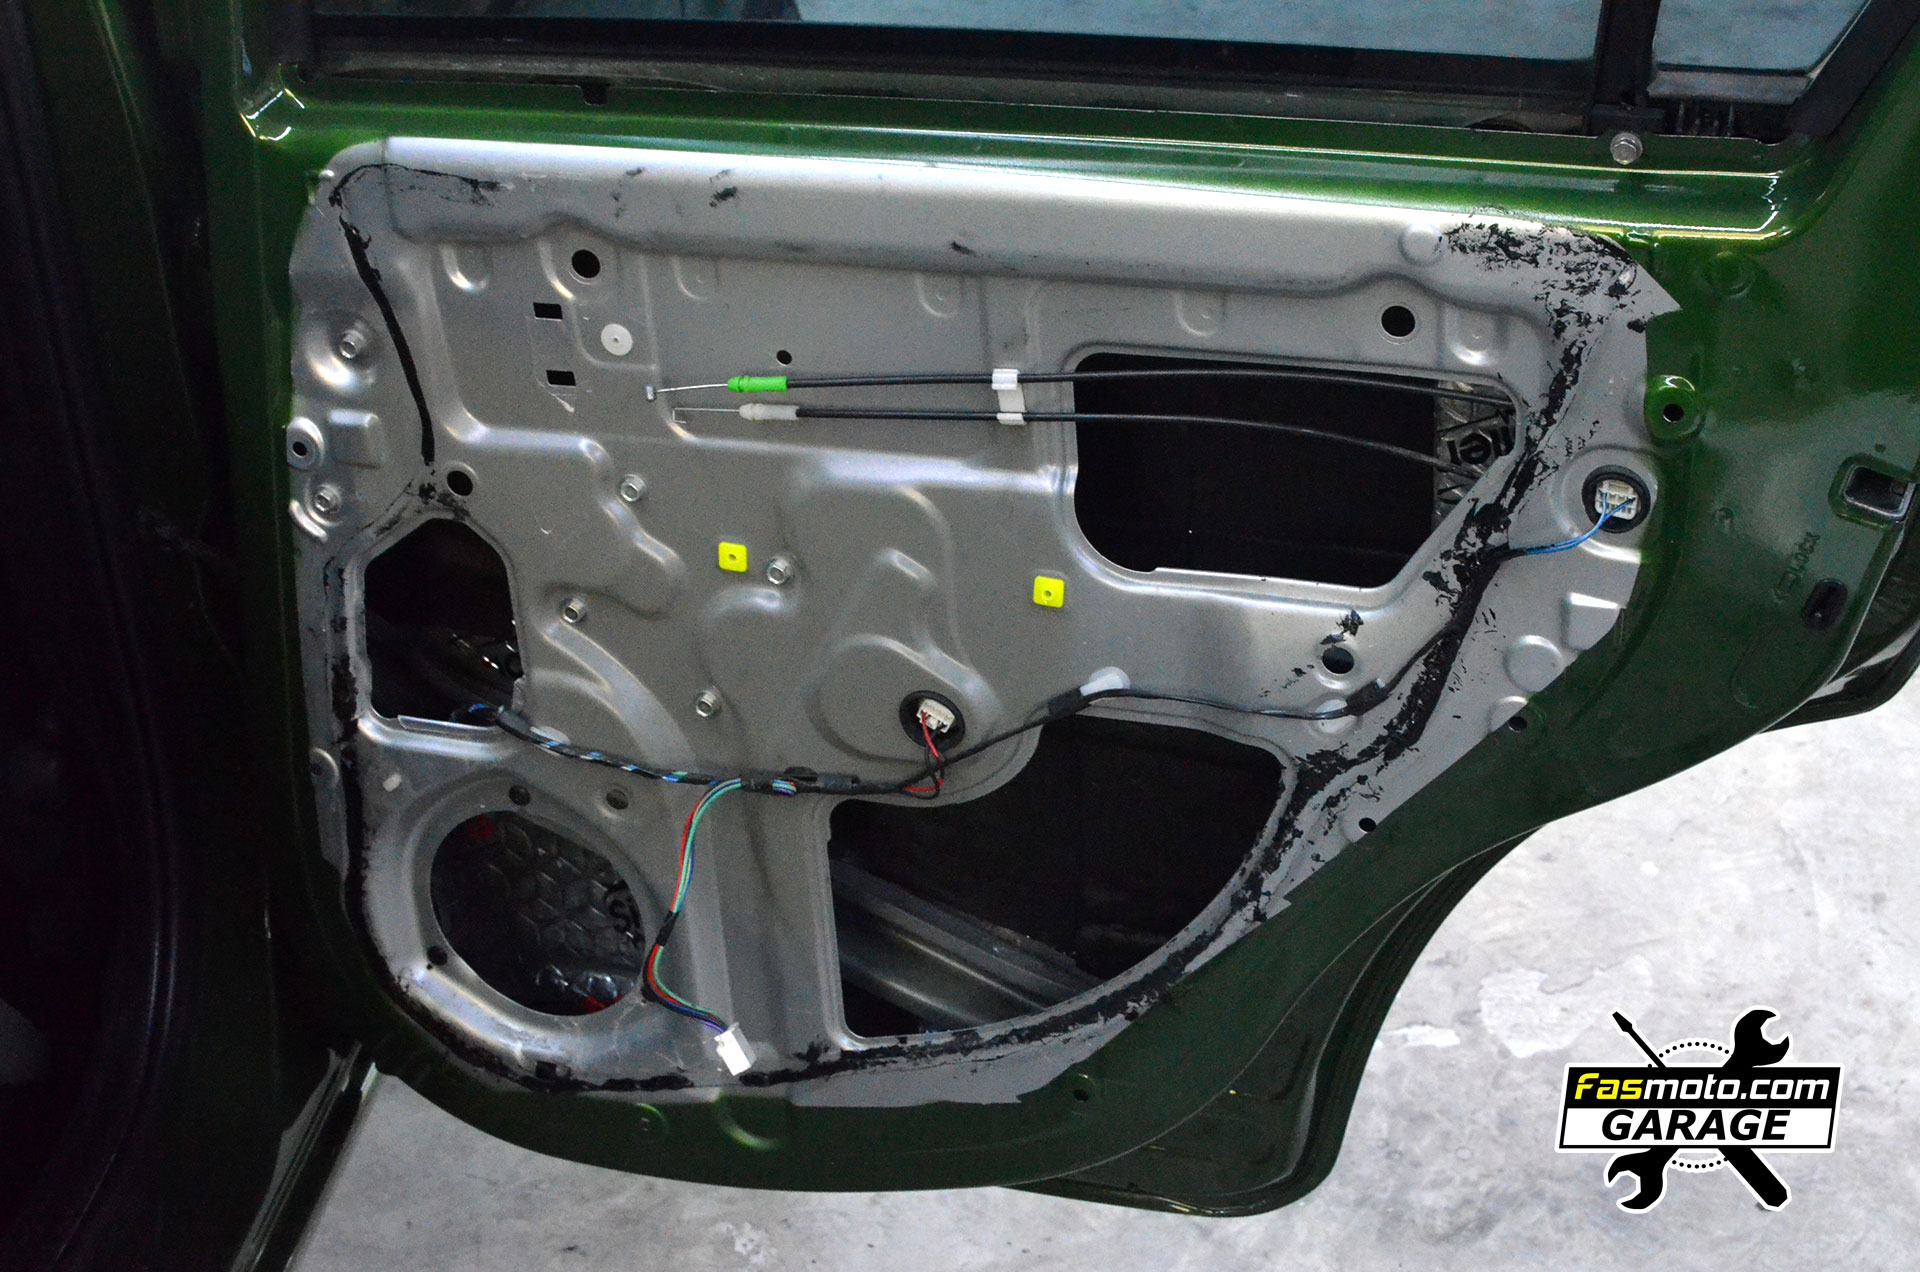
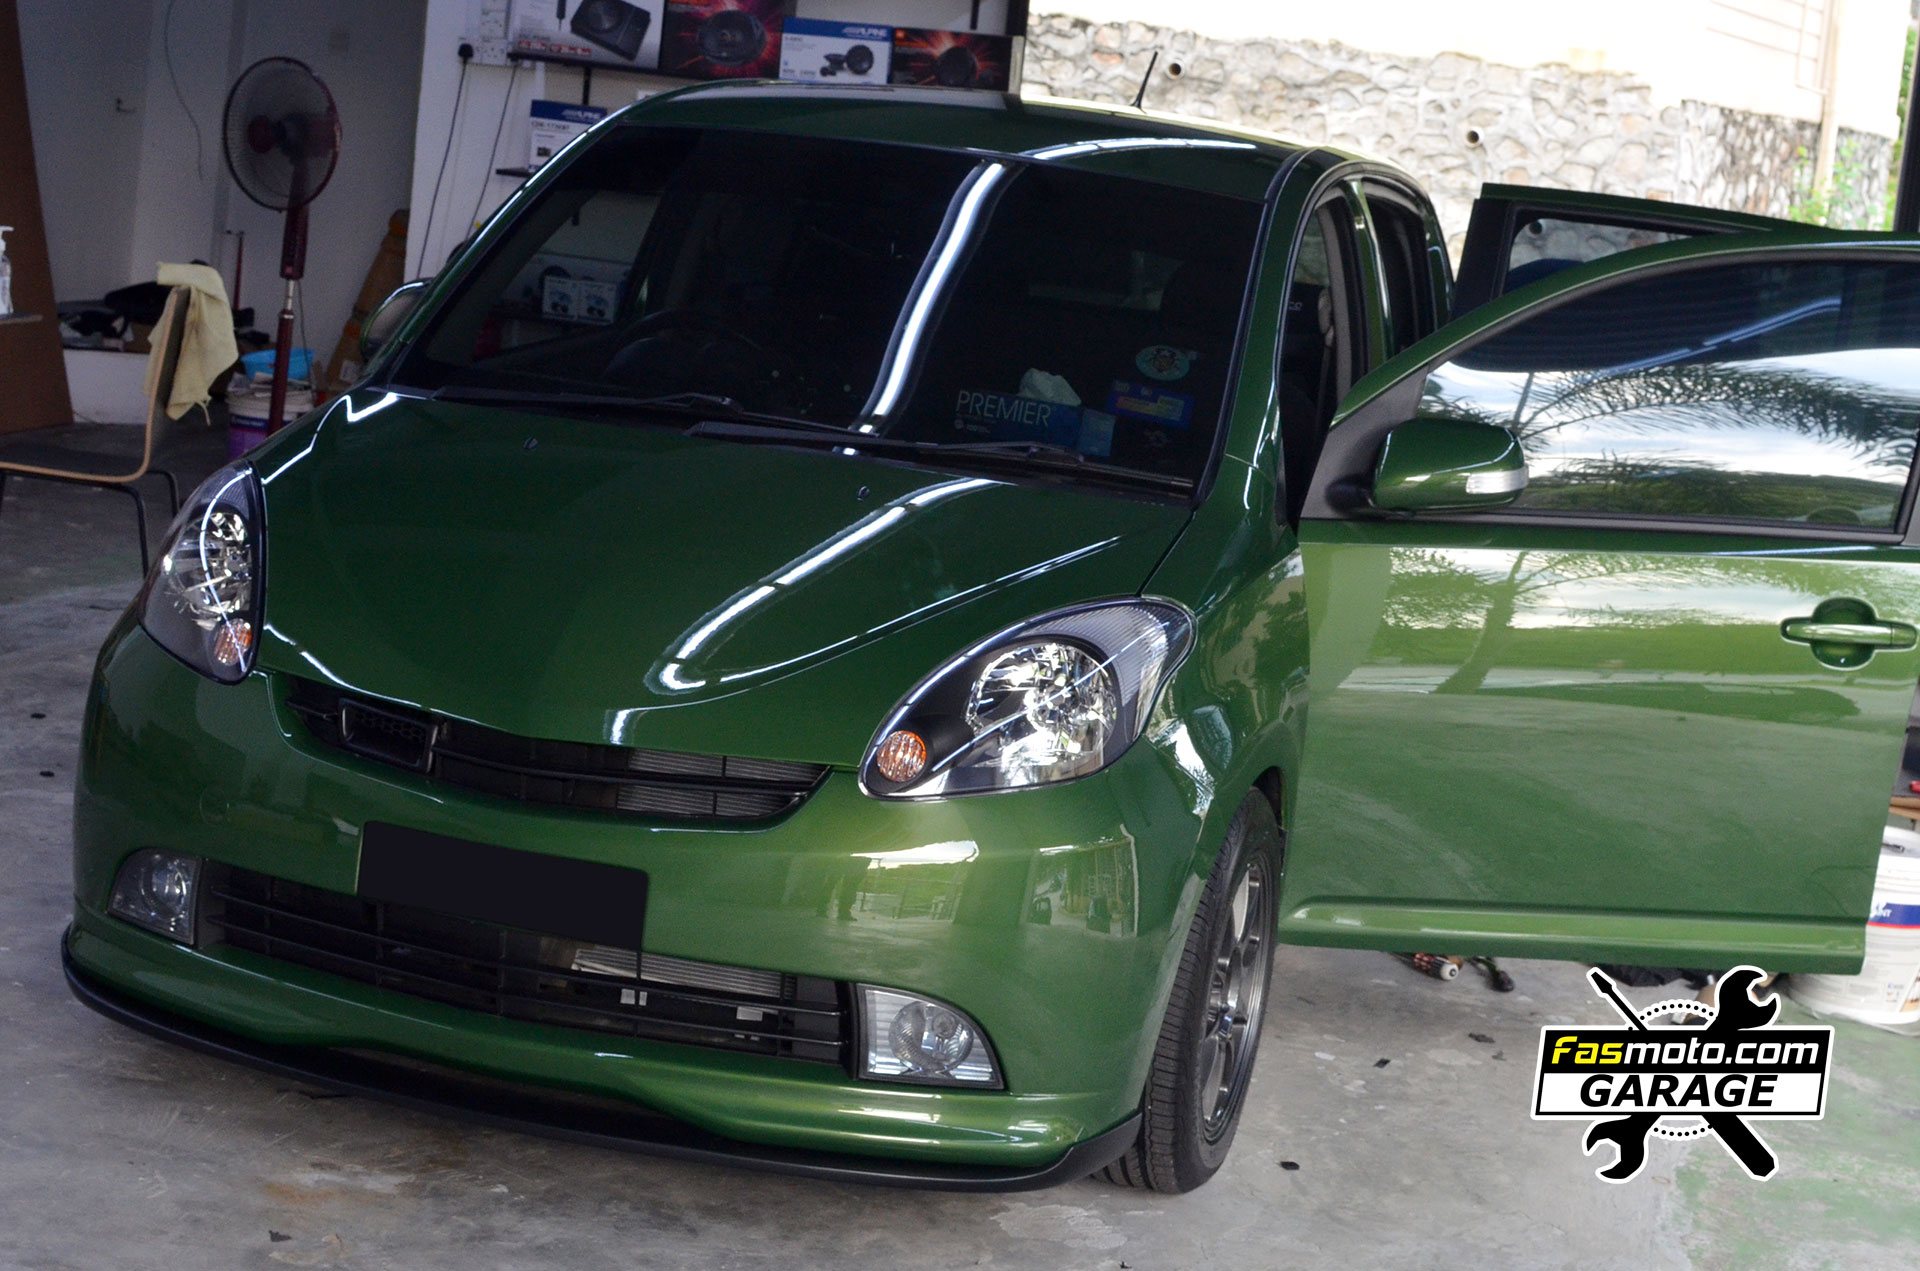
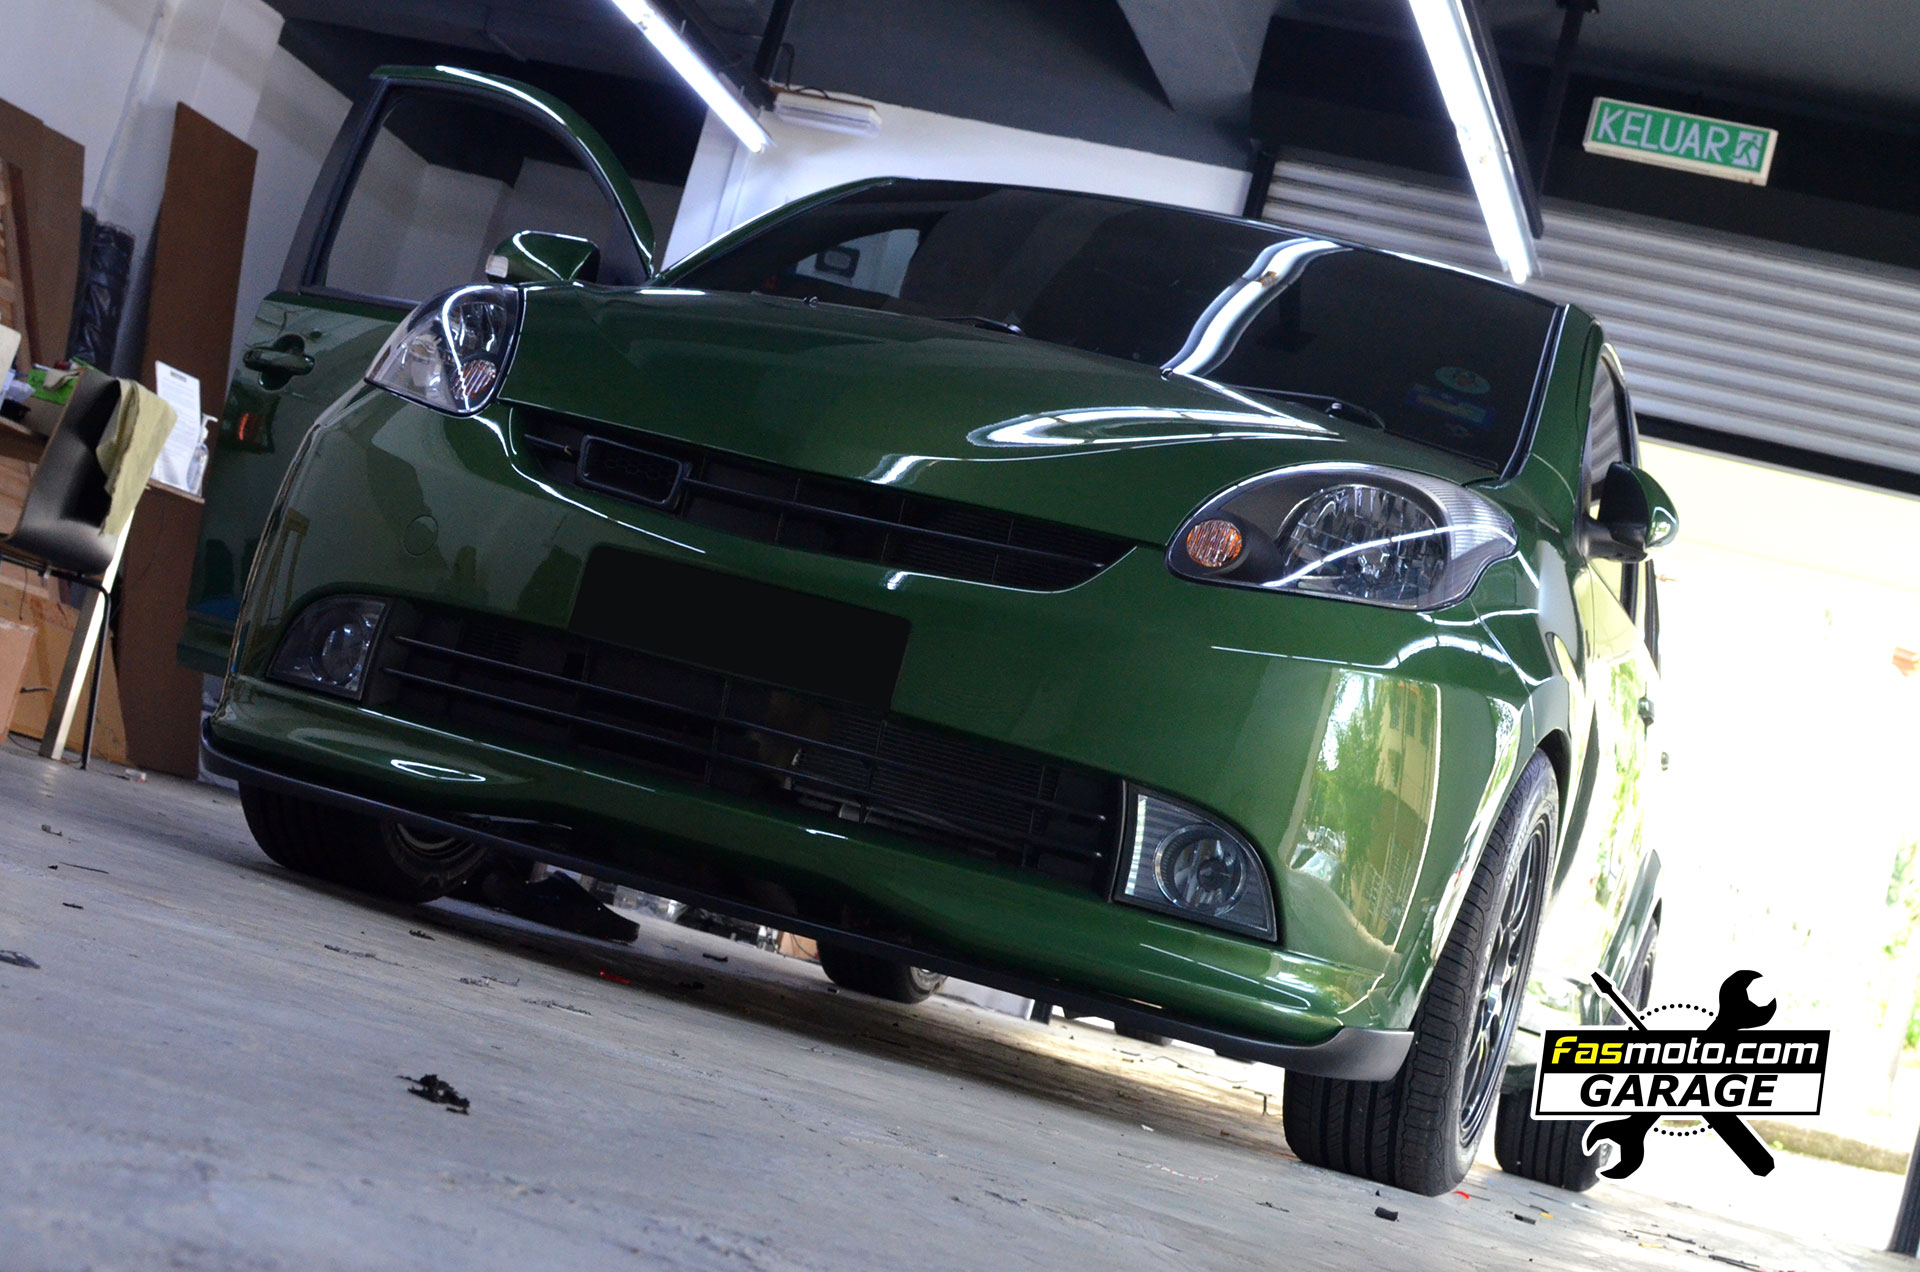
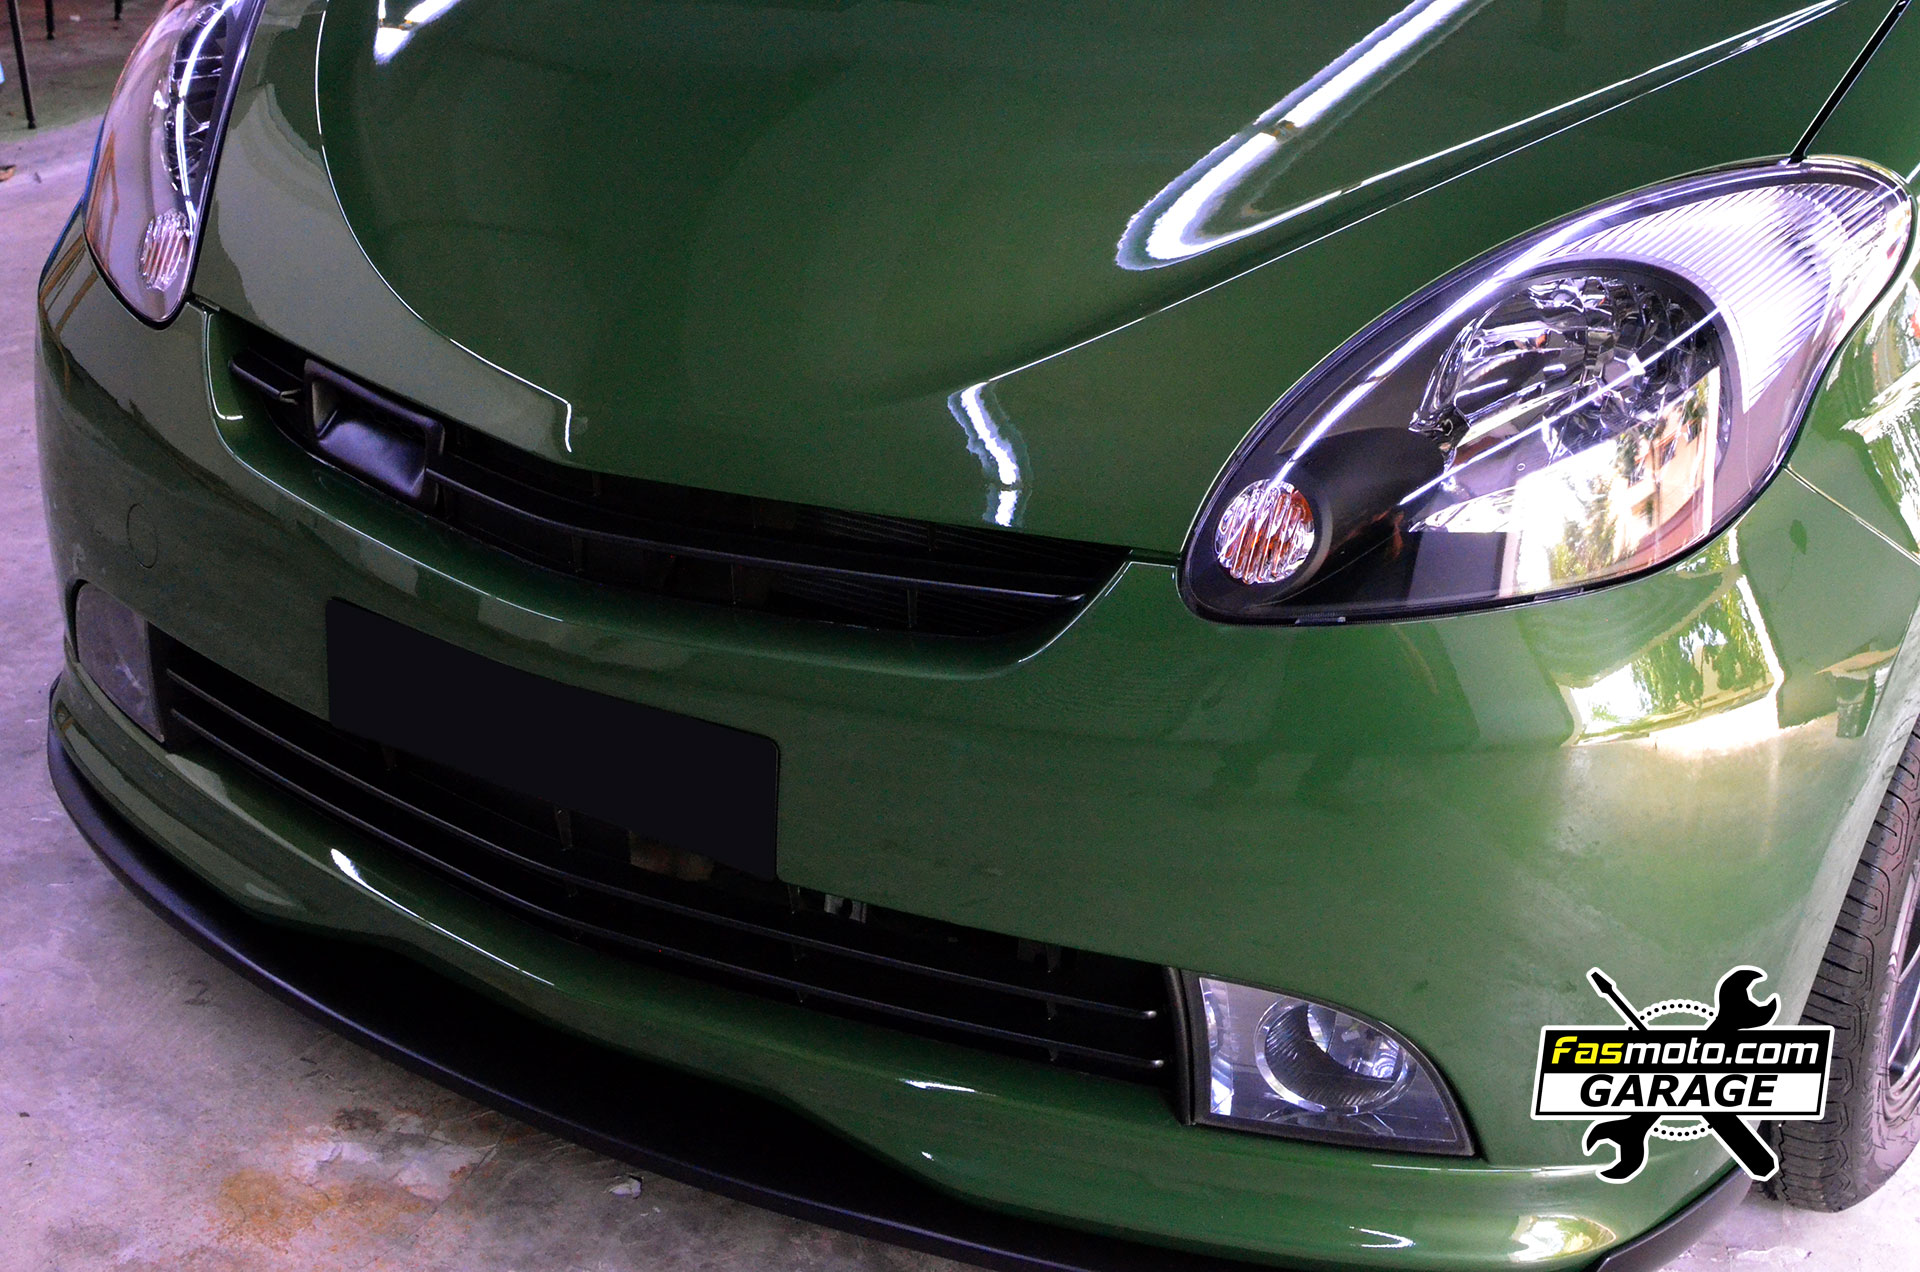
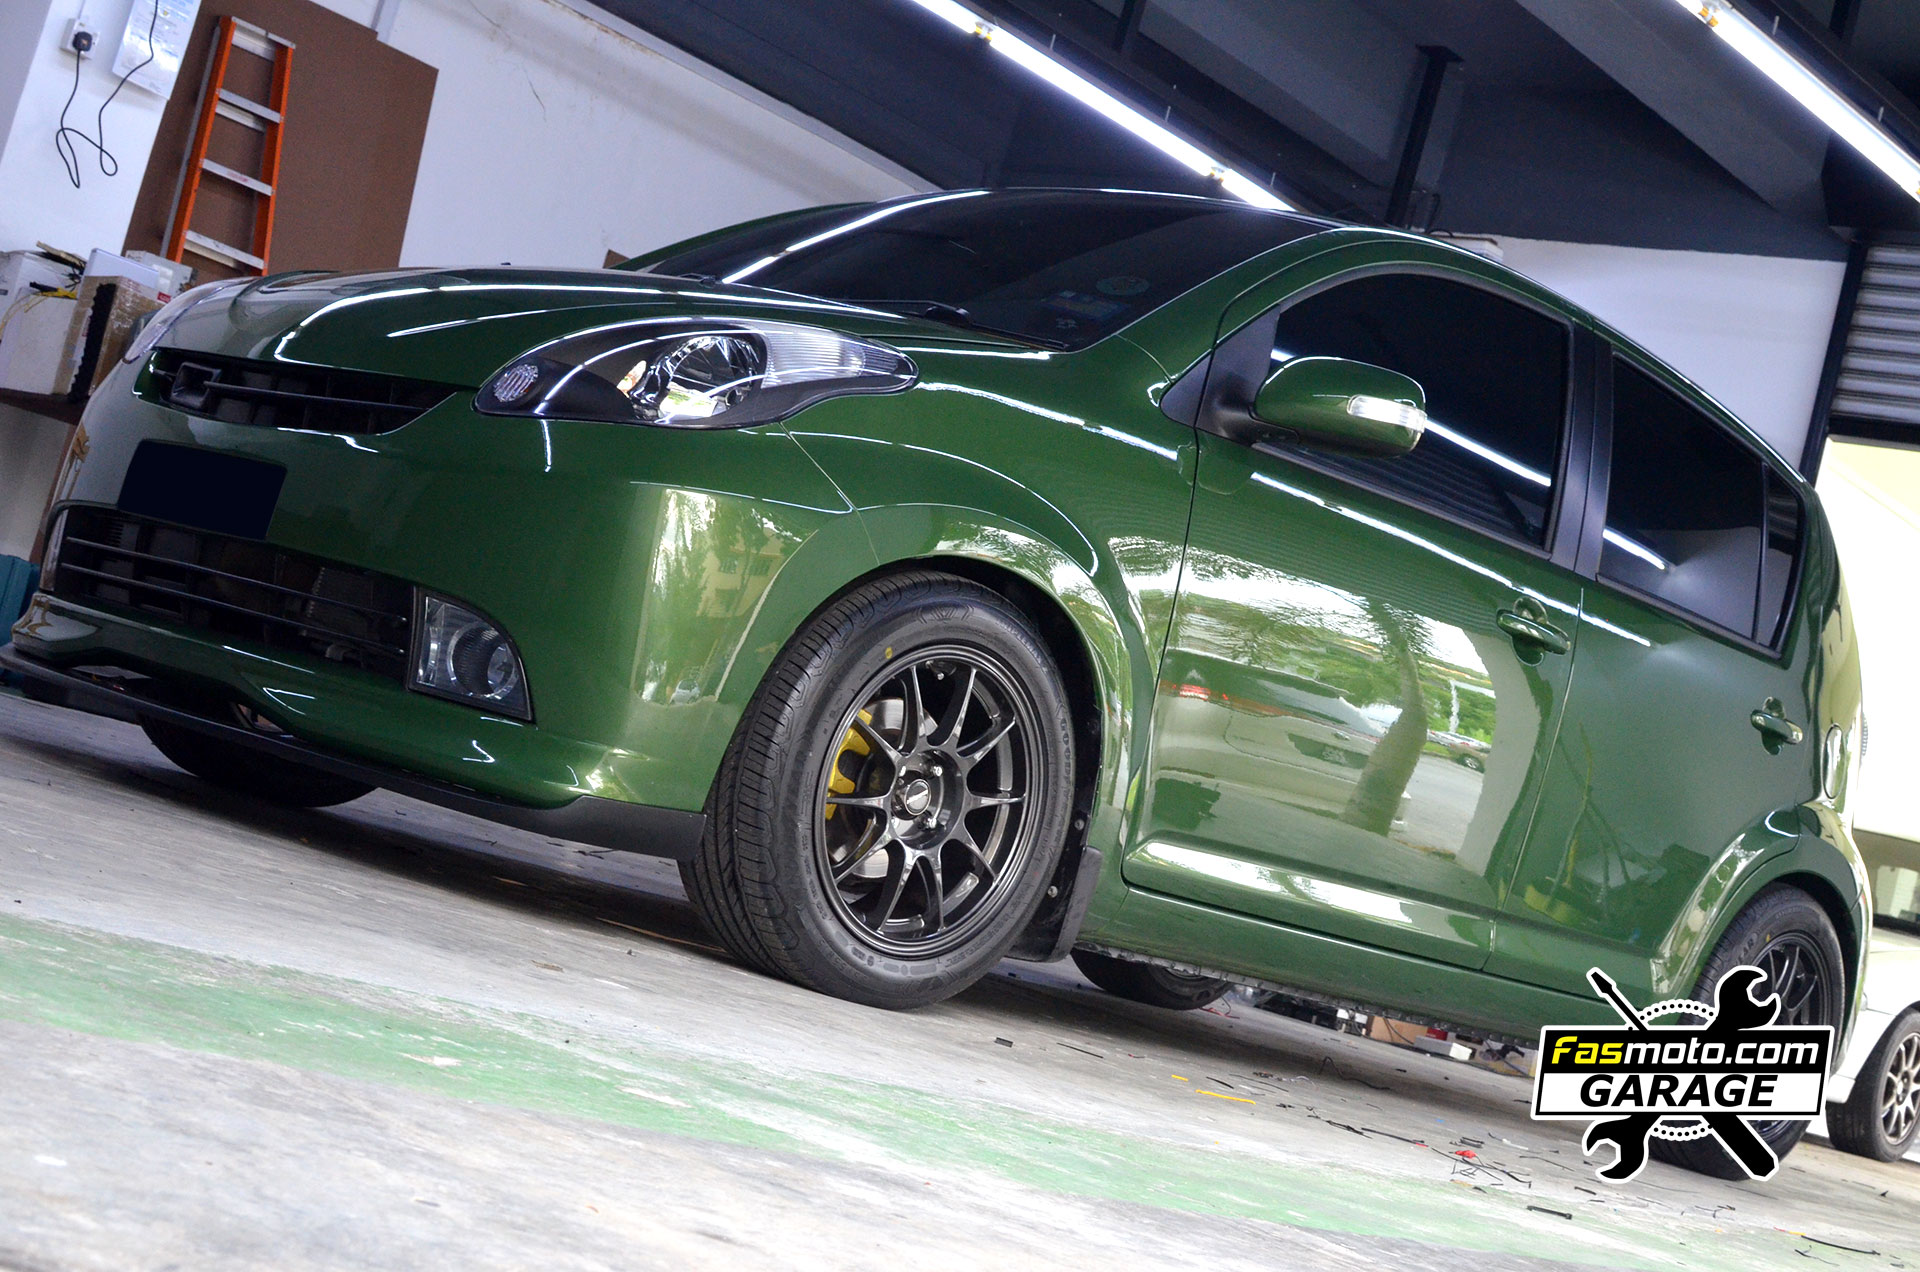
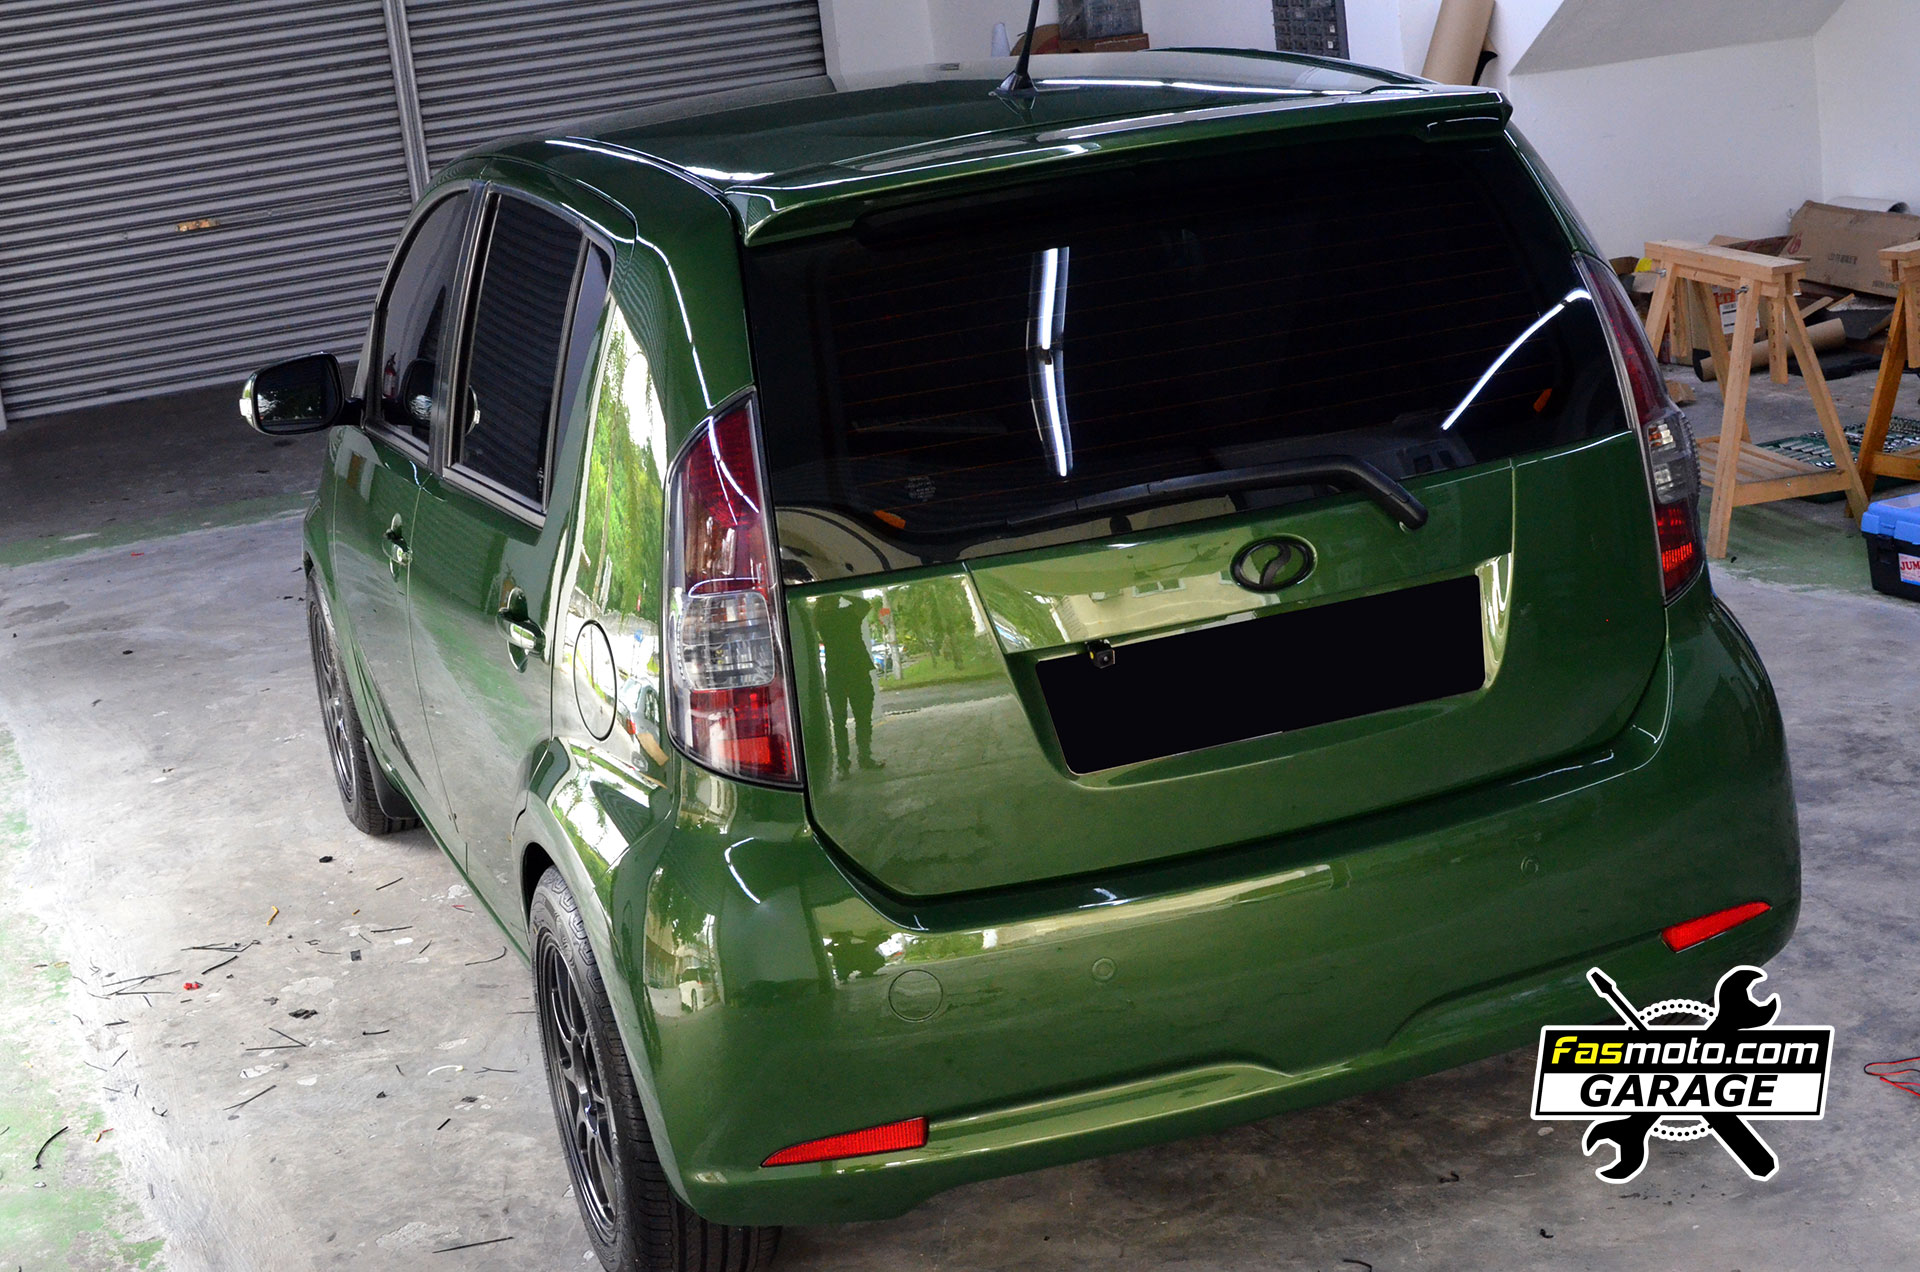
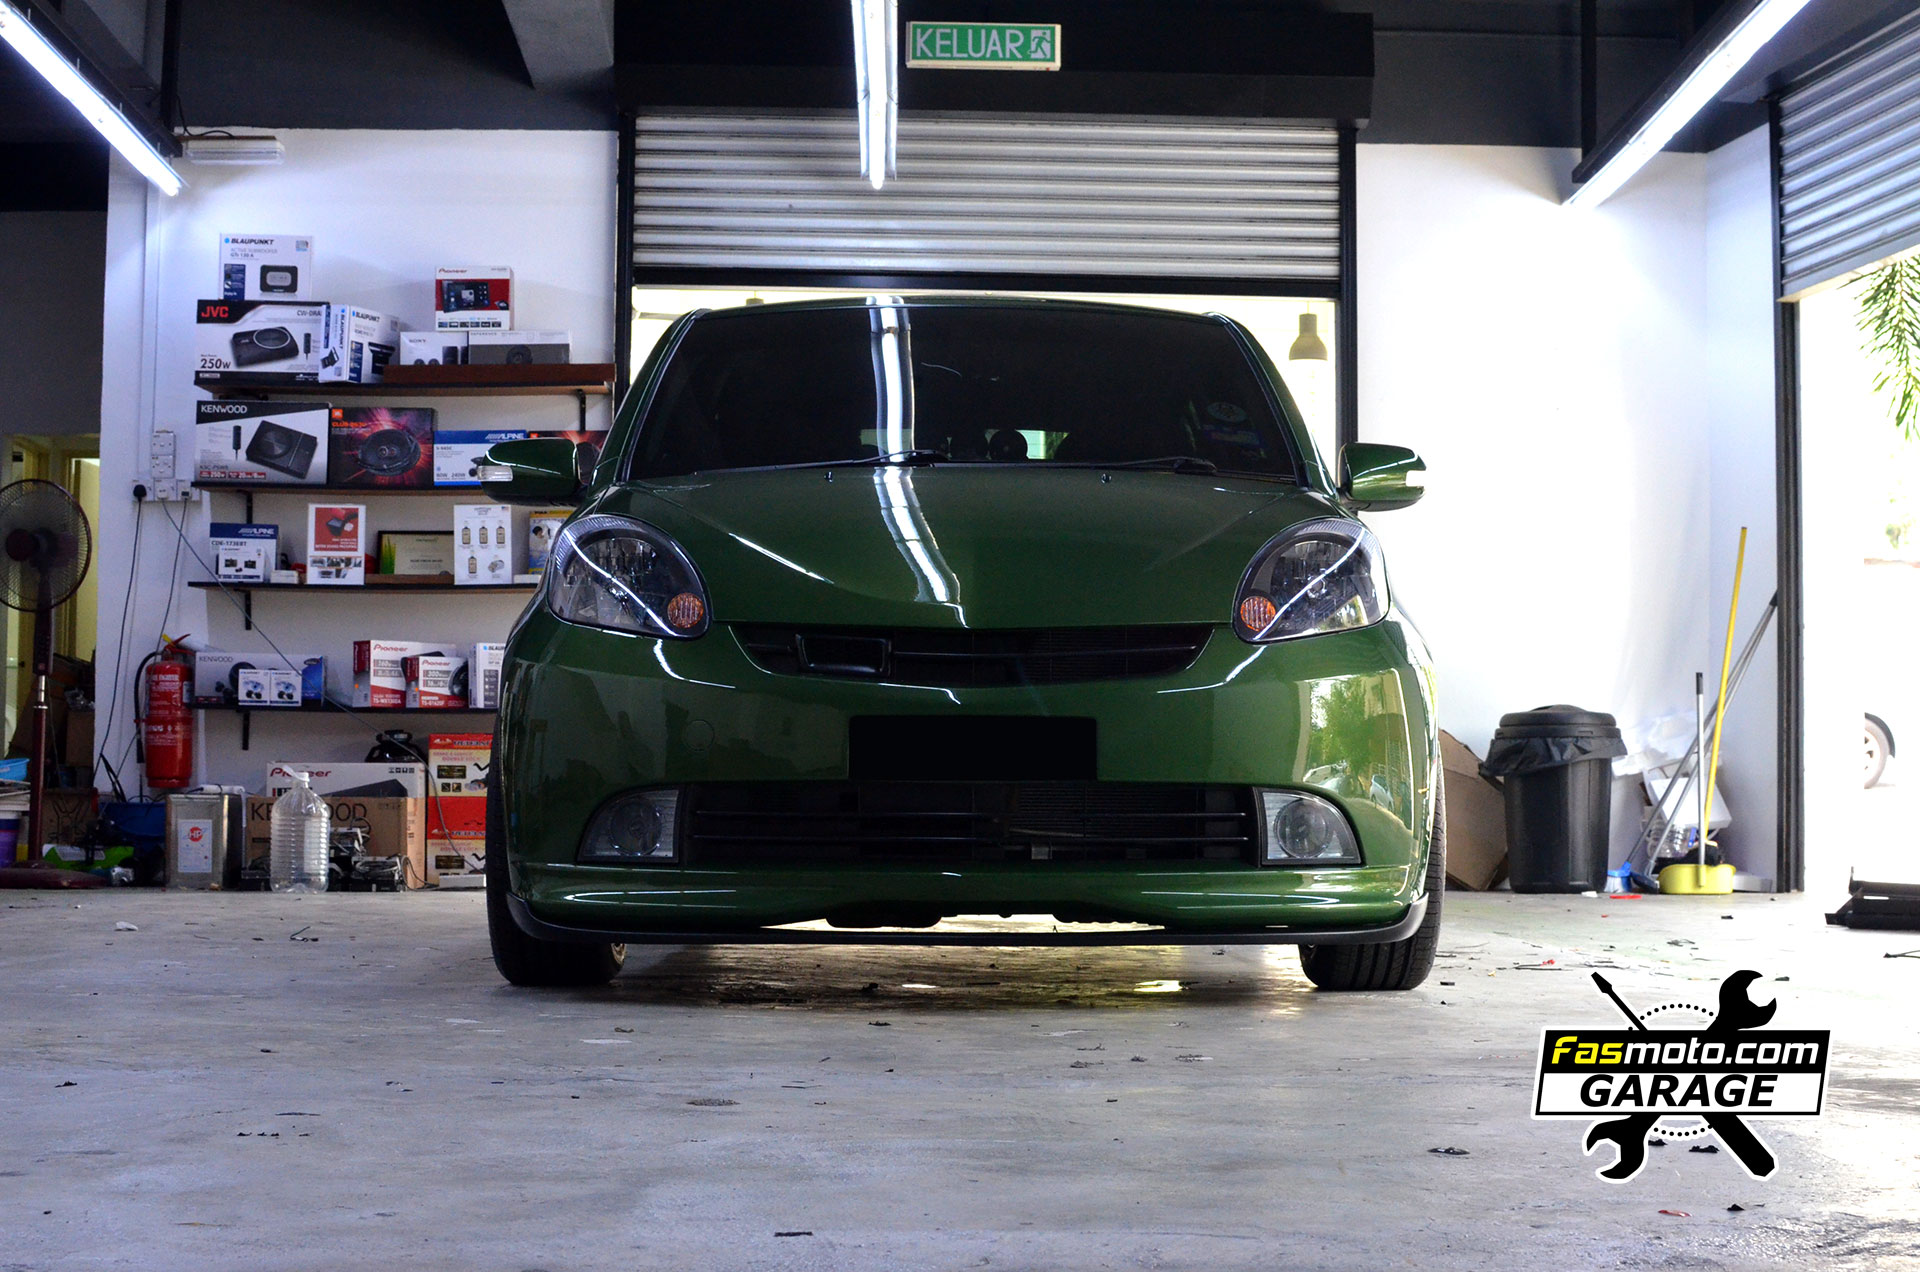
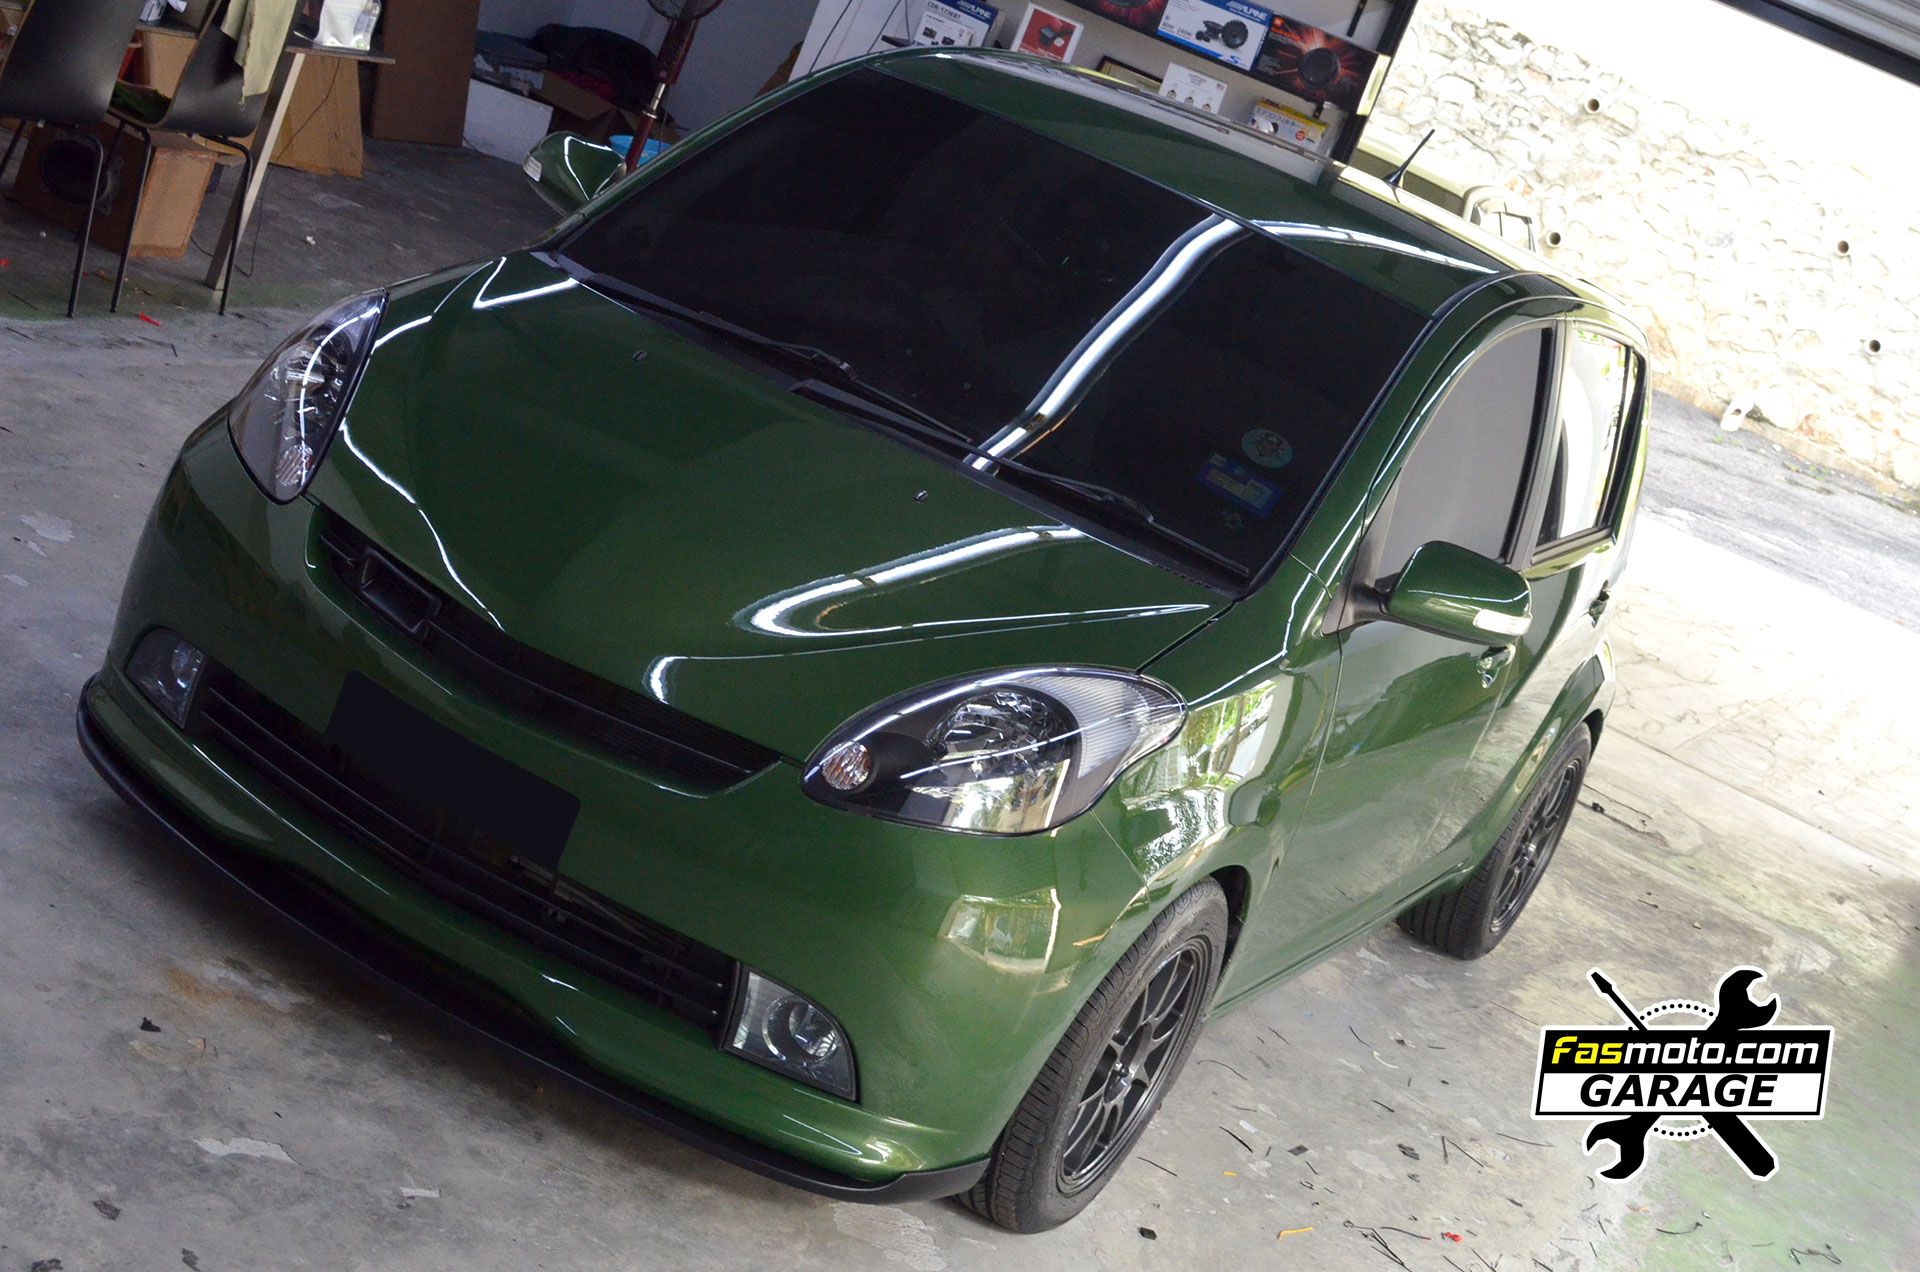
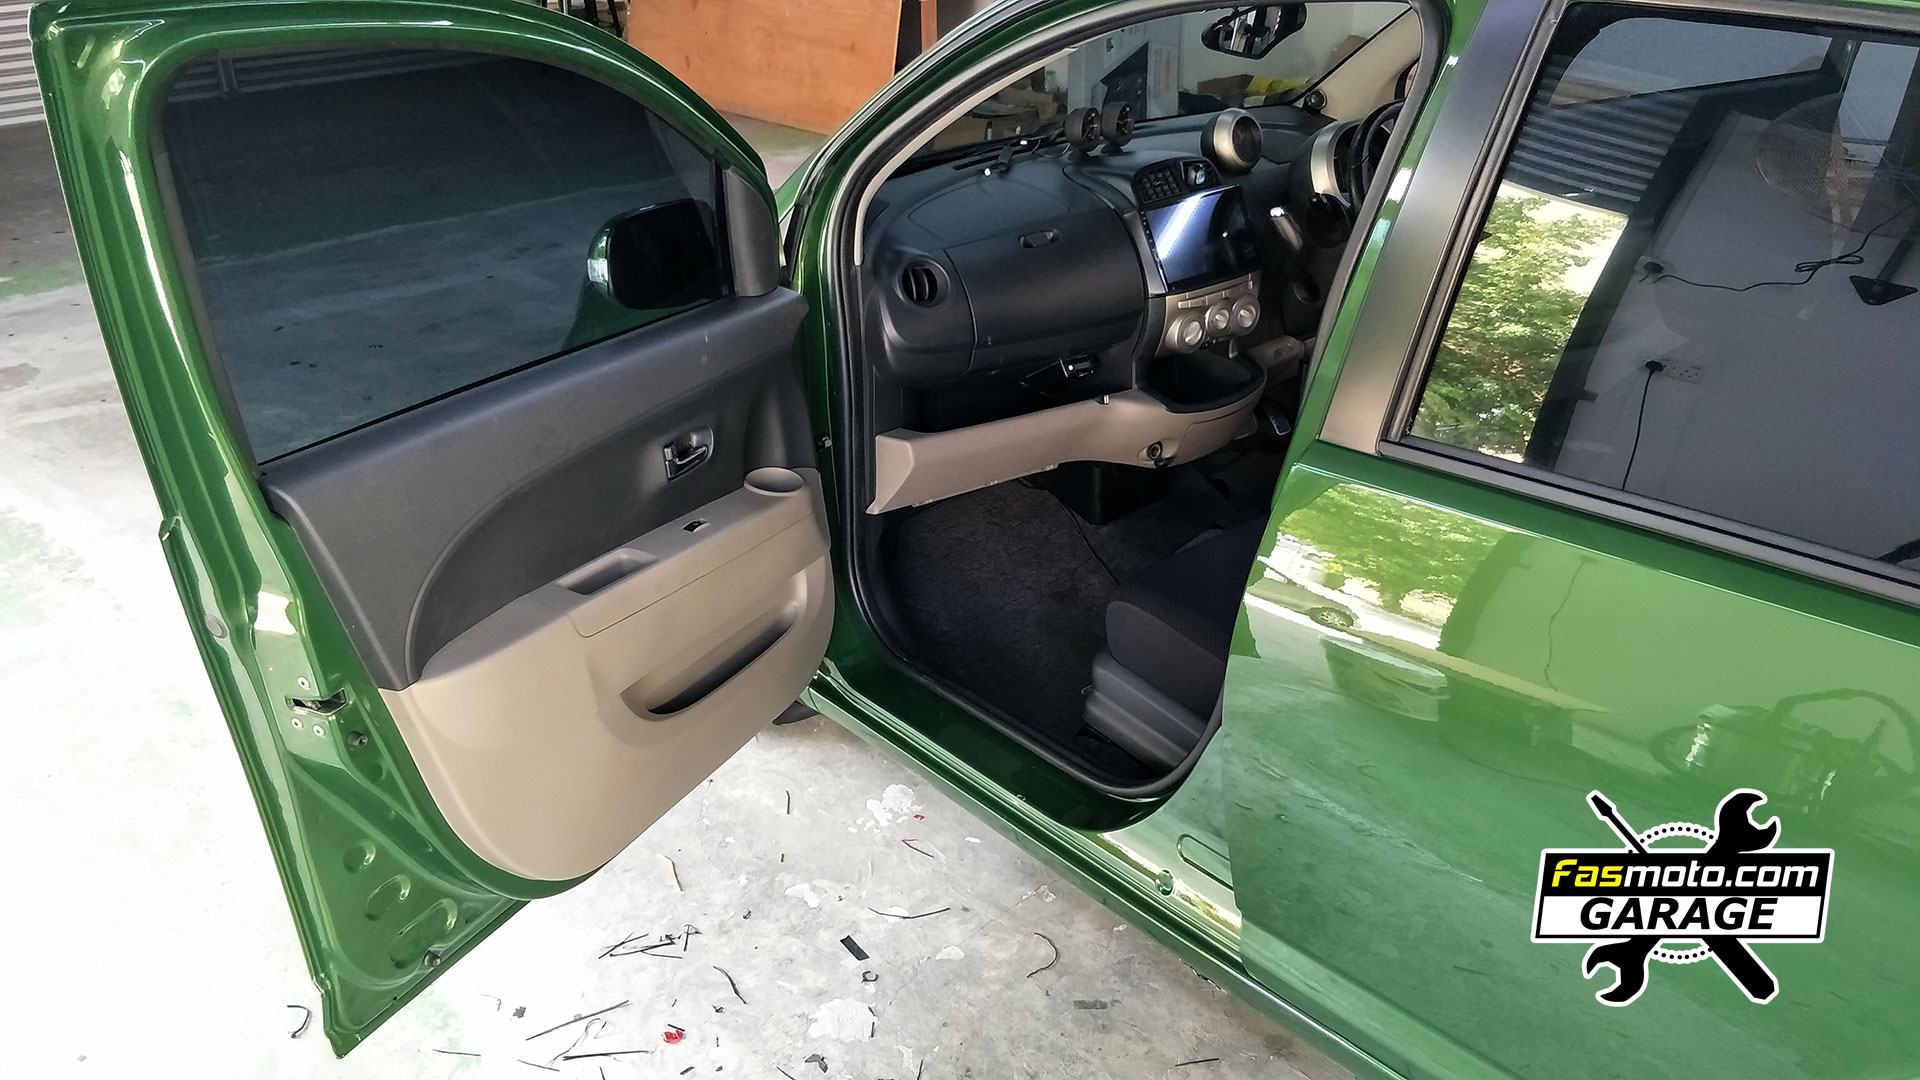
The owner of this wonderful unique green coloured Perodua Myvi had converted his car with a lot of Toyota Passo parts. When he got in touch with us, he seemed particular about wanting to ensure the audio install is done properly. Being car guys ourselves, we totally understood where he is coming from. He also wasn't sure about the soundproofing due to the added weight, so in the end we decided to just soundproof the front 2 doors for a start to see if it satisfies his needs.
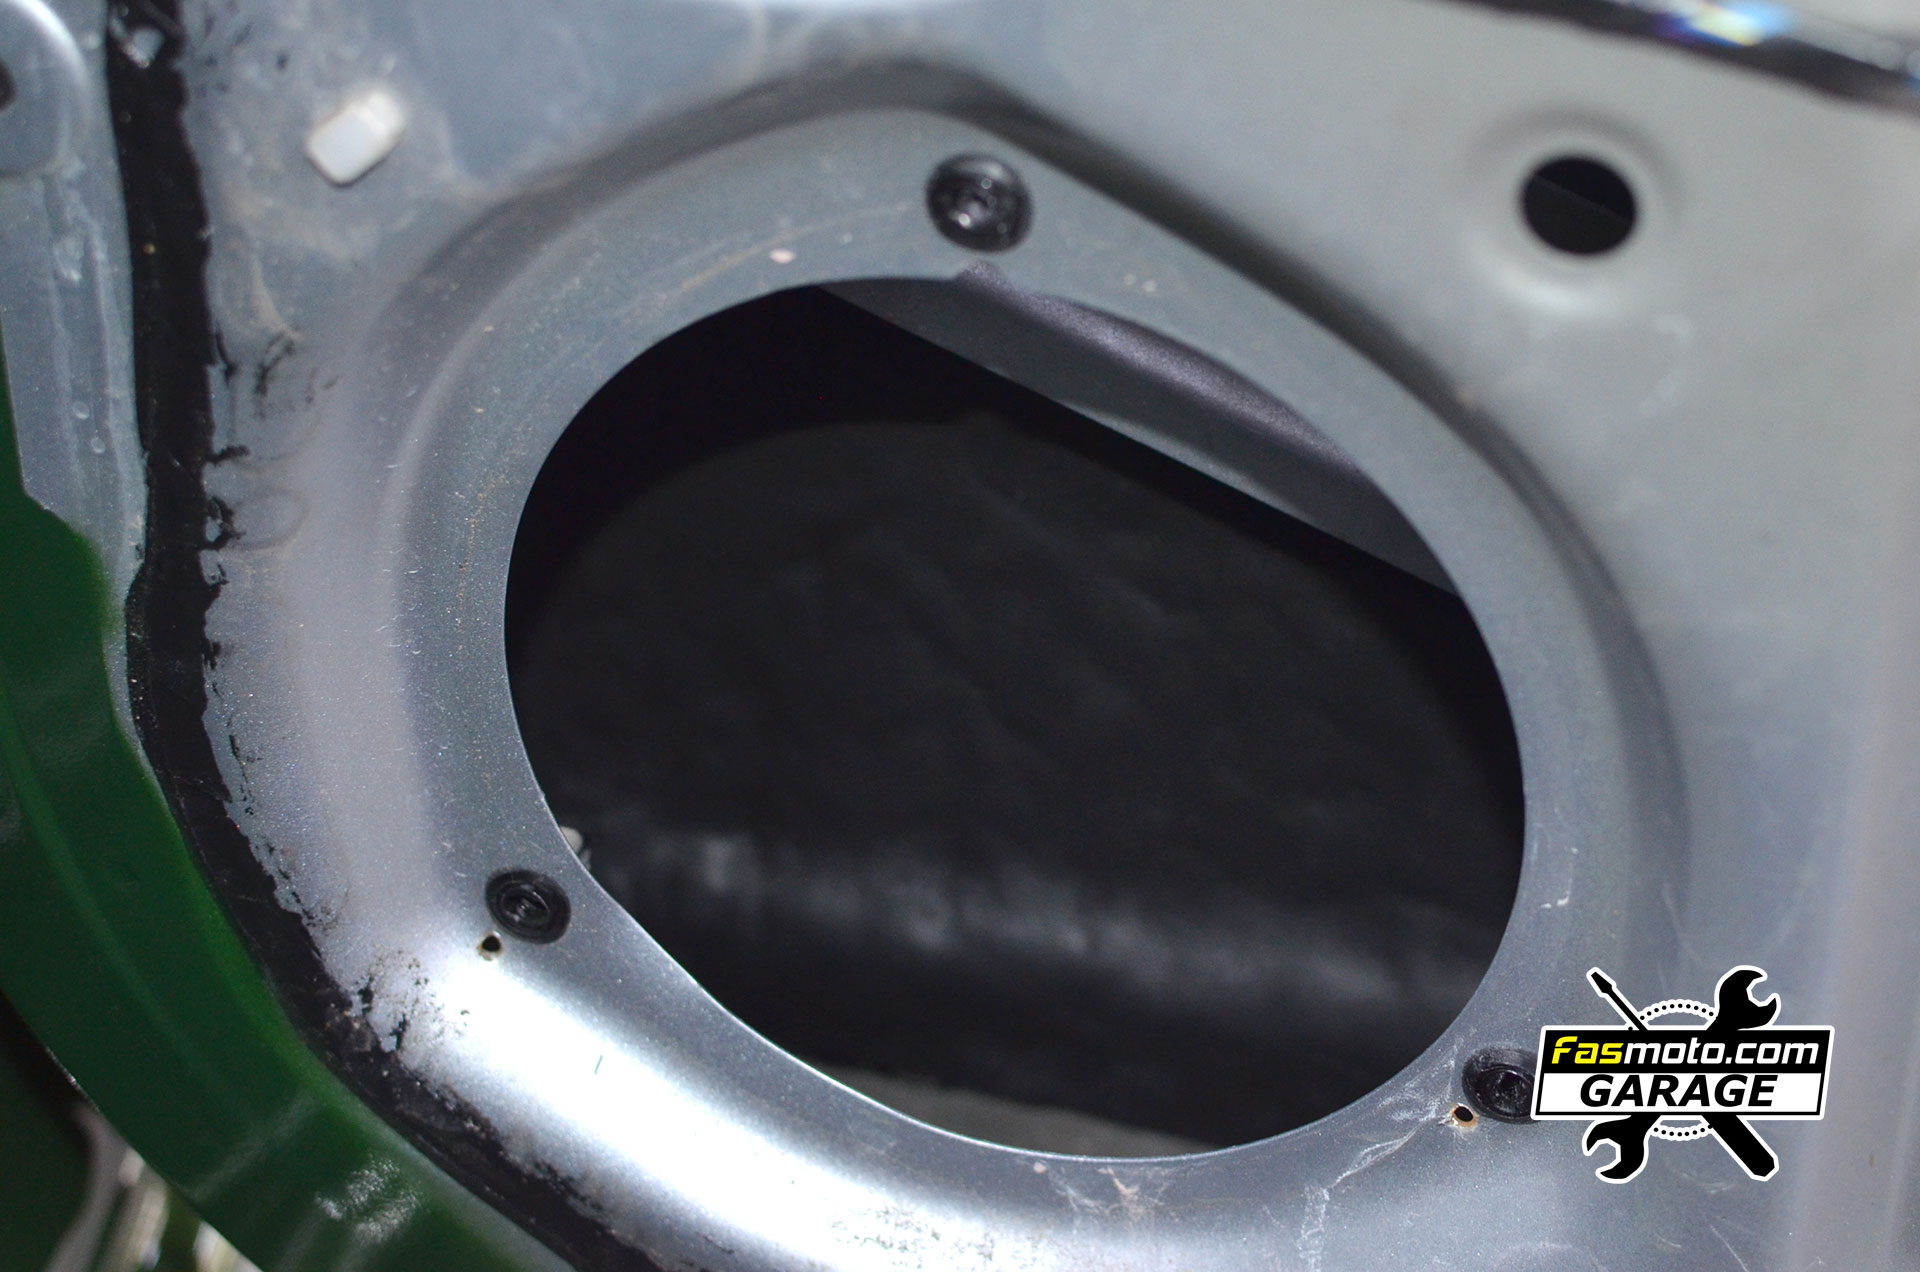
He sourced his own audio components which were mainly used Carrozeria items to keep with the JDM theme. He brought along a 4" component speakers for the front, 6.5" coaxial speakers for the rear and a compact underseat active subwoofer.
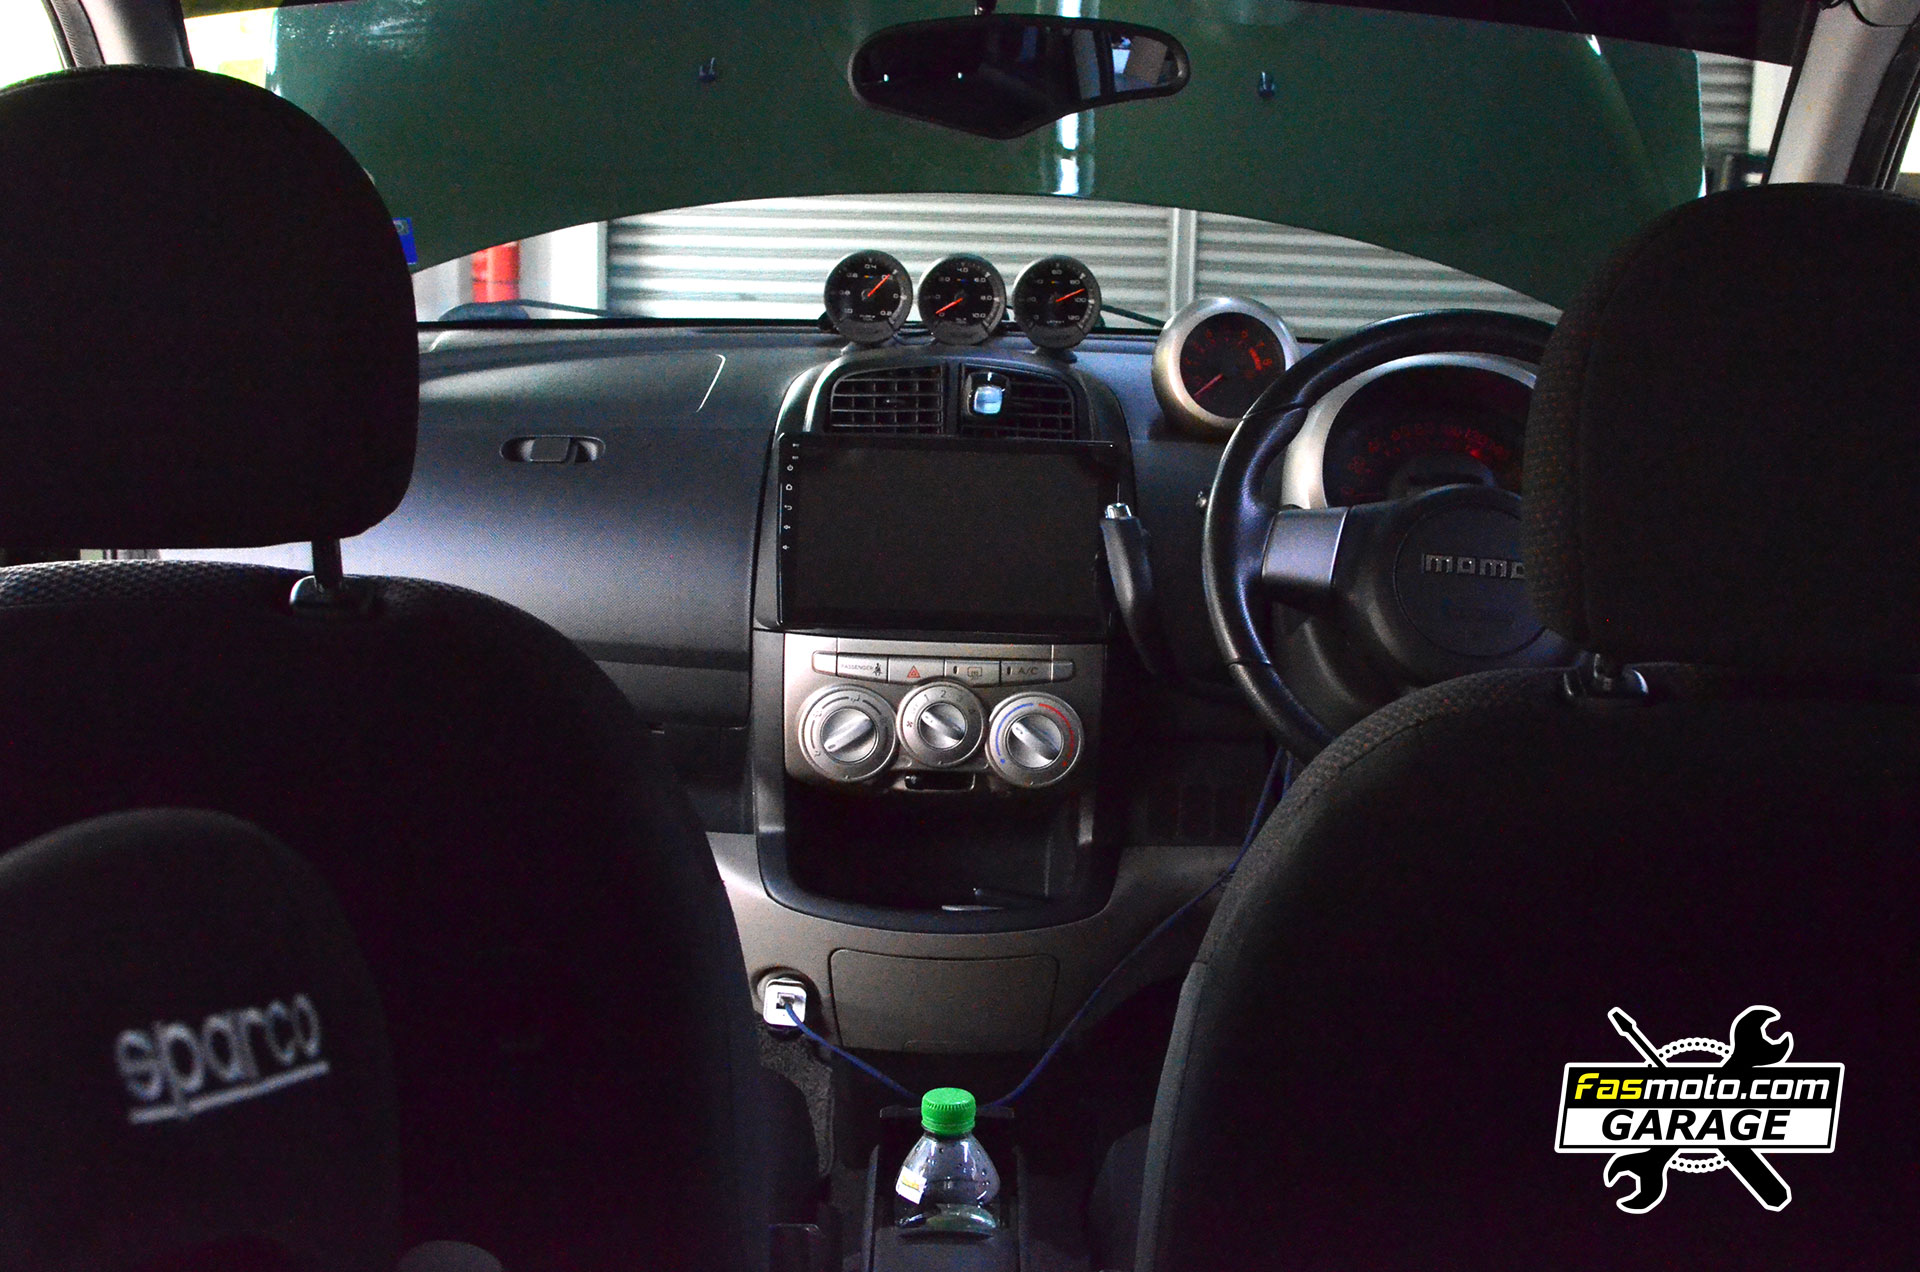
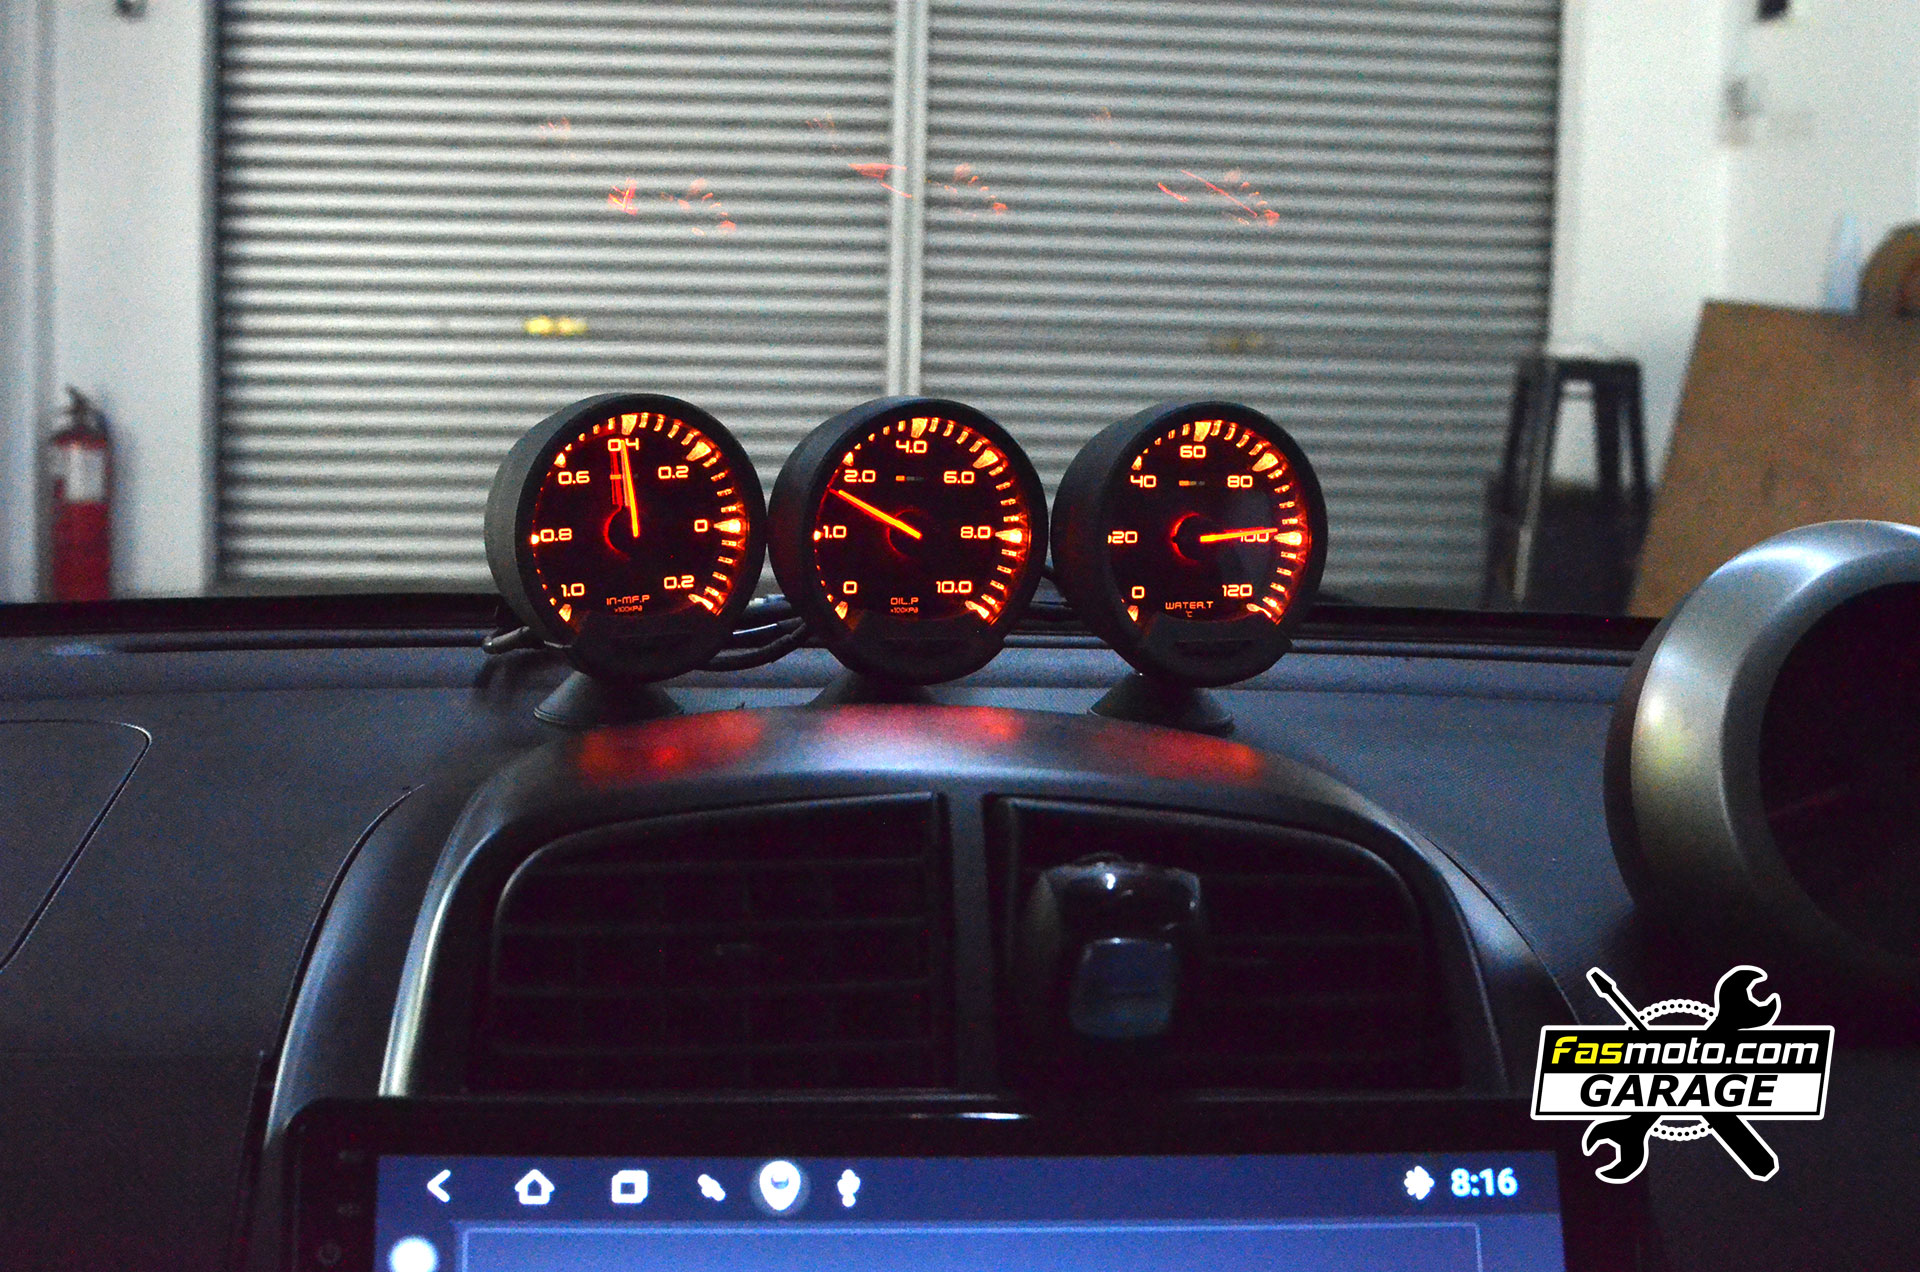
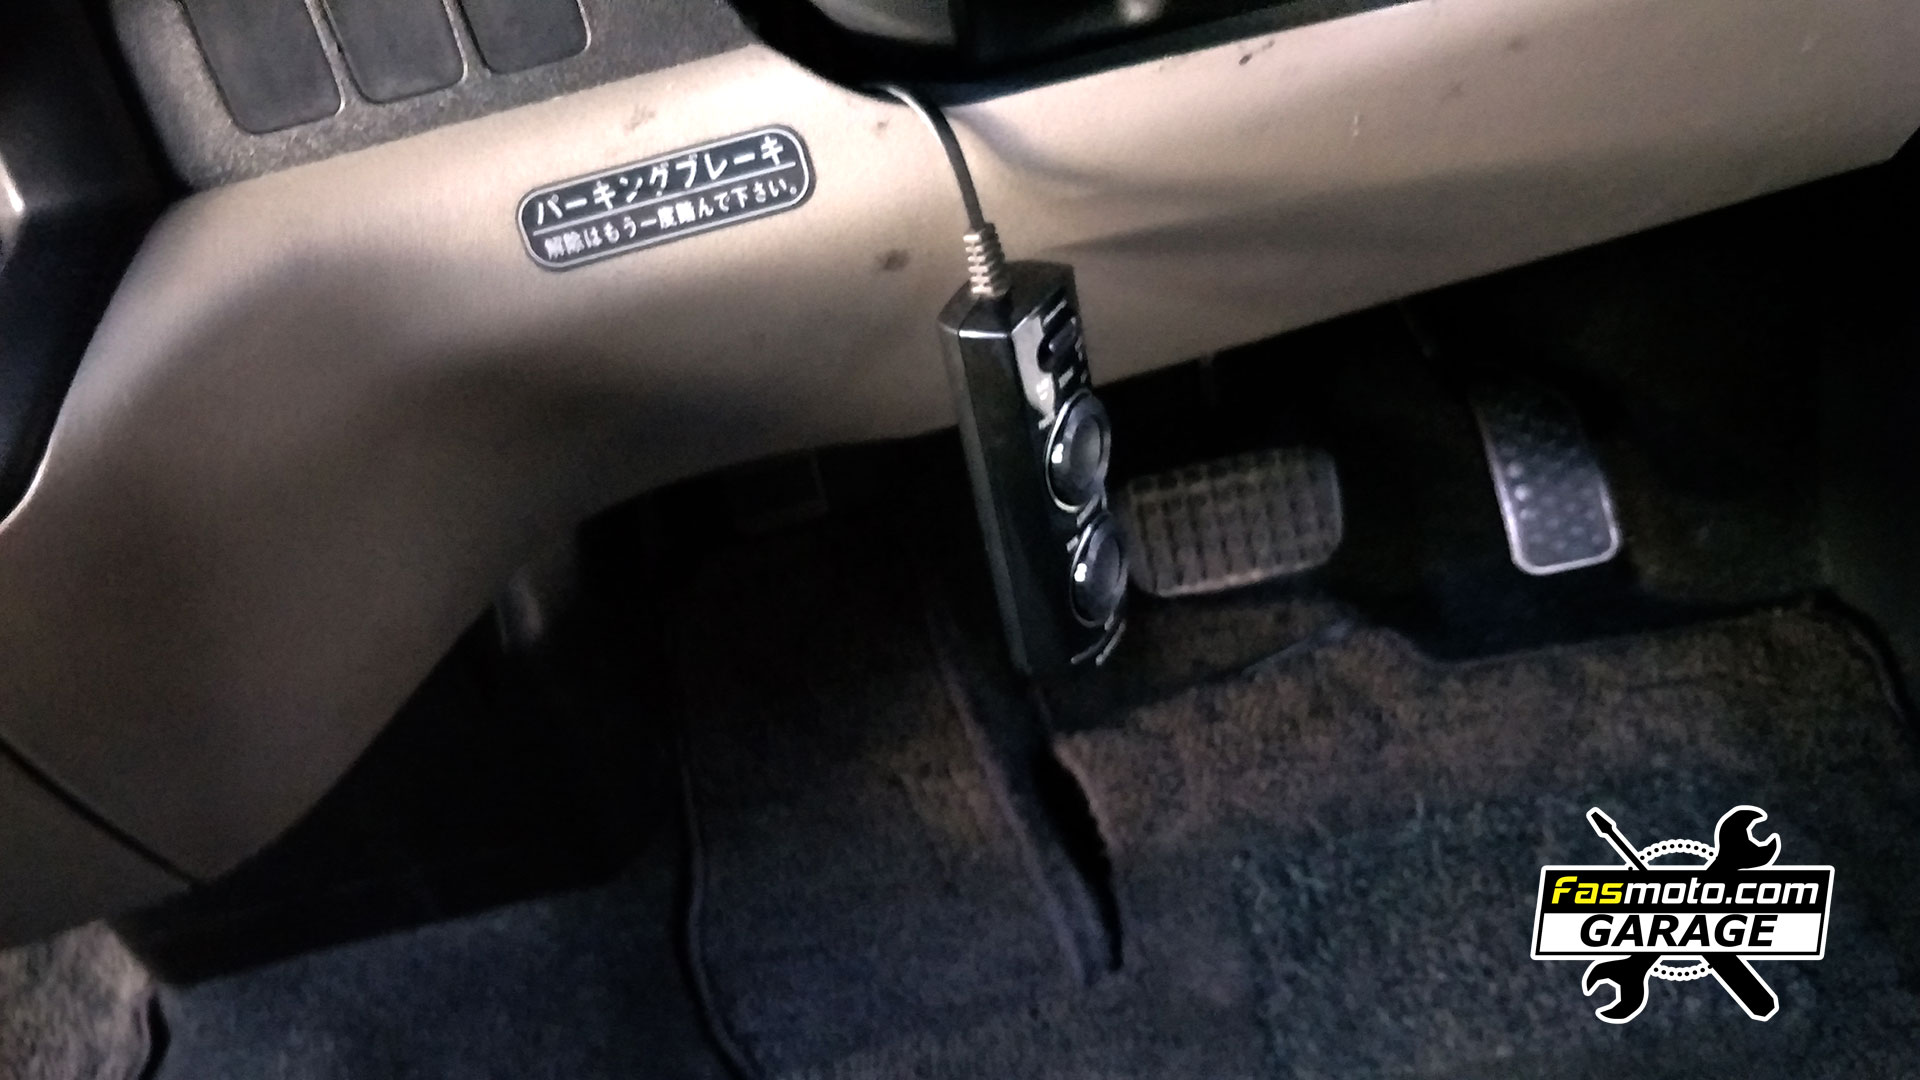
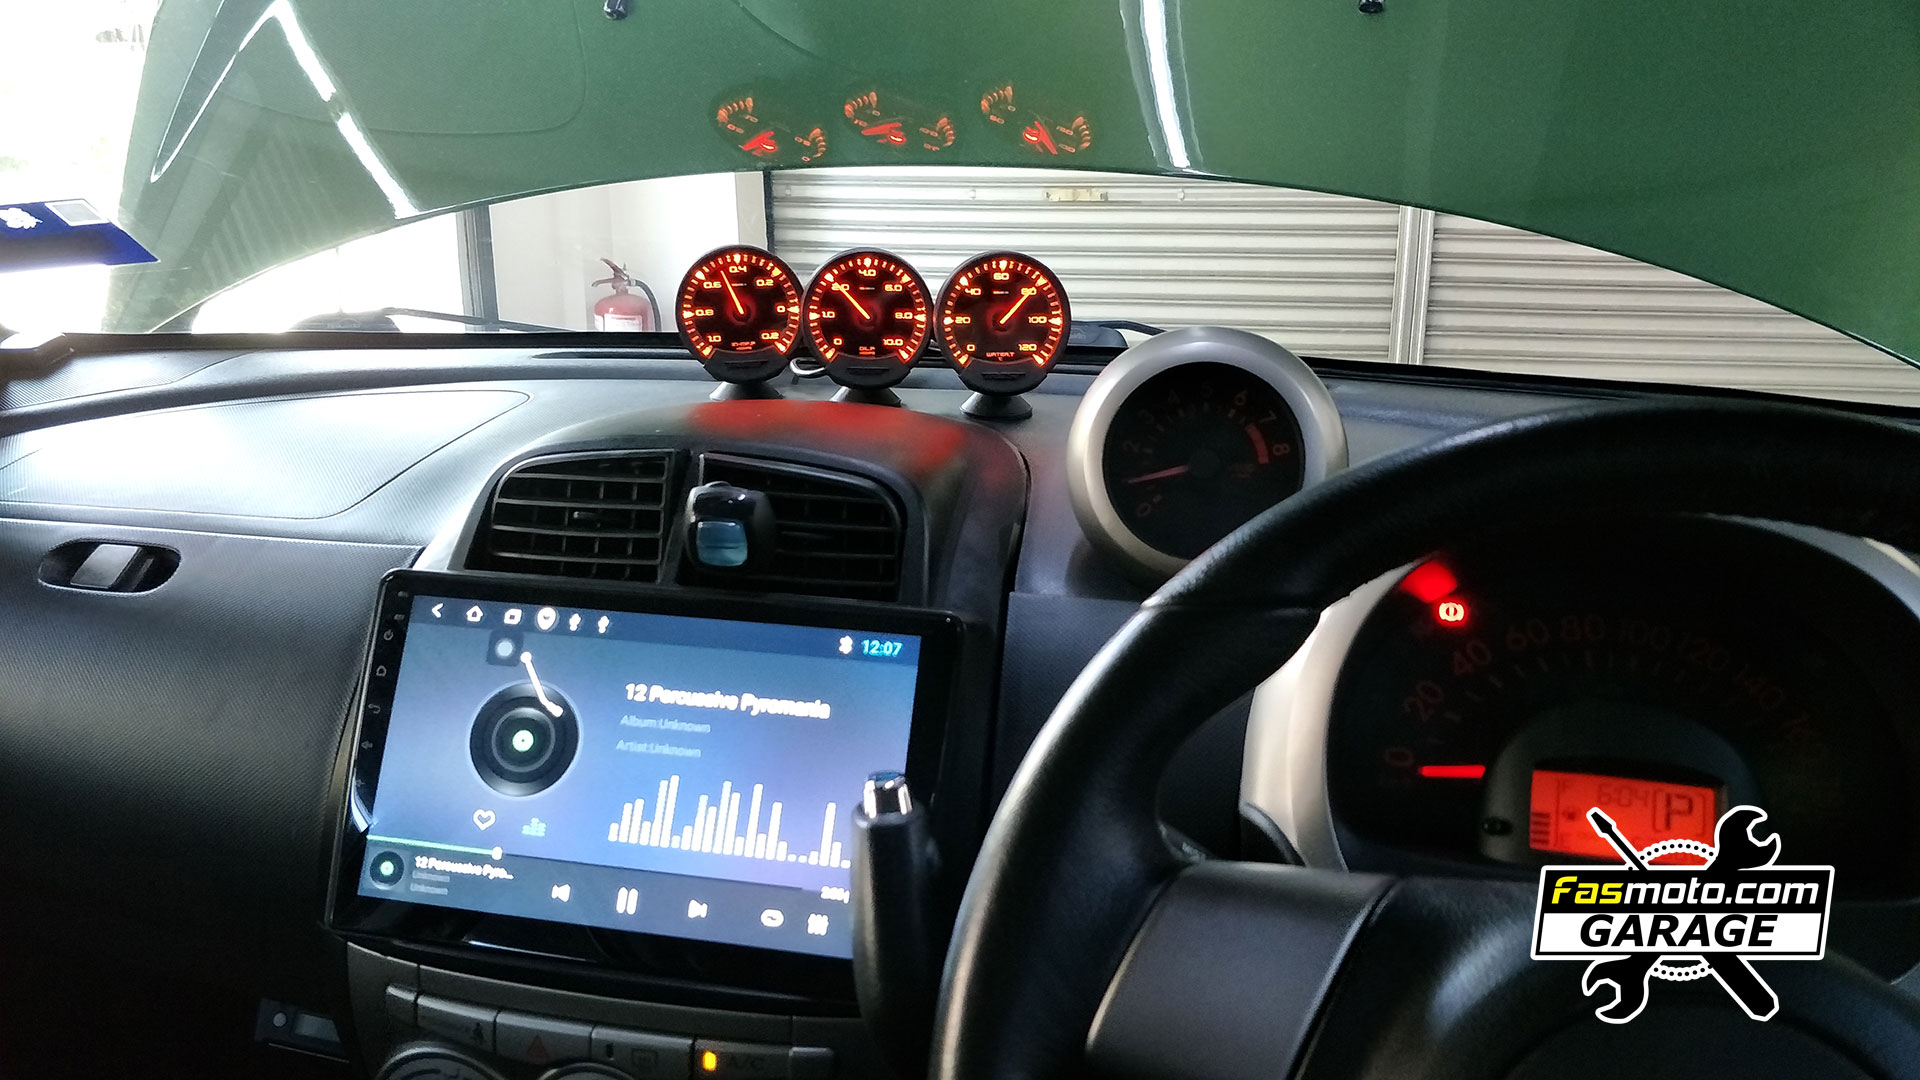
Besides that, he also wanted us to install his dash cam and touch and go card reader and also make some adjustments to his gauges and other minor things.
The whole process took about 2 days for us to complete with soundproofing being the most time consuming part of the process.
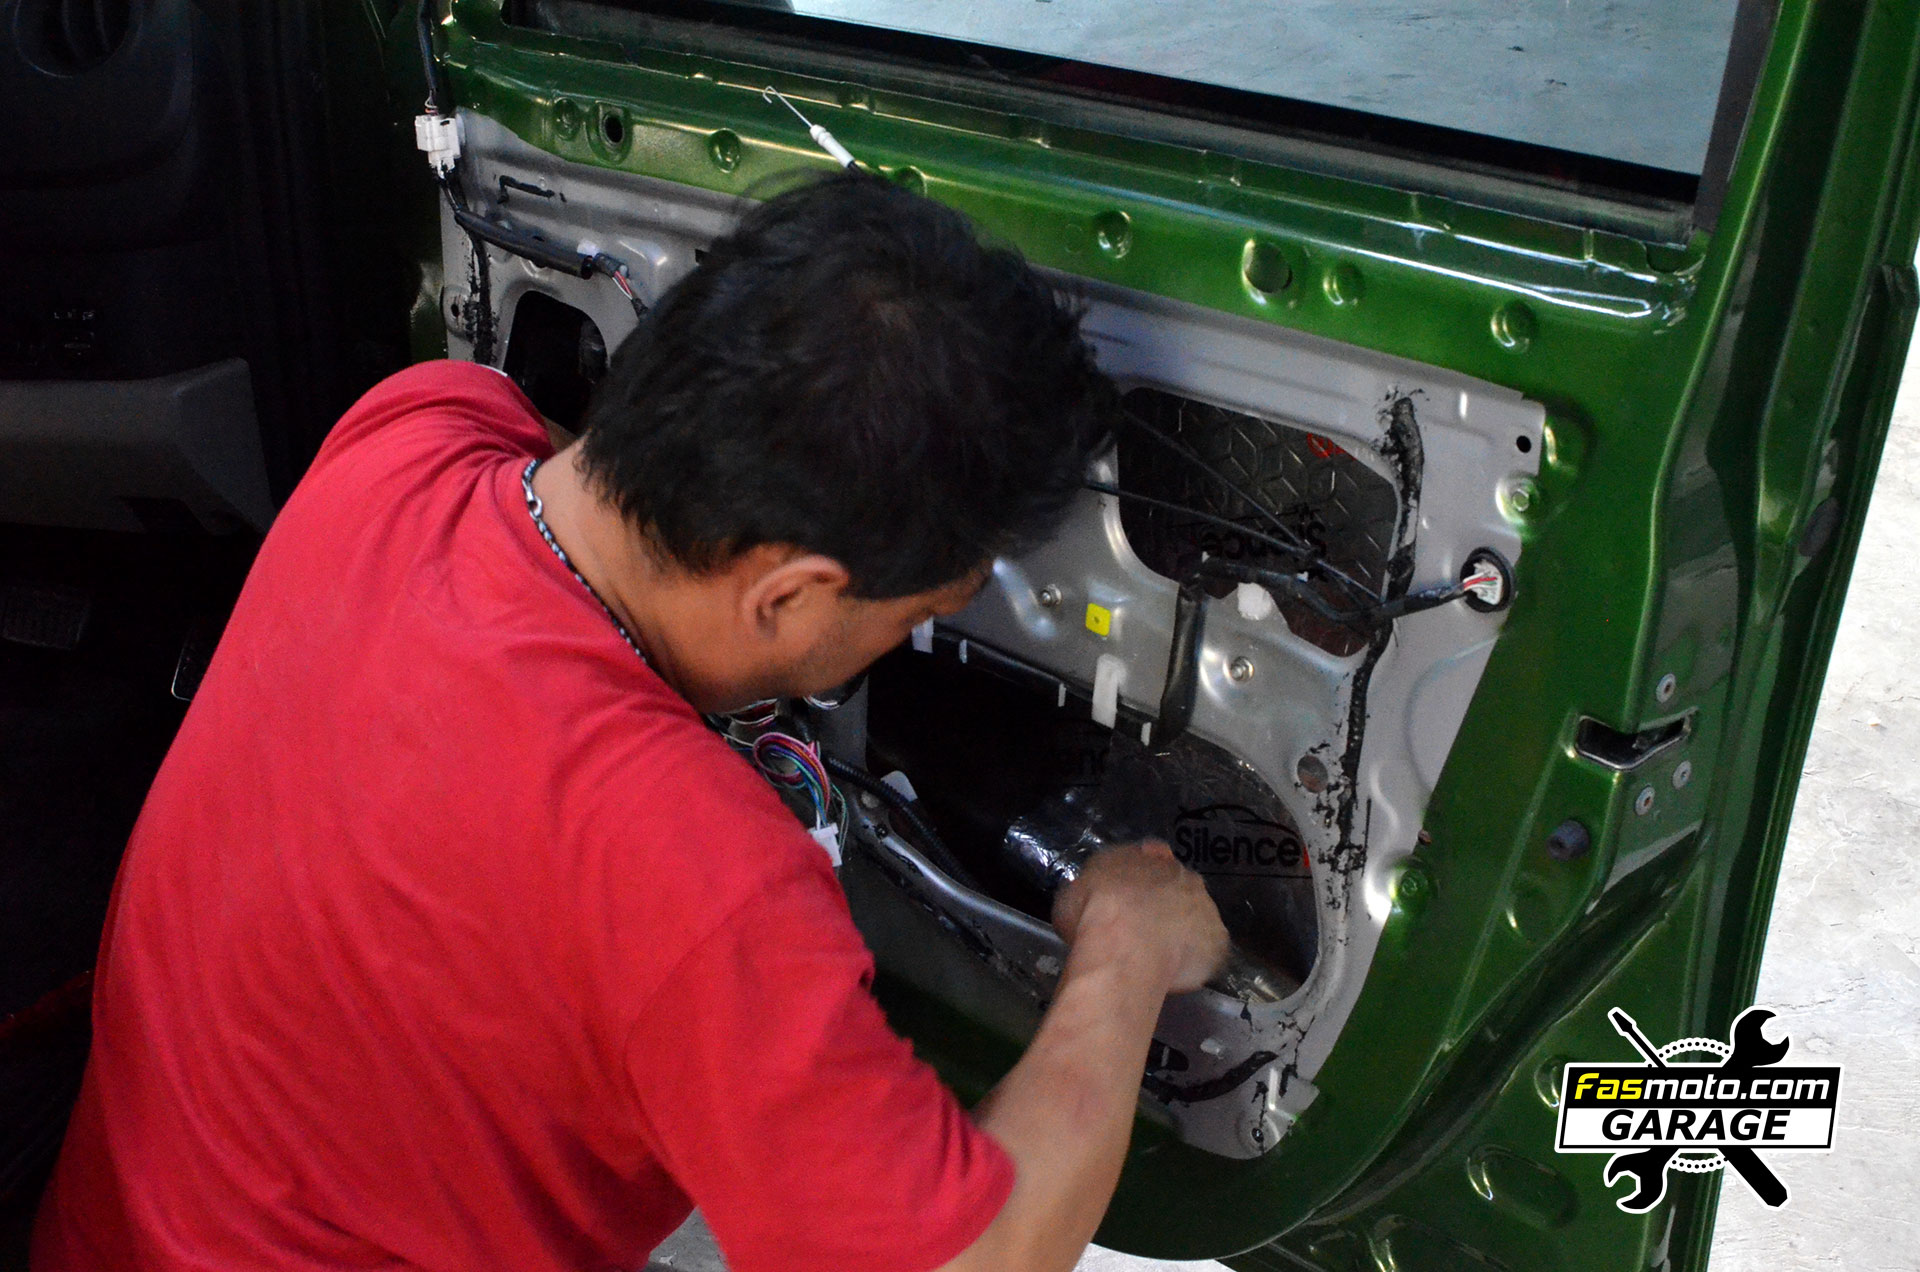
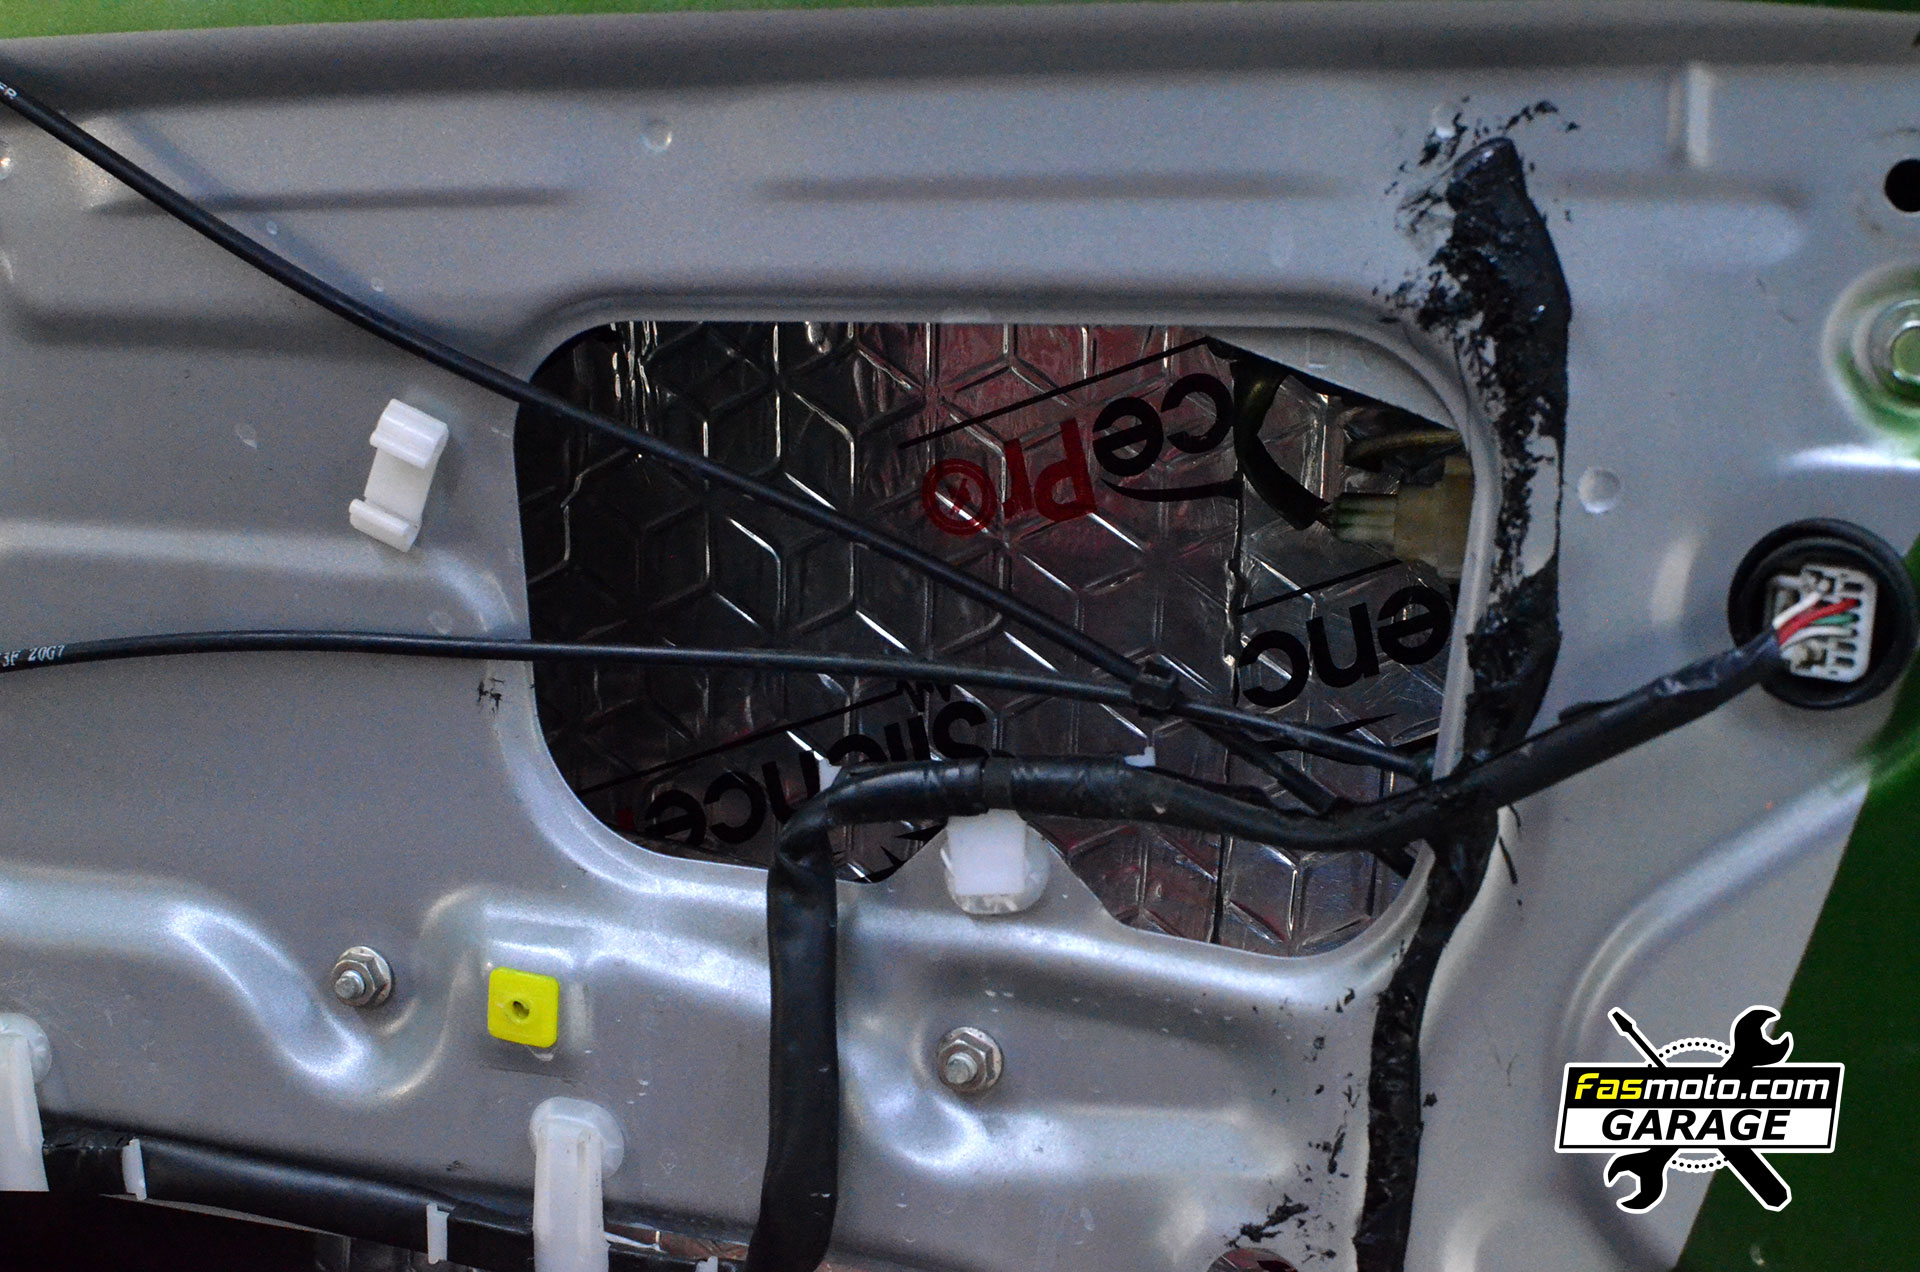
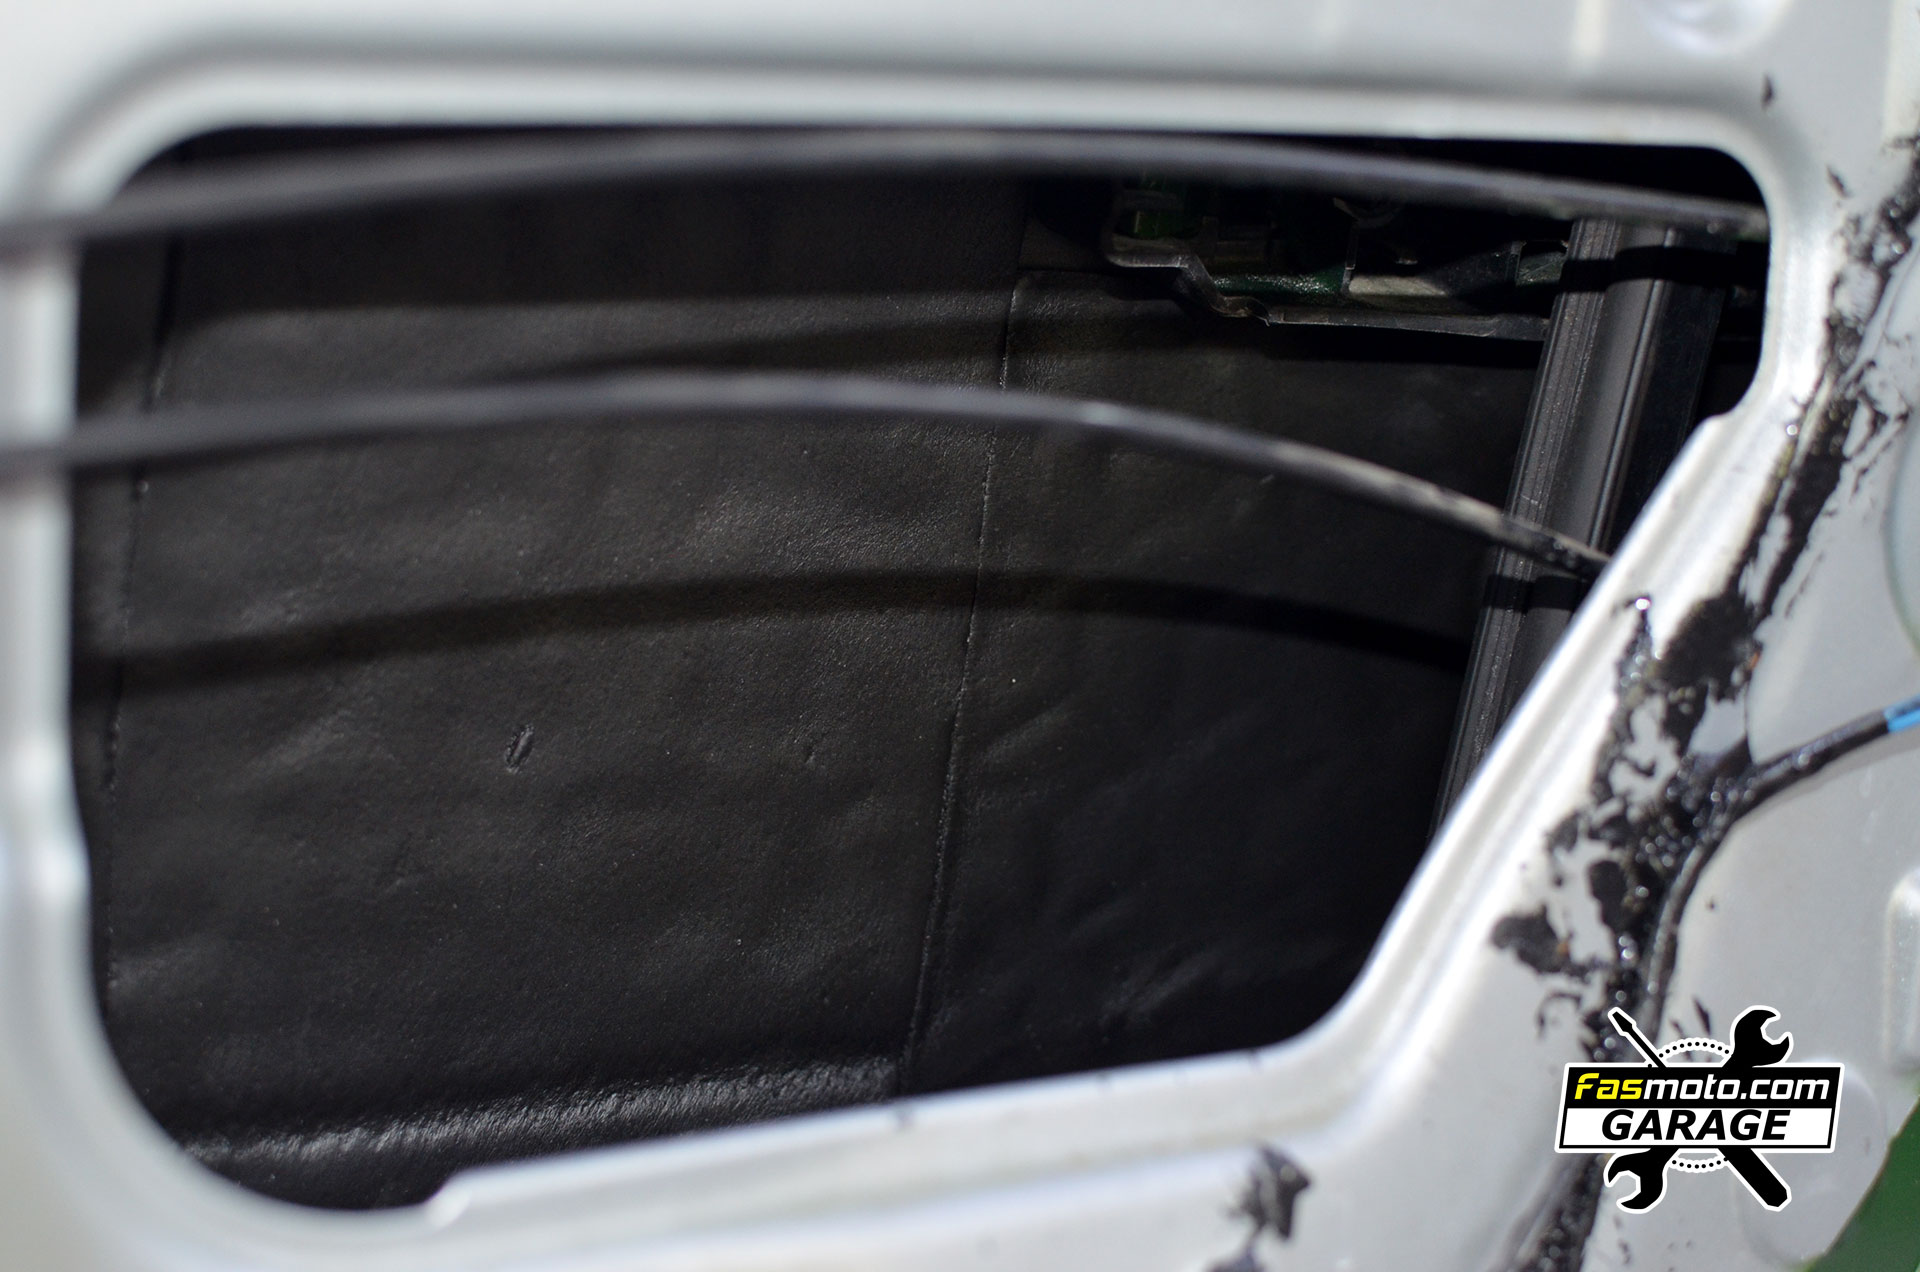
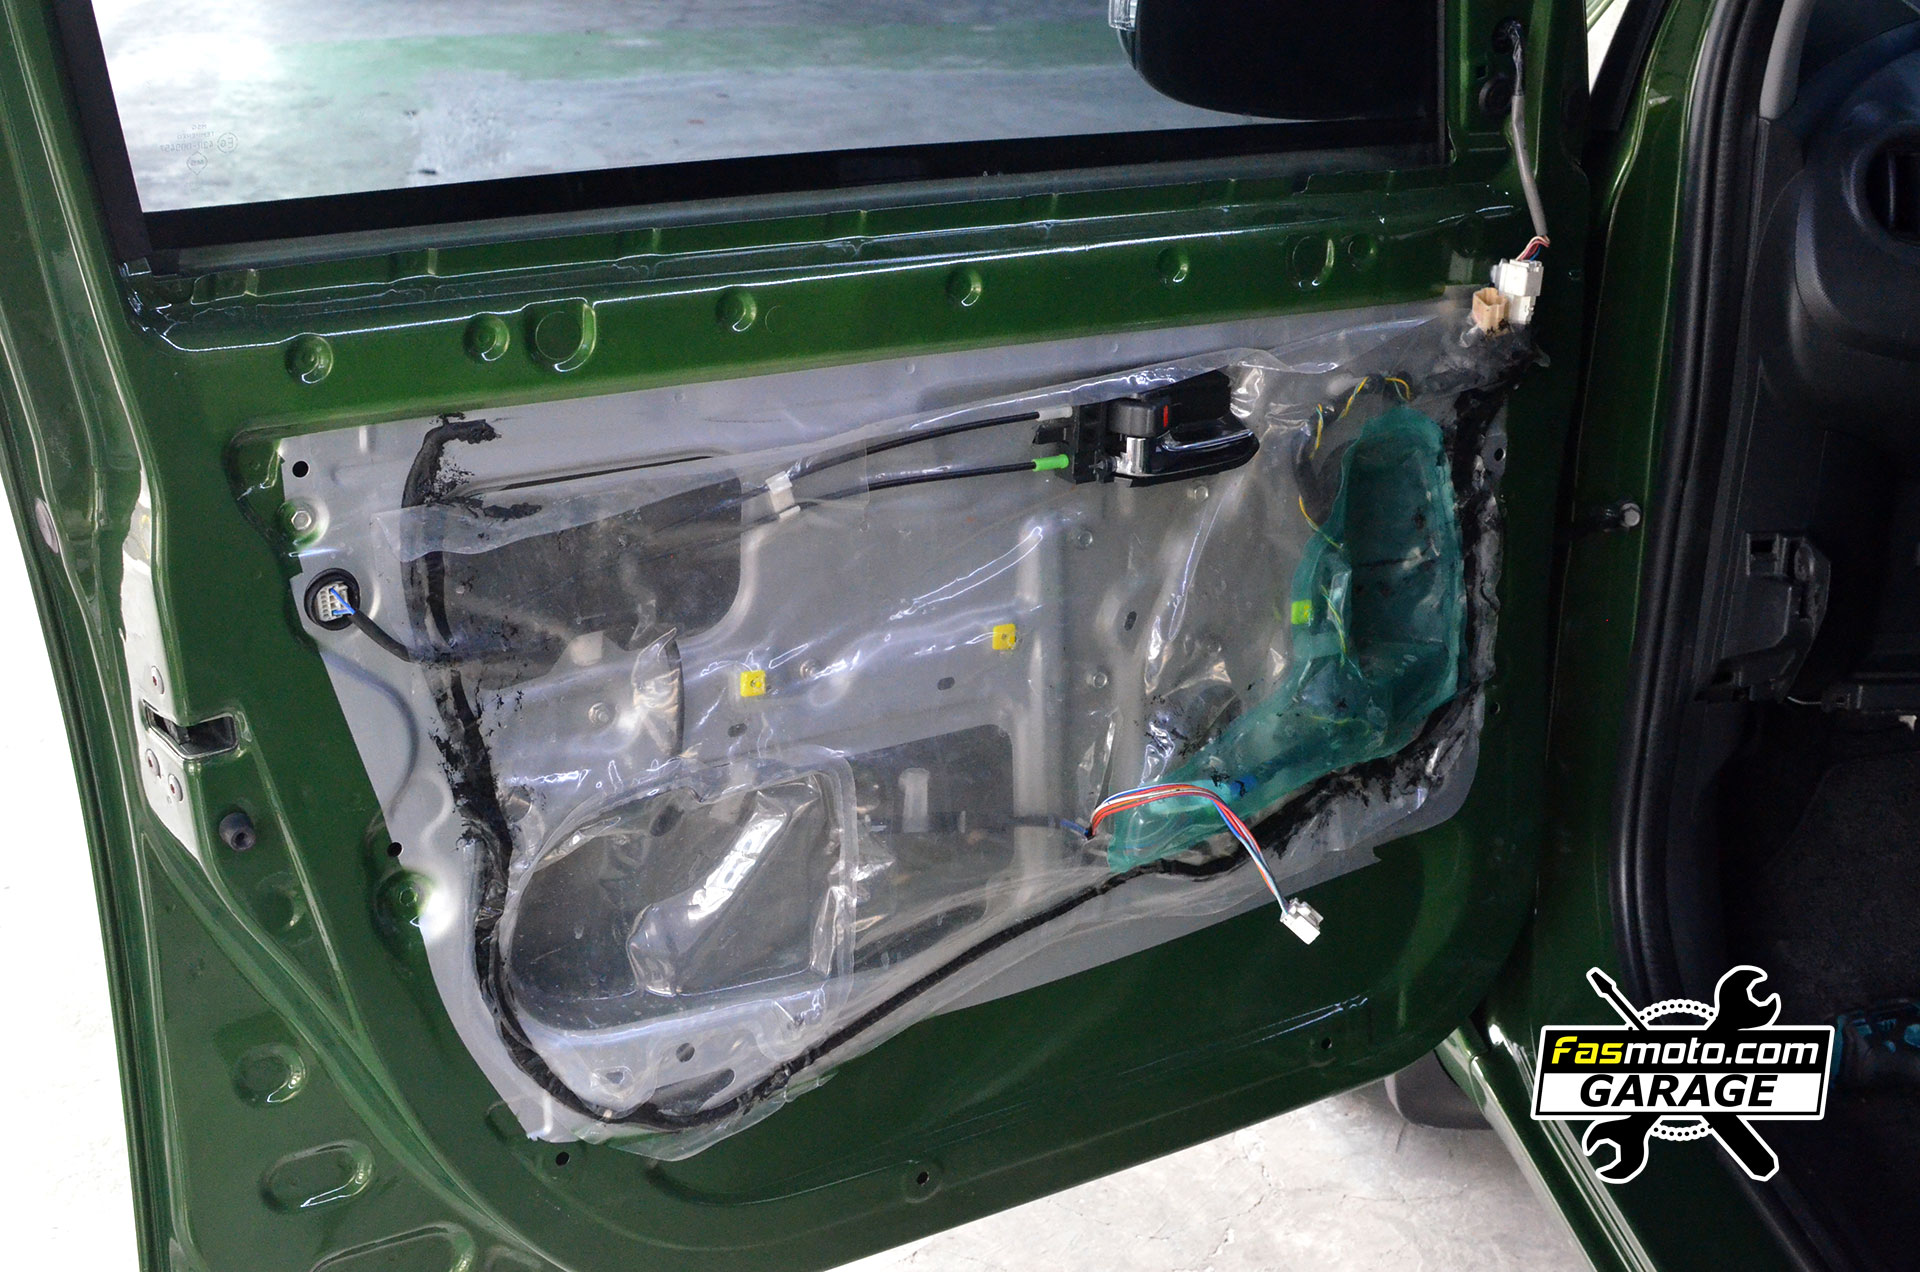
First up, soundproofing the front doors. We used a dampening layer and a 3mm absorbtion layer for the outer most layer (door skin). We kept it simple as the customer doesn't want too much added weight.
The dampening layer.

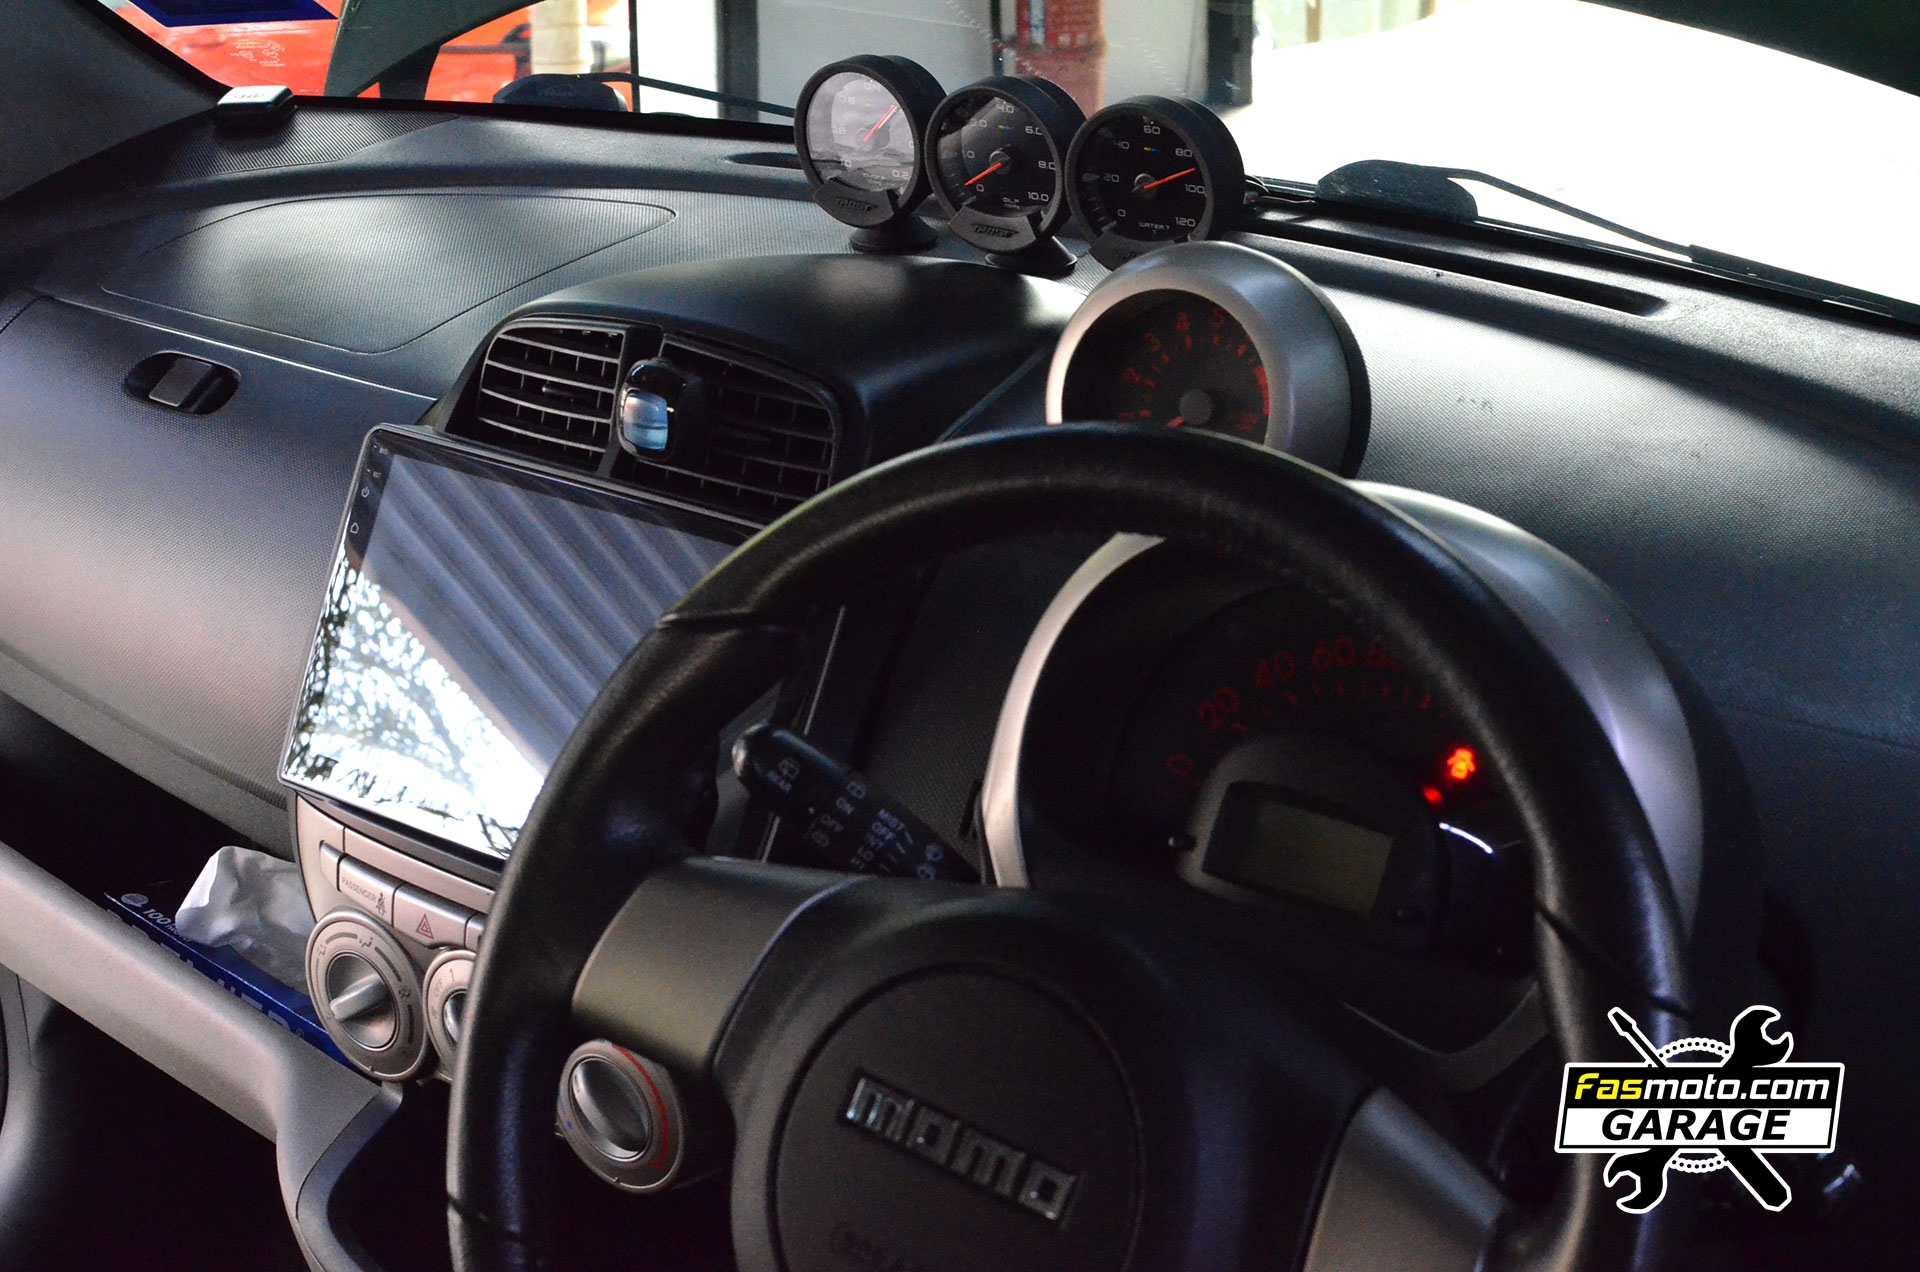
The Android OS based units typically has poorer audio quality and power amplification when compared to brand name head units. To solve this, we installed the Kosyni DSP Amplifier which is hidden behind the head unit. This allowed us to fine tune the audio signal and also get more power output to the speakers.
The absorption layer which goes on top of the dampening layer for added silence.
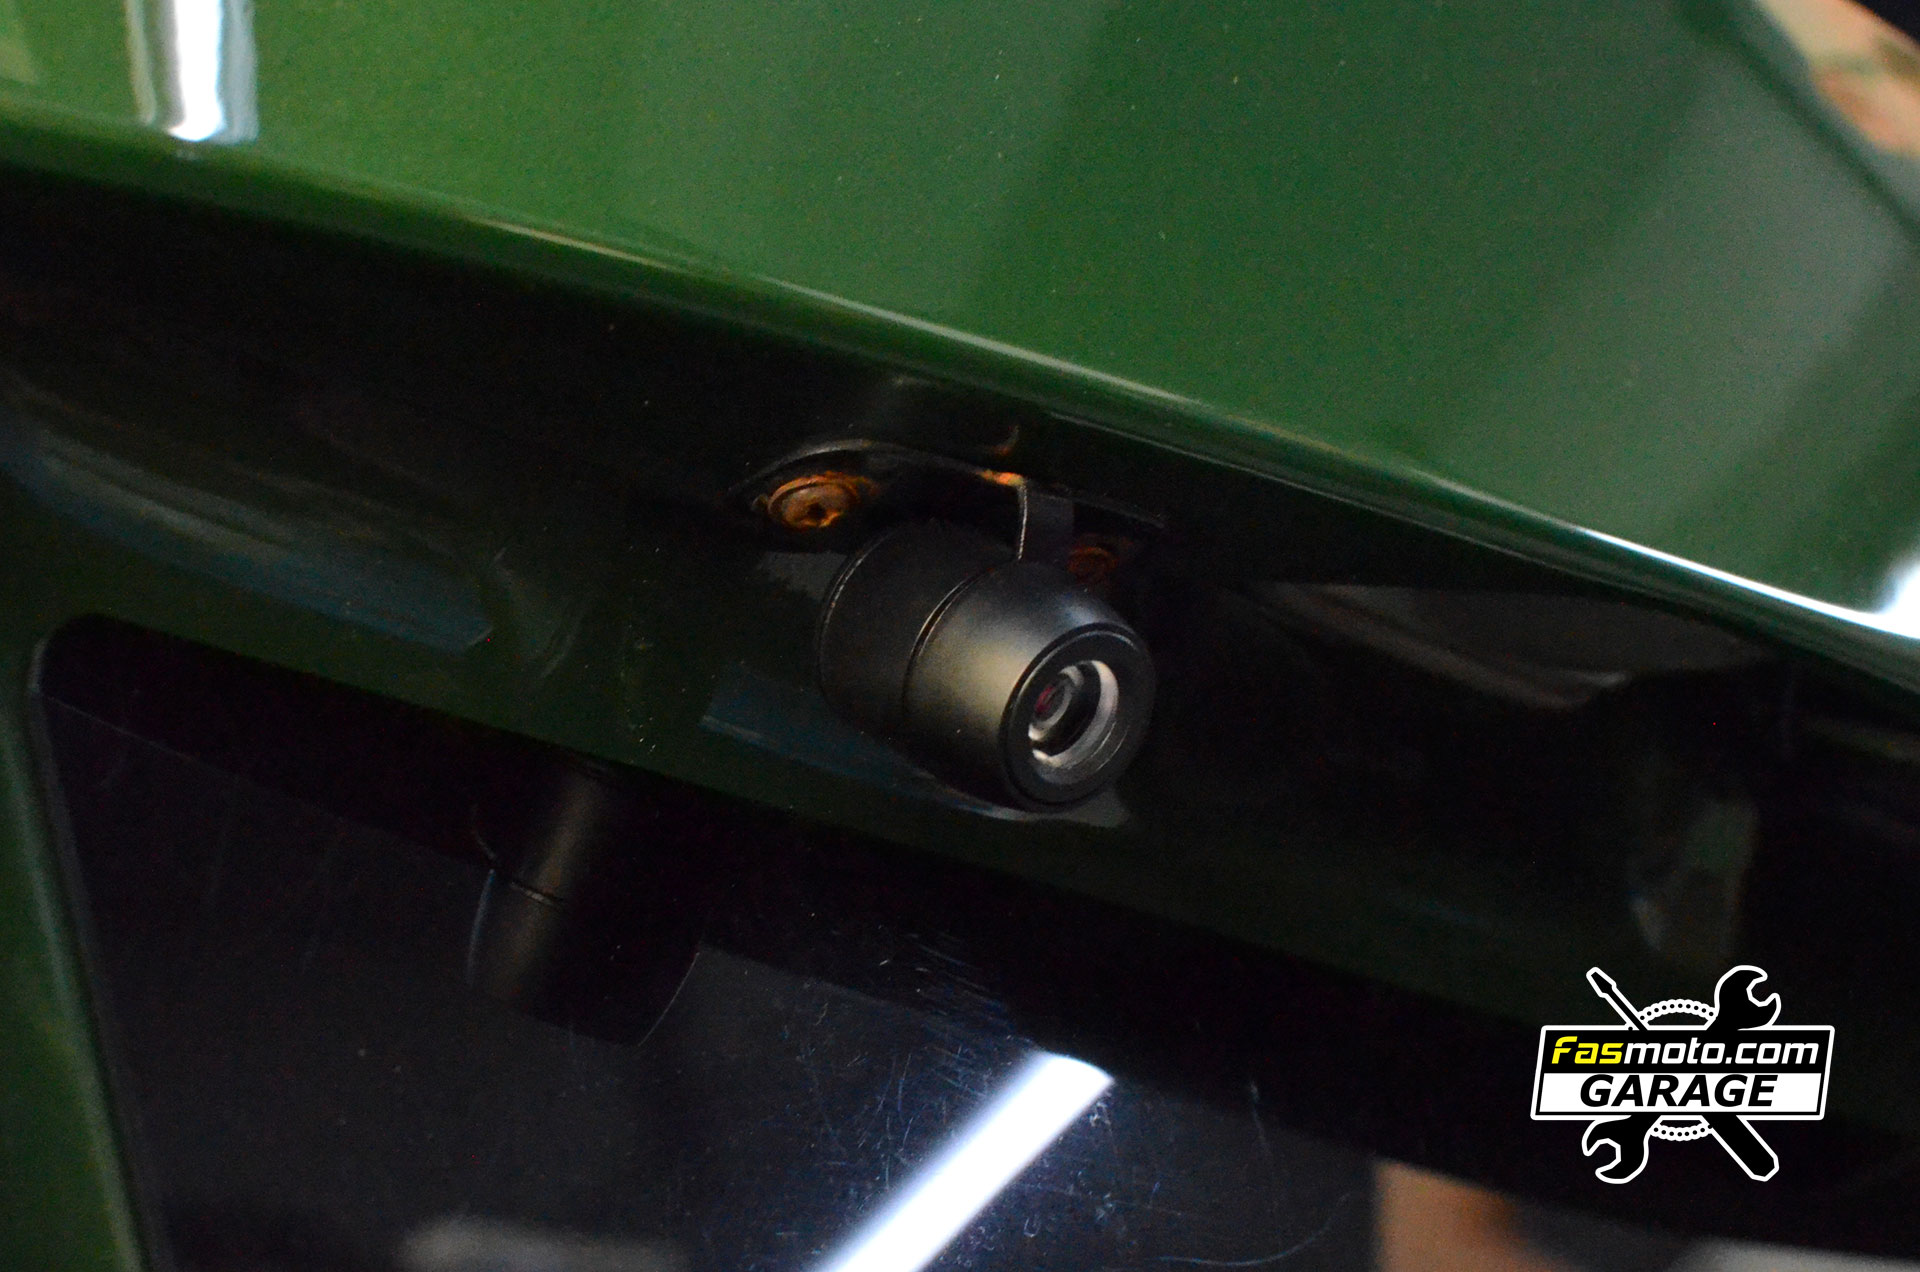
The old reverse camera which will be removed and replaced with the Blaupunkt RC 3.0
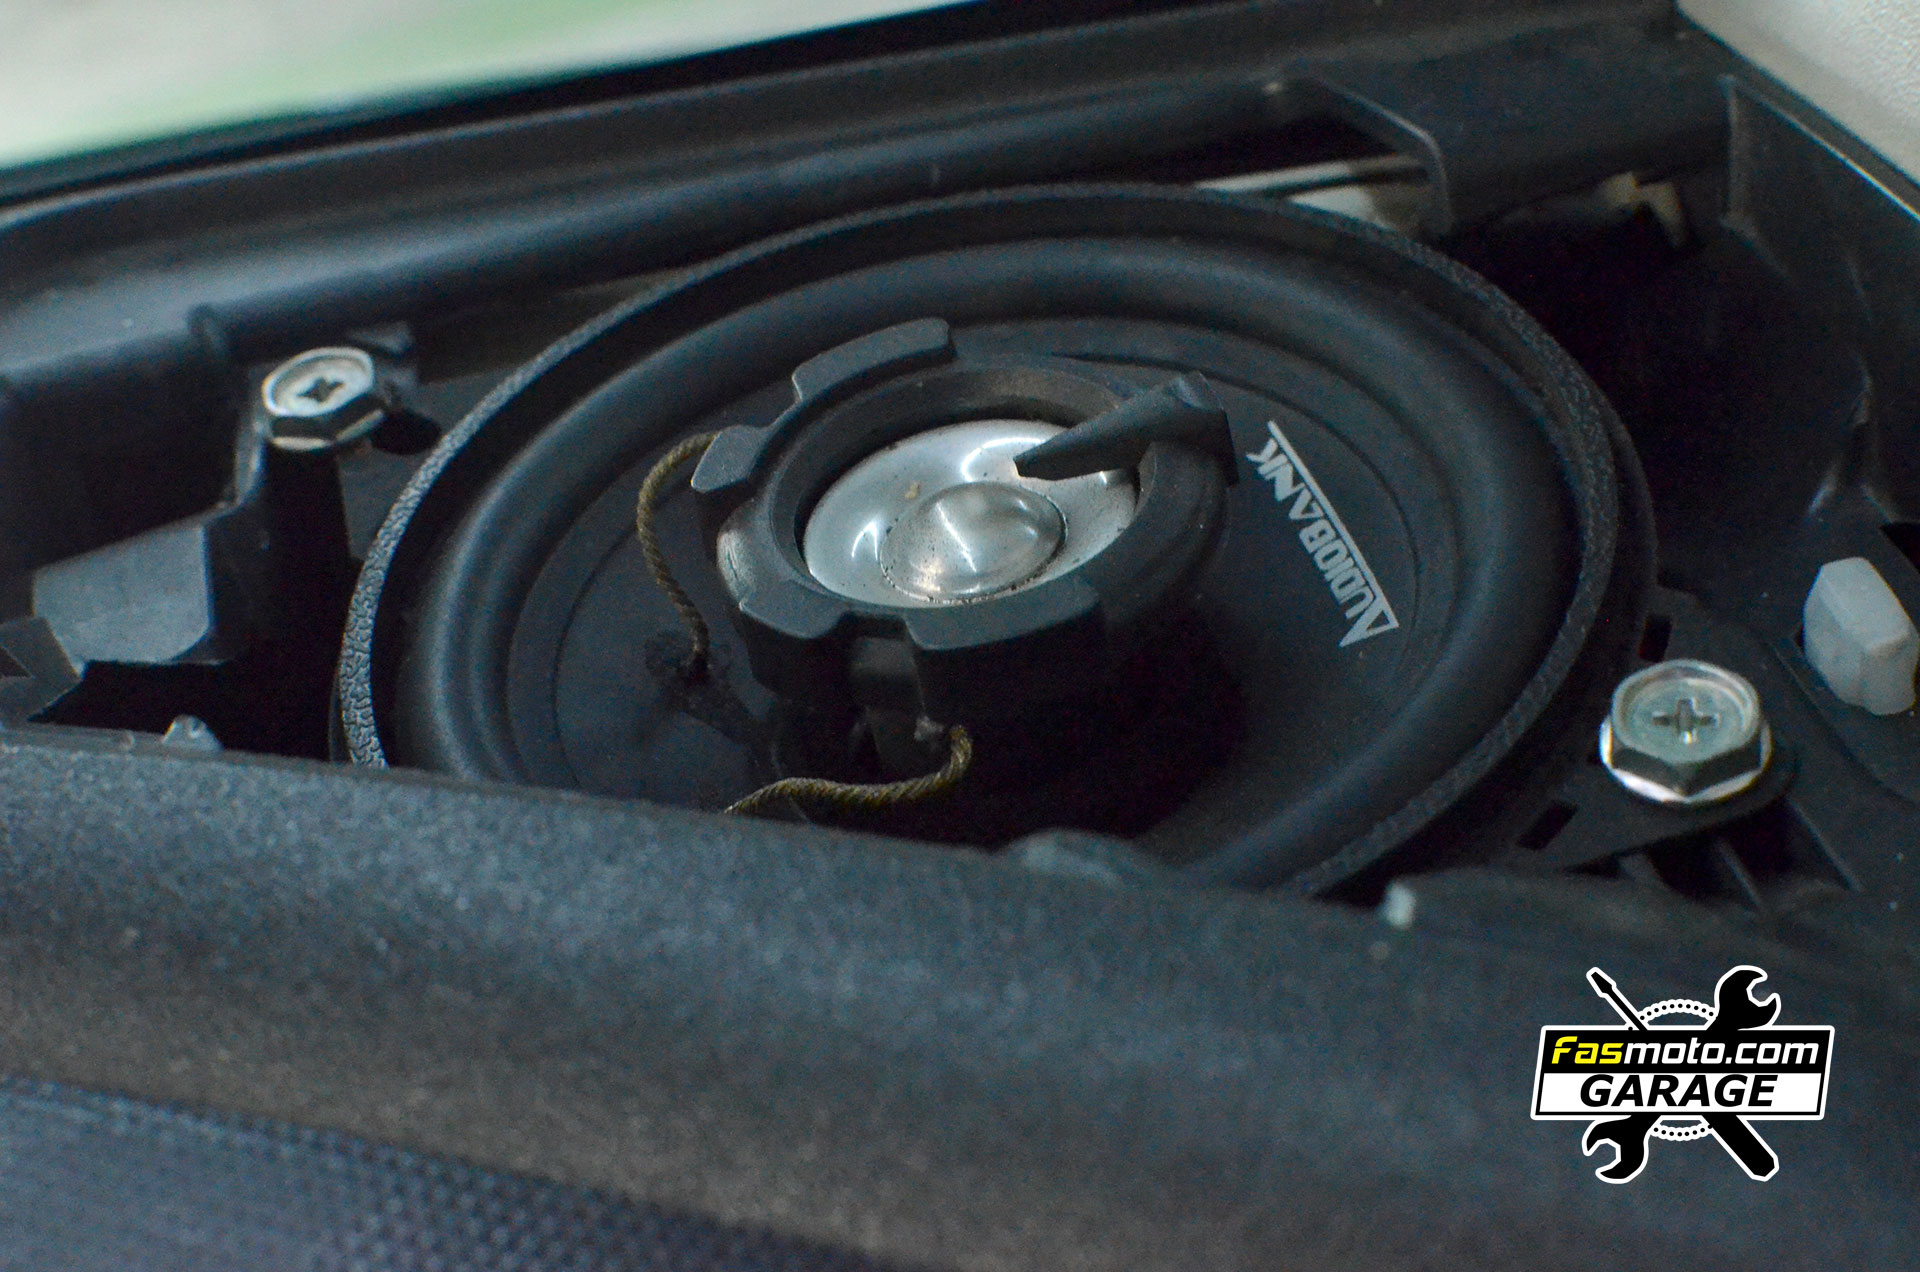
The Audiobank speakers has served the customer well, but its time for an upgrade and in its place will be a Carrozeria 4" Component speakers.
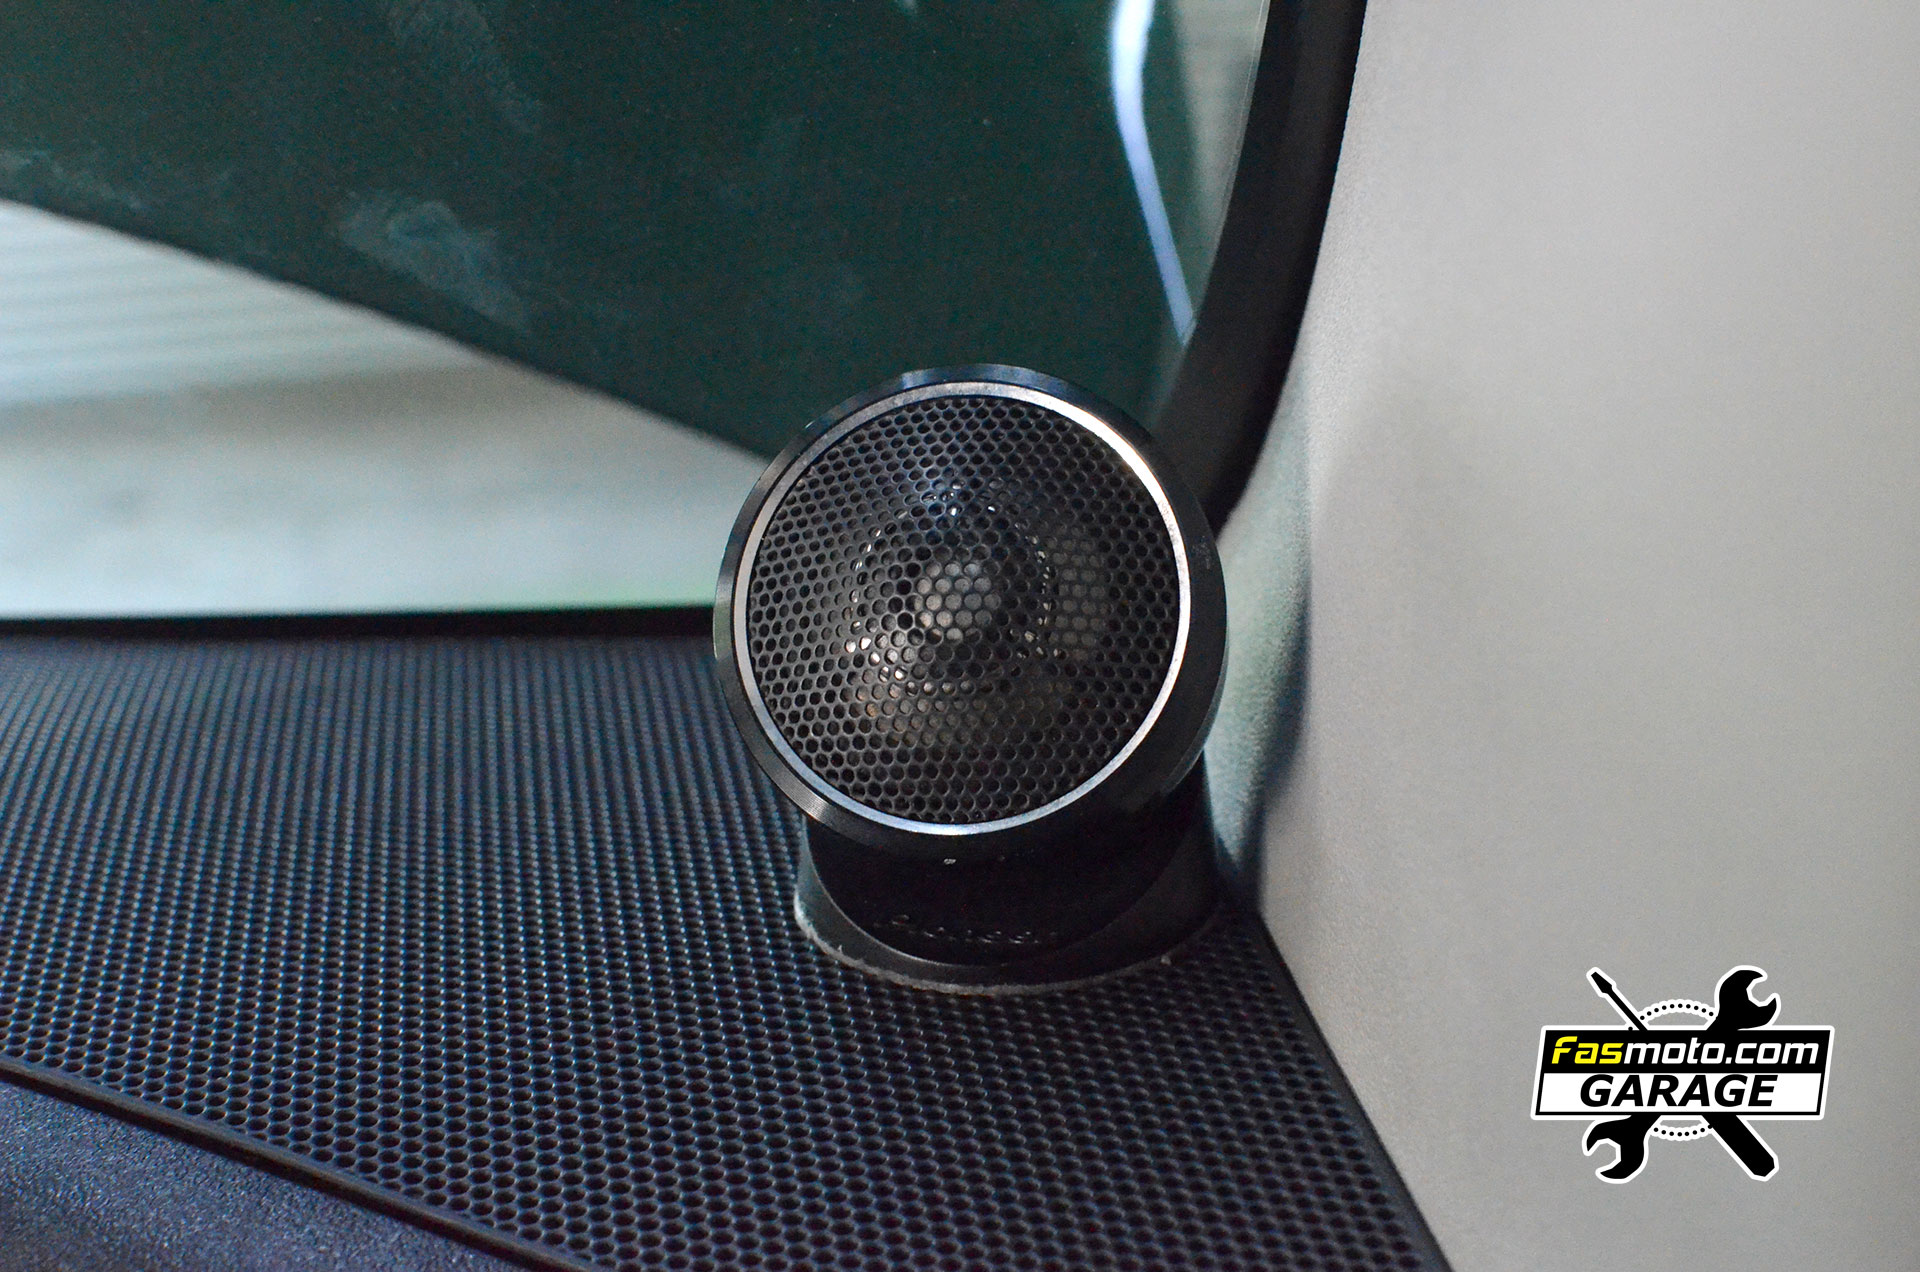
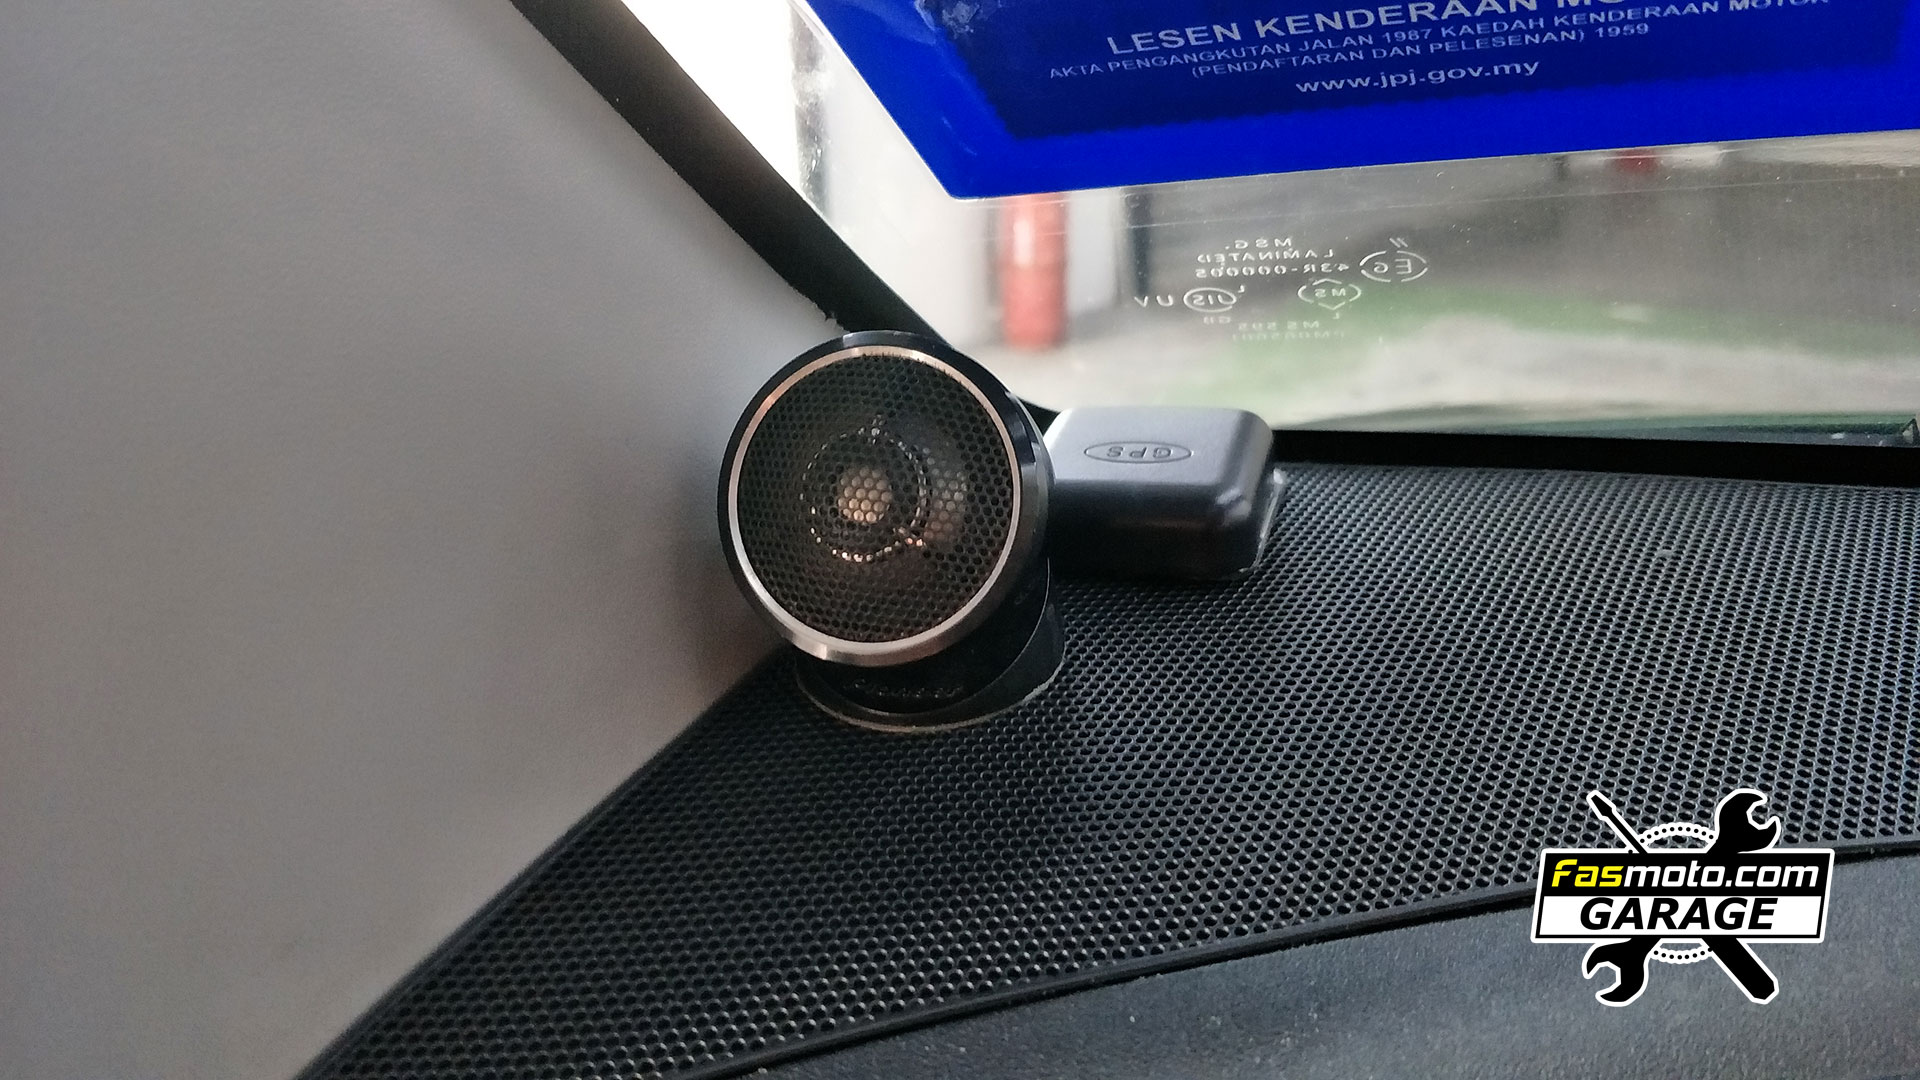
The Carrozeria tweeters. These are genuine Japan models.
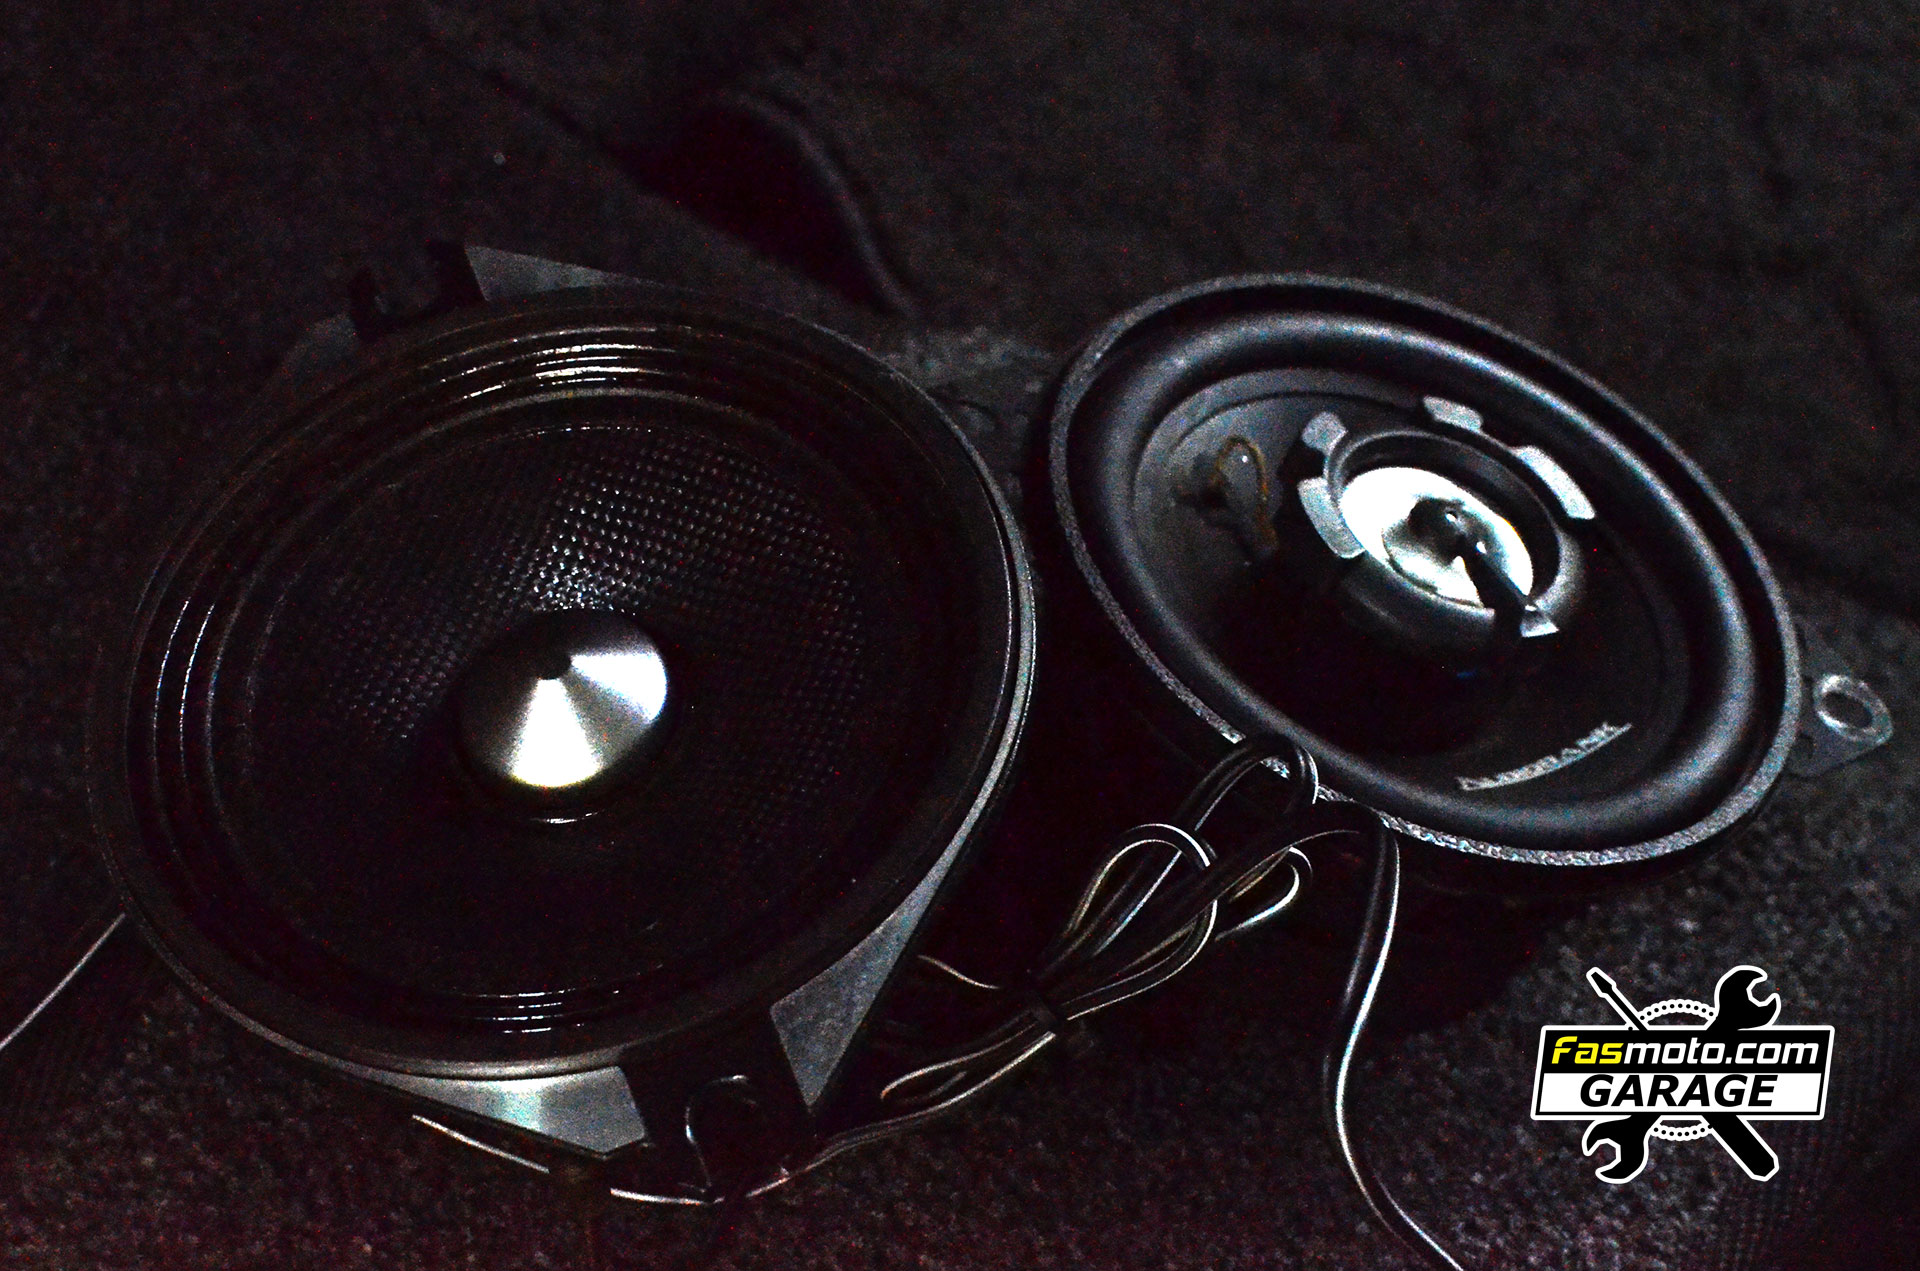
Comparison of what came out and whats going in.
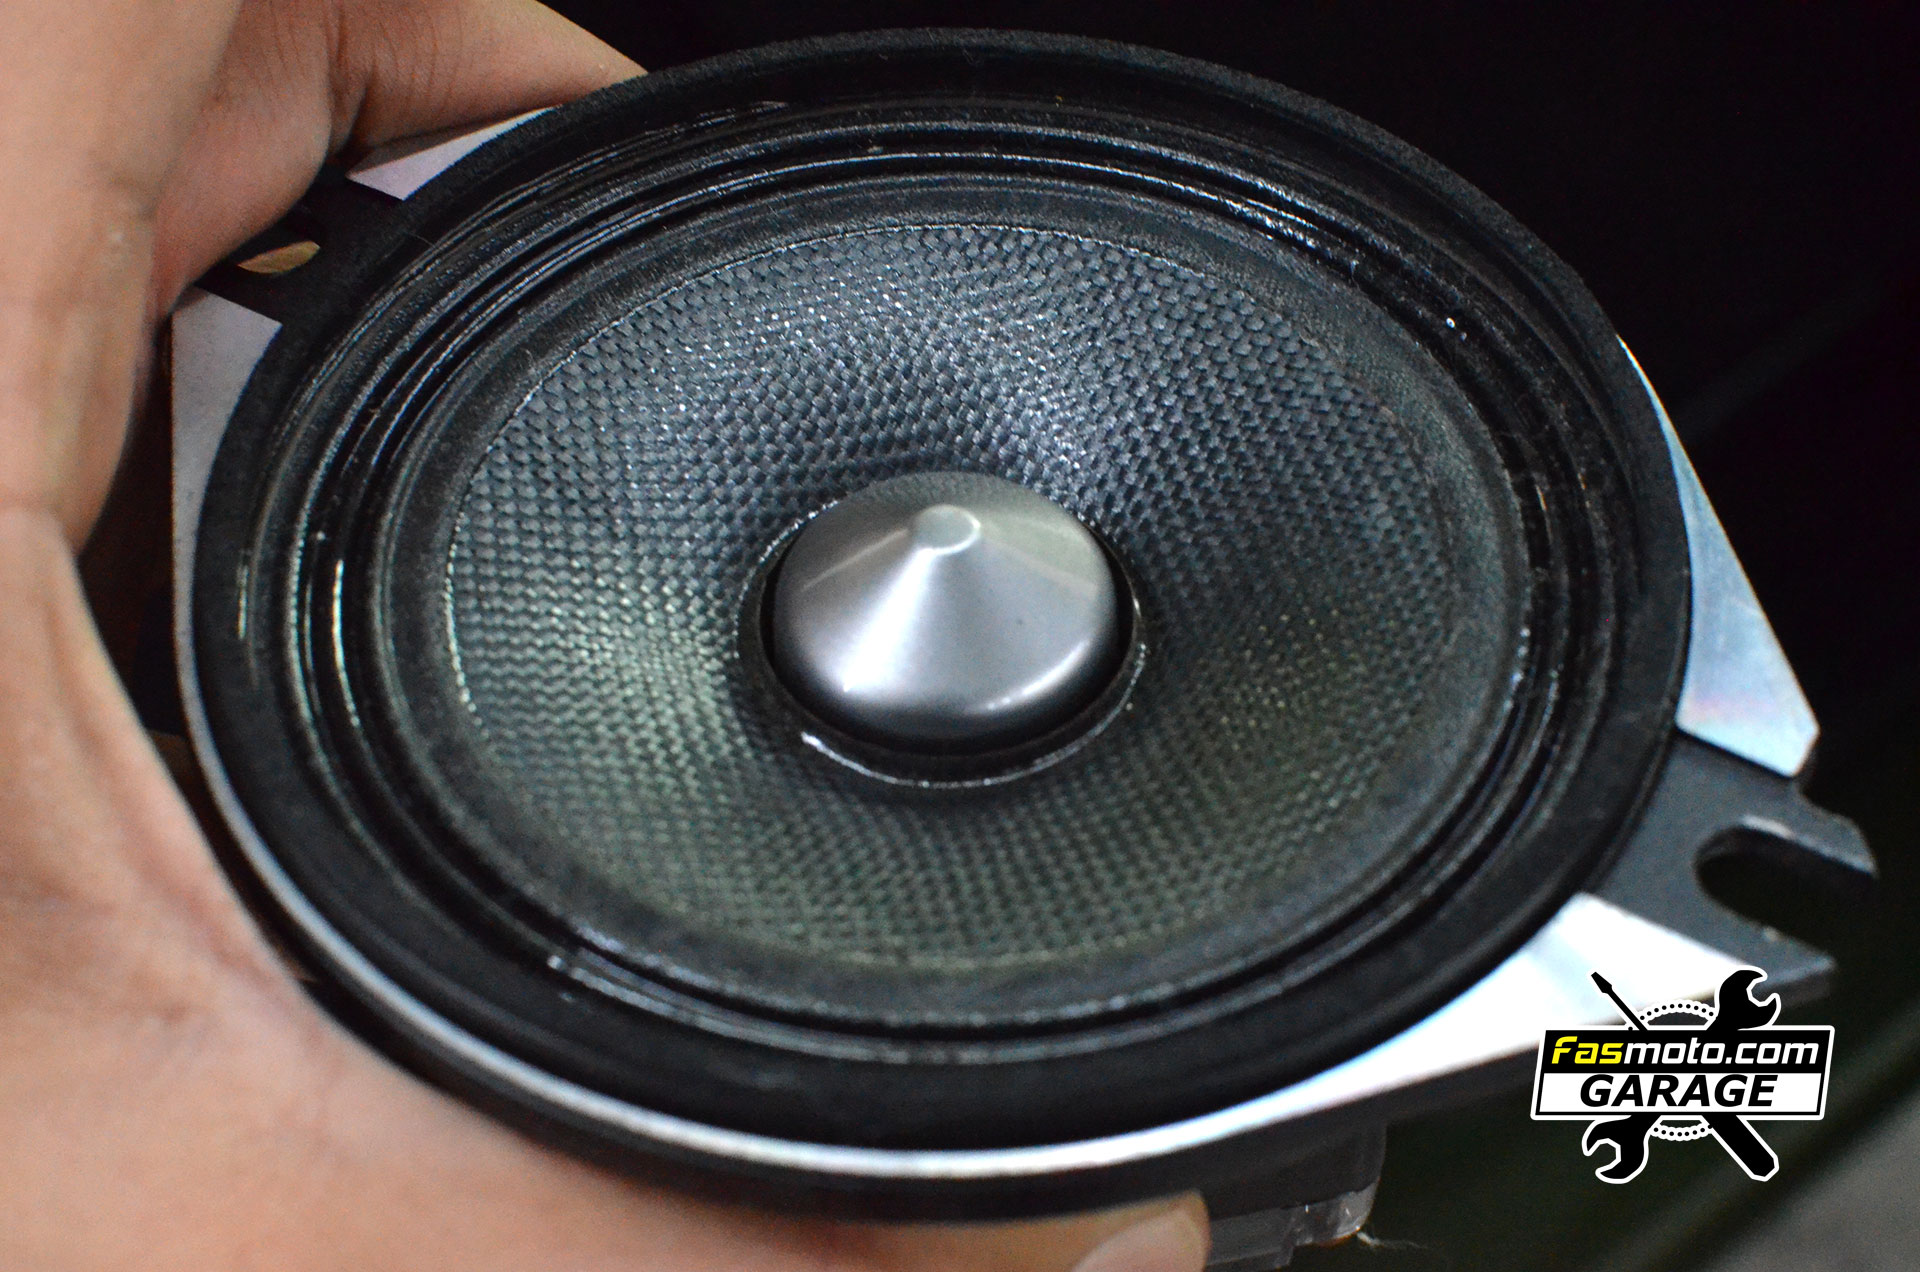
The Carrozeria 4" component looks pretty well built.

The Blaupunkt RC 3.0 Reverse camera with higher resolution.
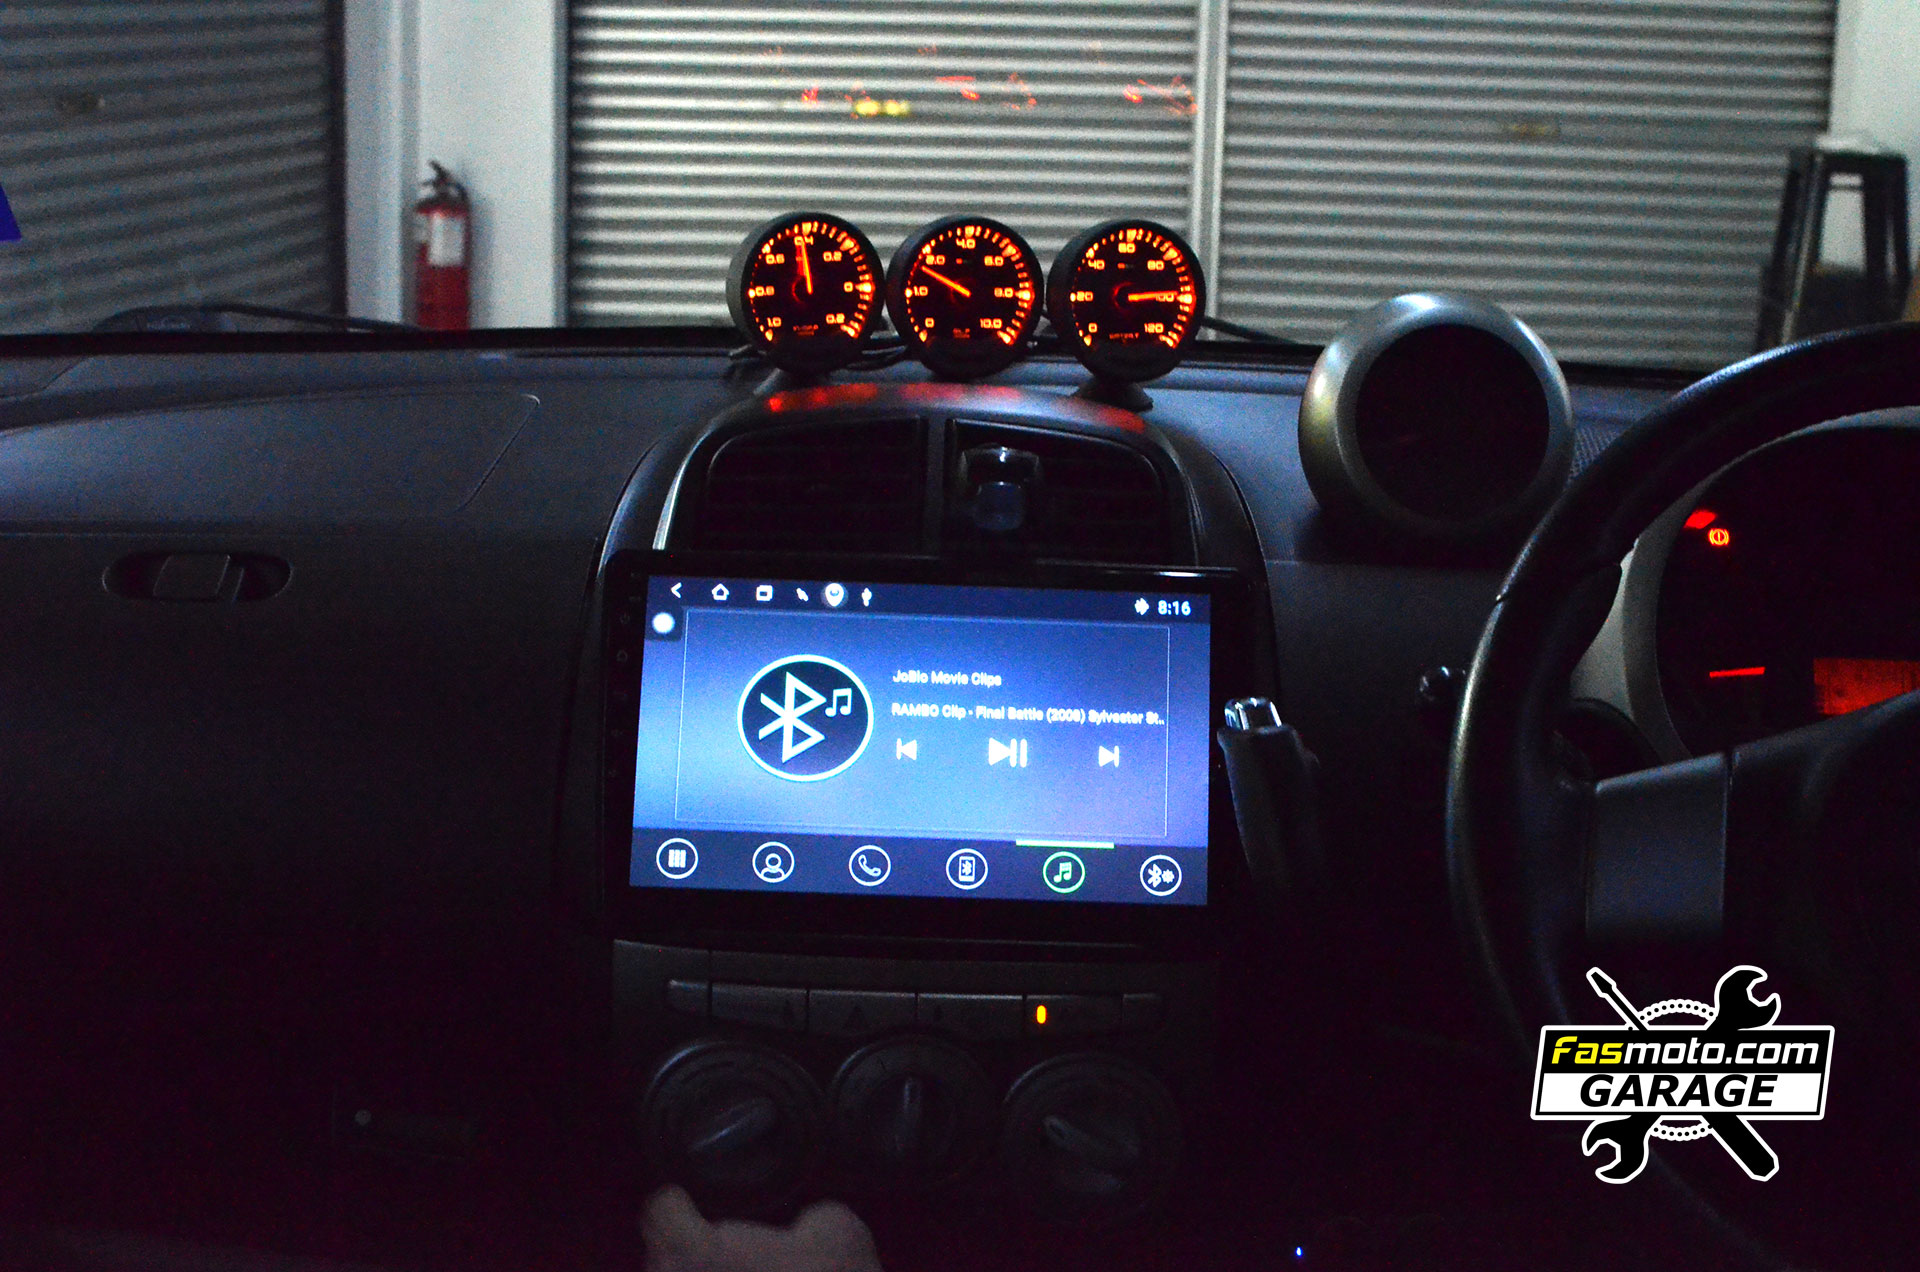
Testing out the Bluetooth streaming quality.
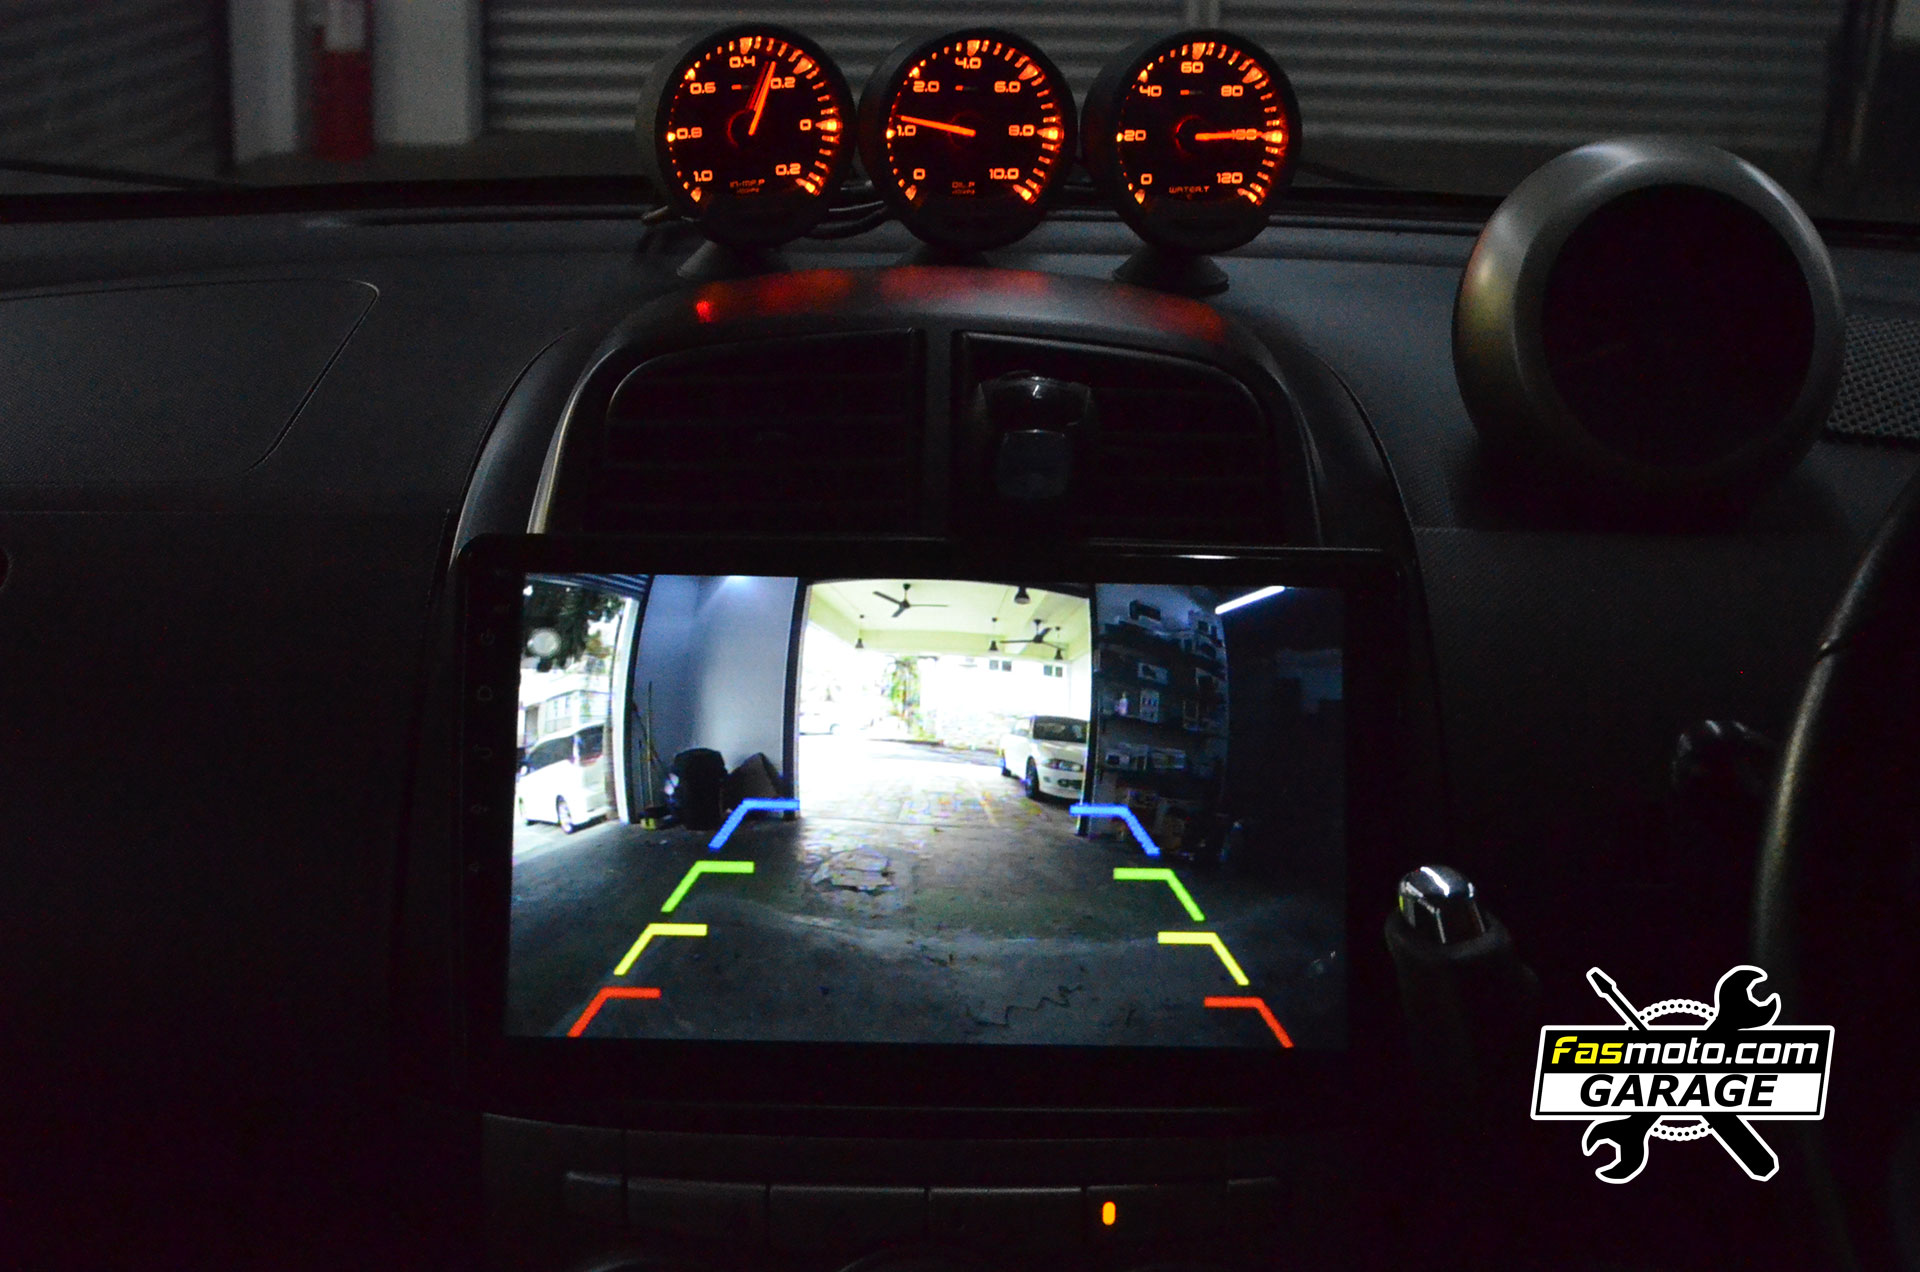
This is the view quality of the Blaupunkt RC 3.0 reverse camera.
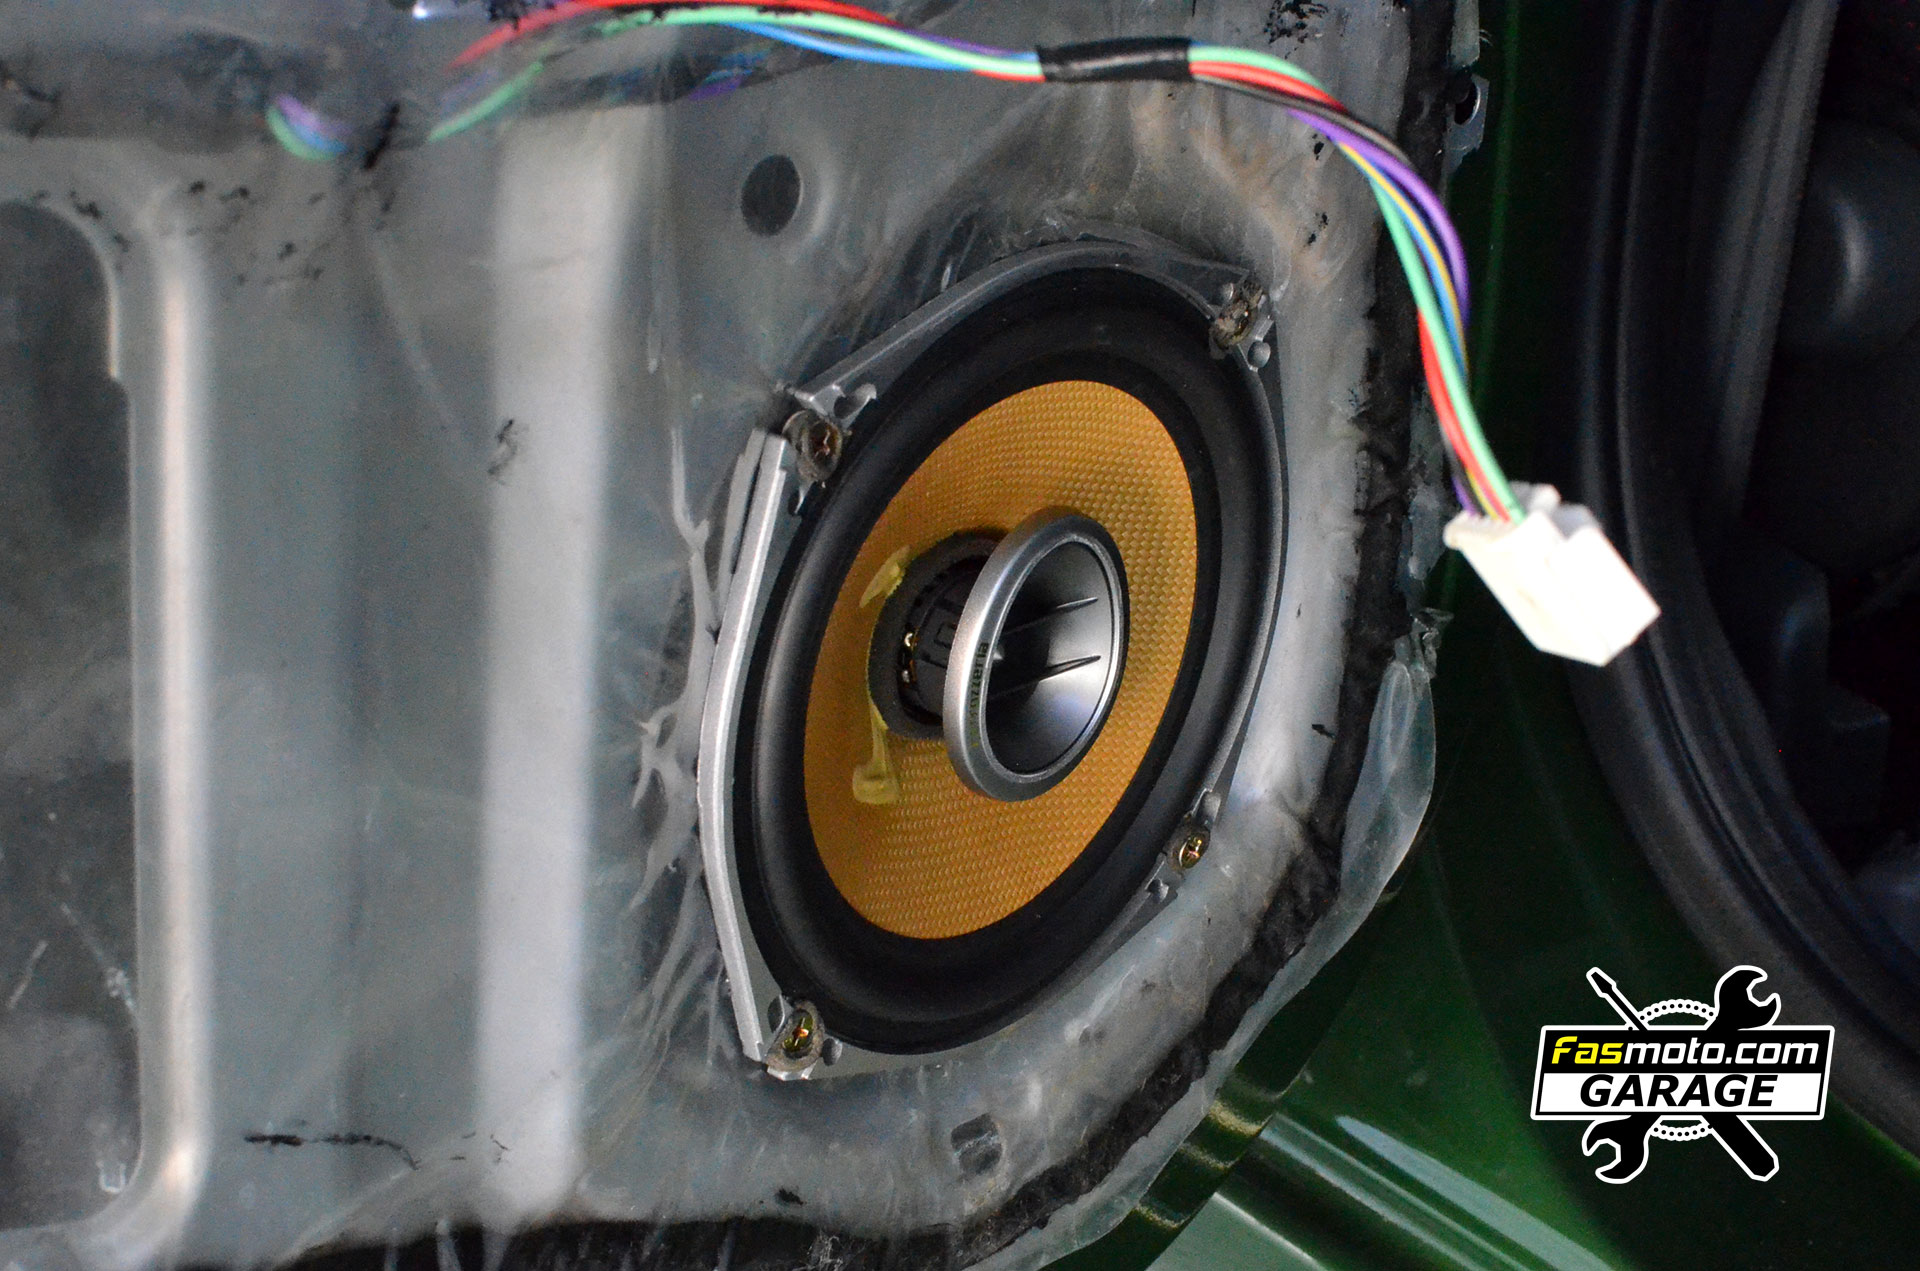
Carrozeria 6.5" rear coaxial speakers.
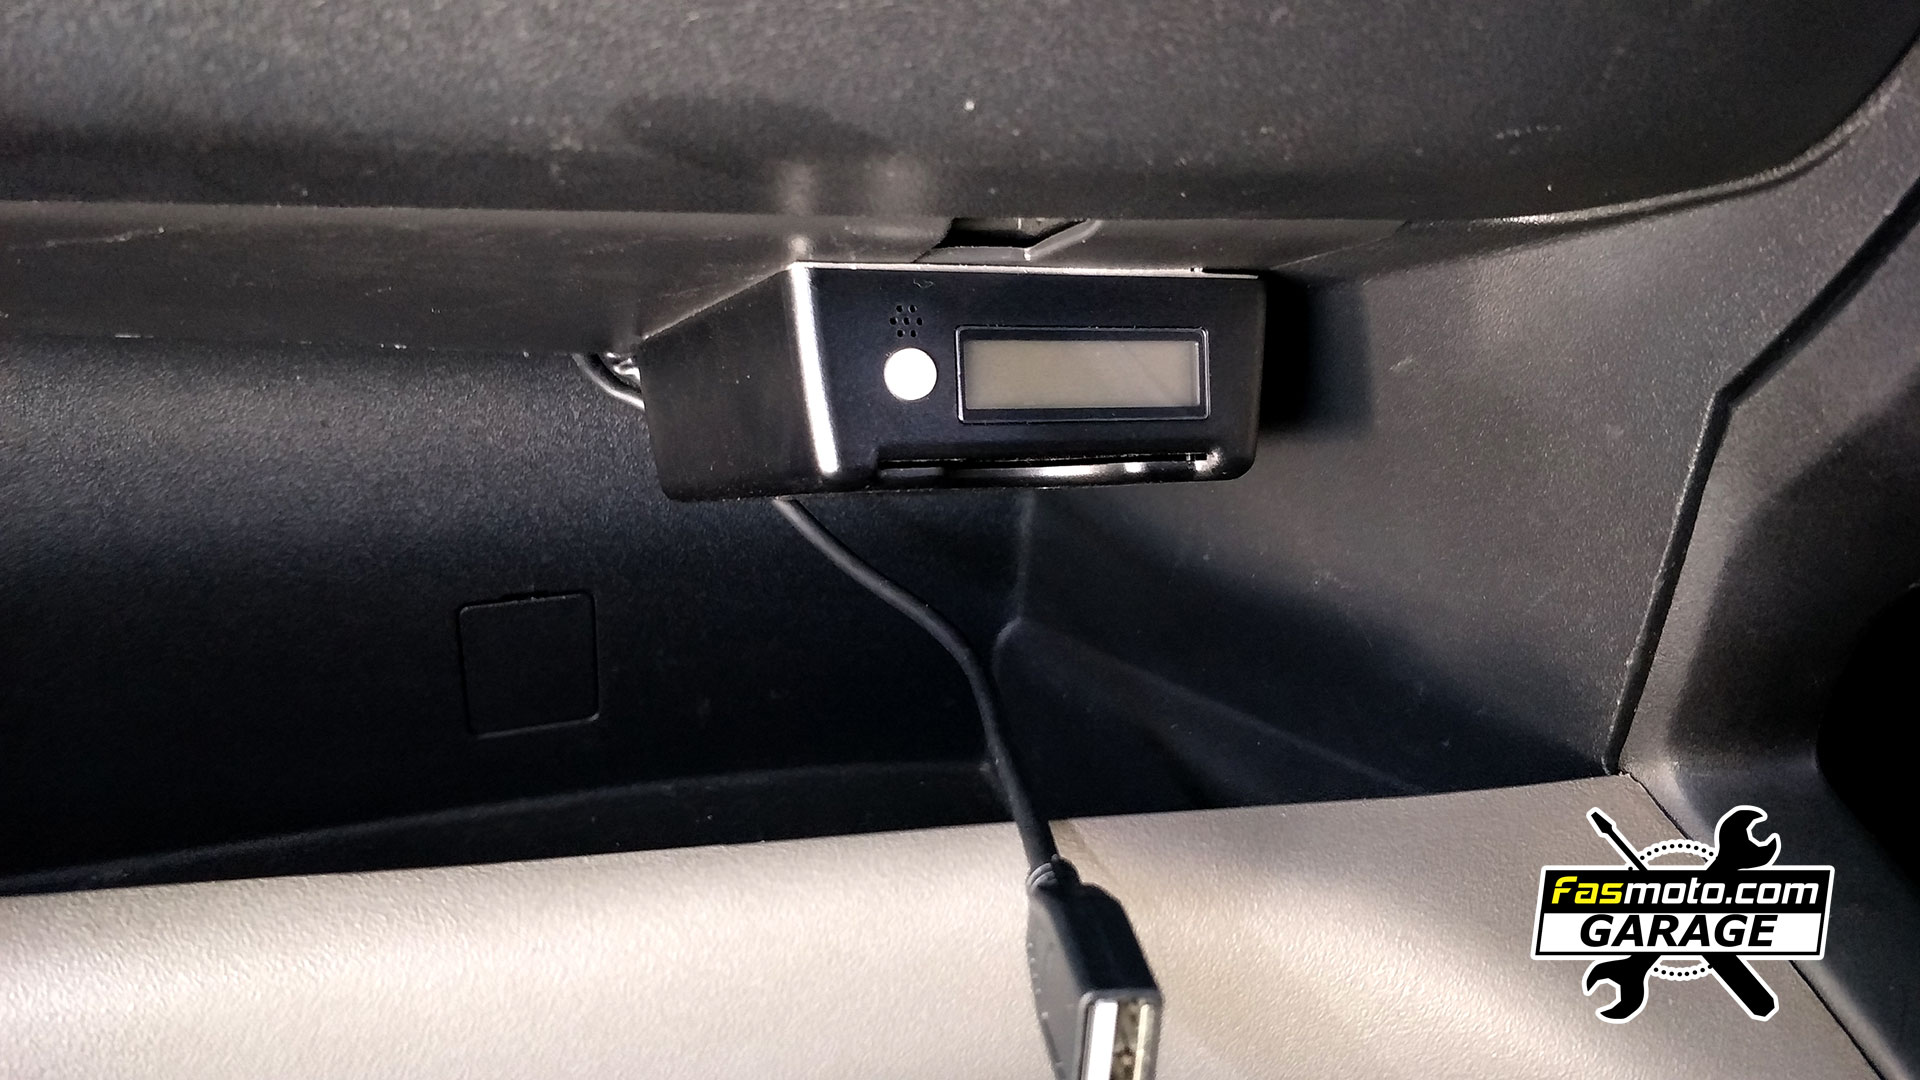
We also installed the smartag device for this car.
The active subwoofer controls to be stuck on soon.
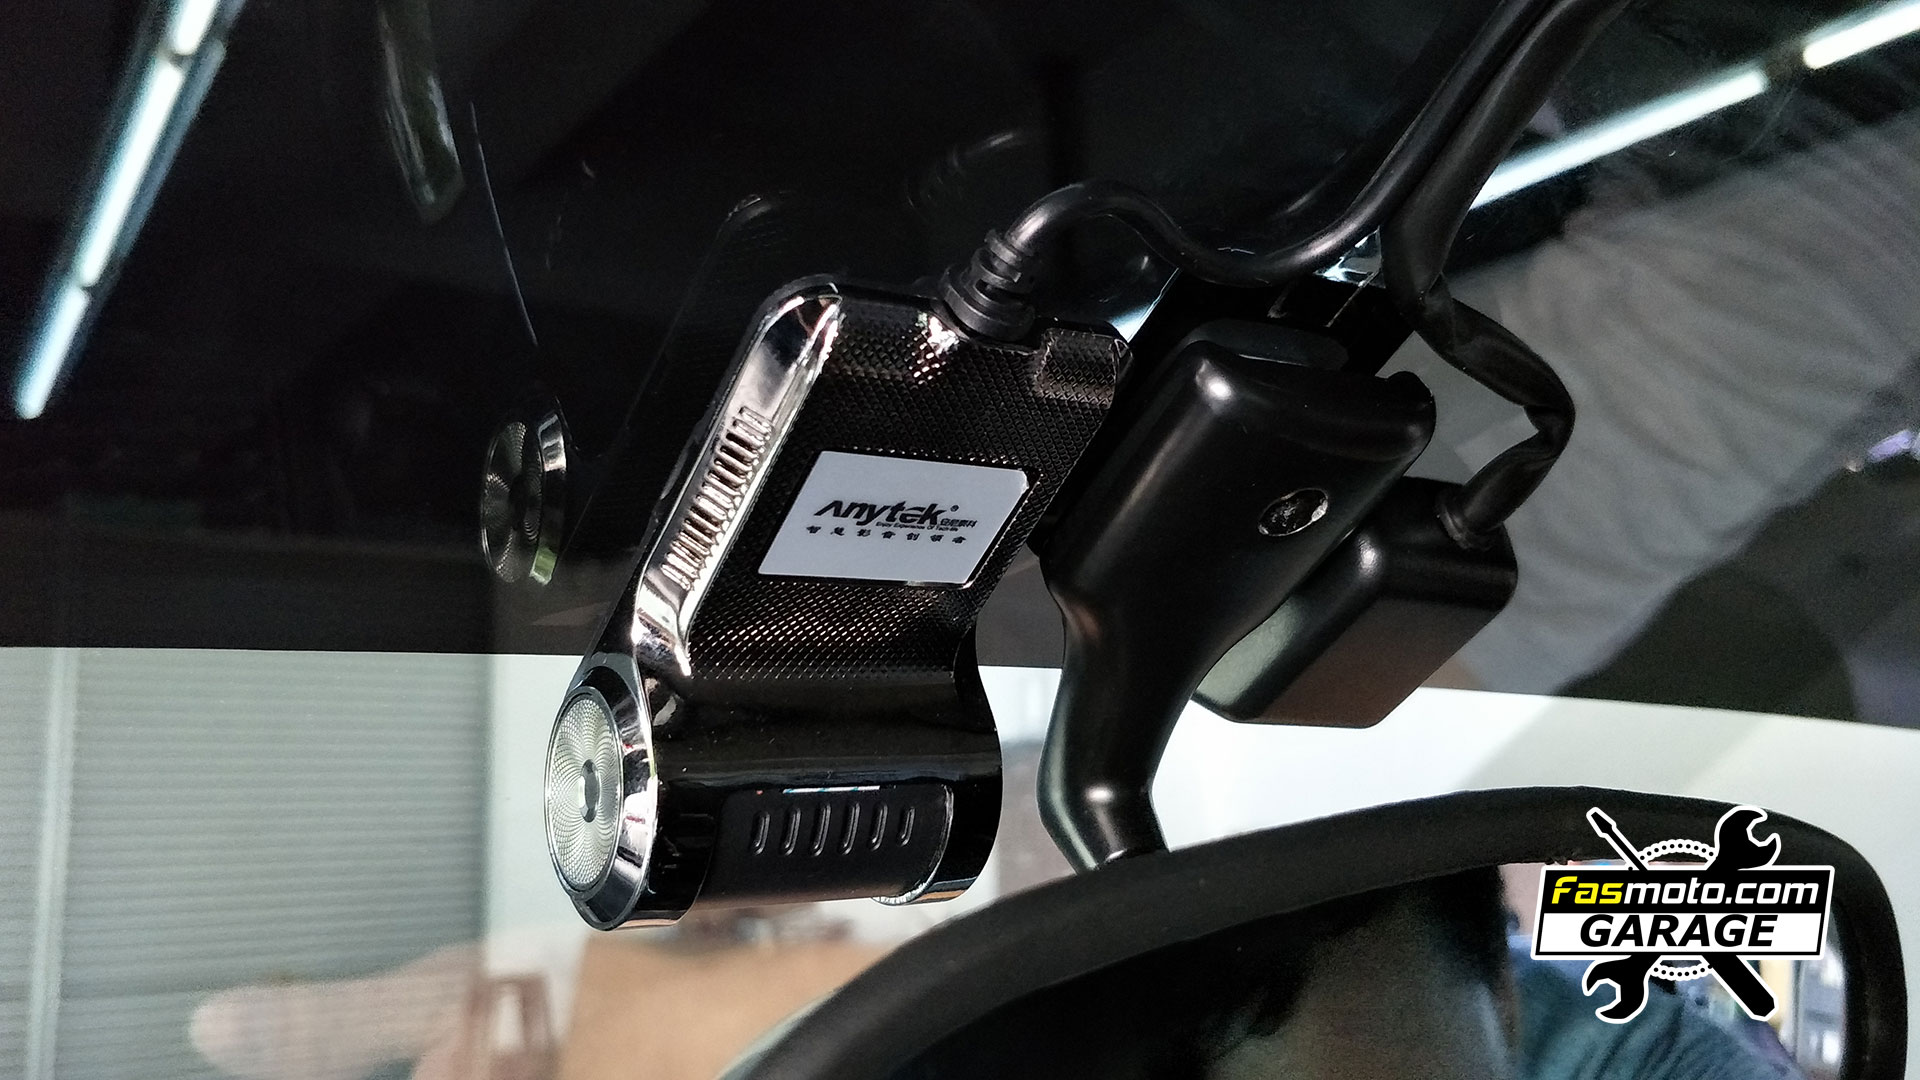
Dash camera installed. This is made to fit the Android OS based head units.
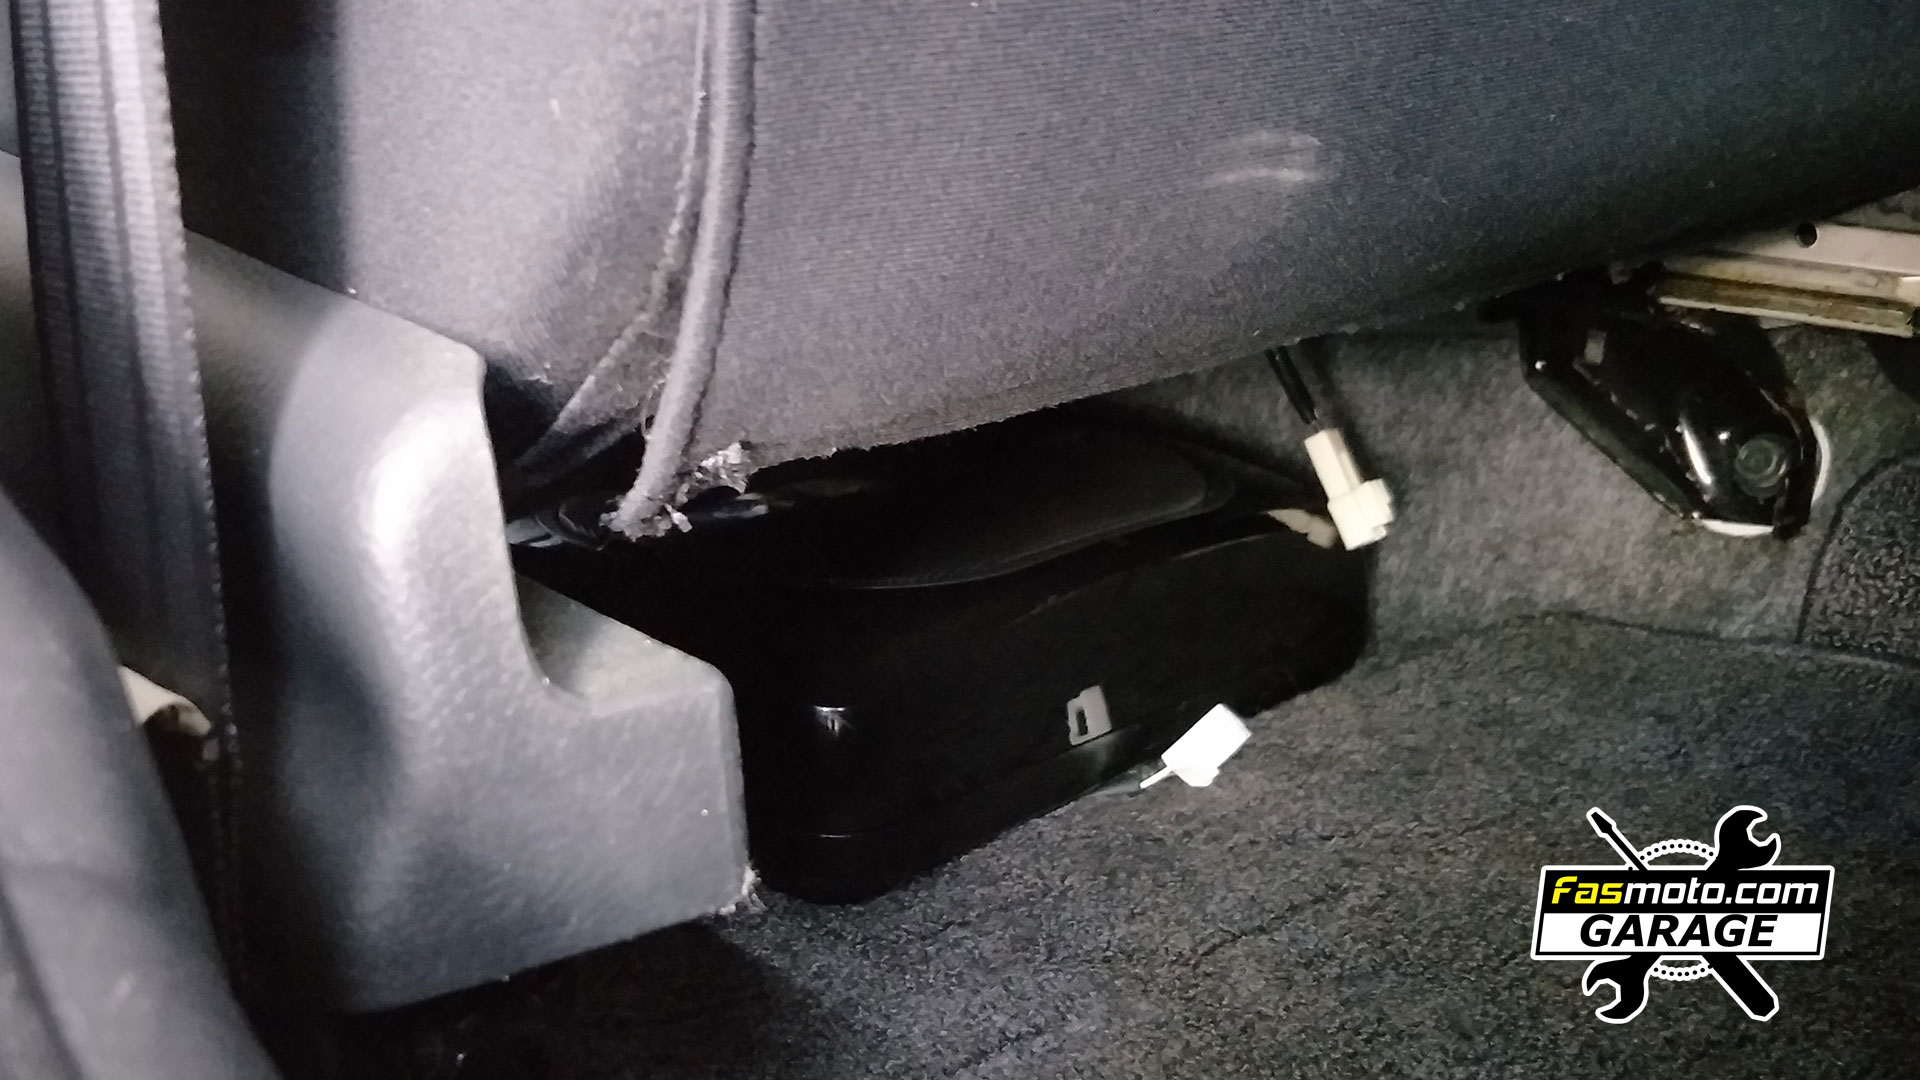
Carozzeria underseat active subwoofer.
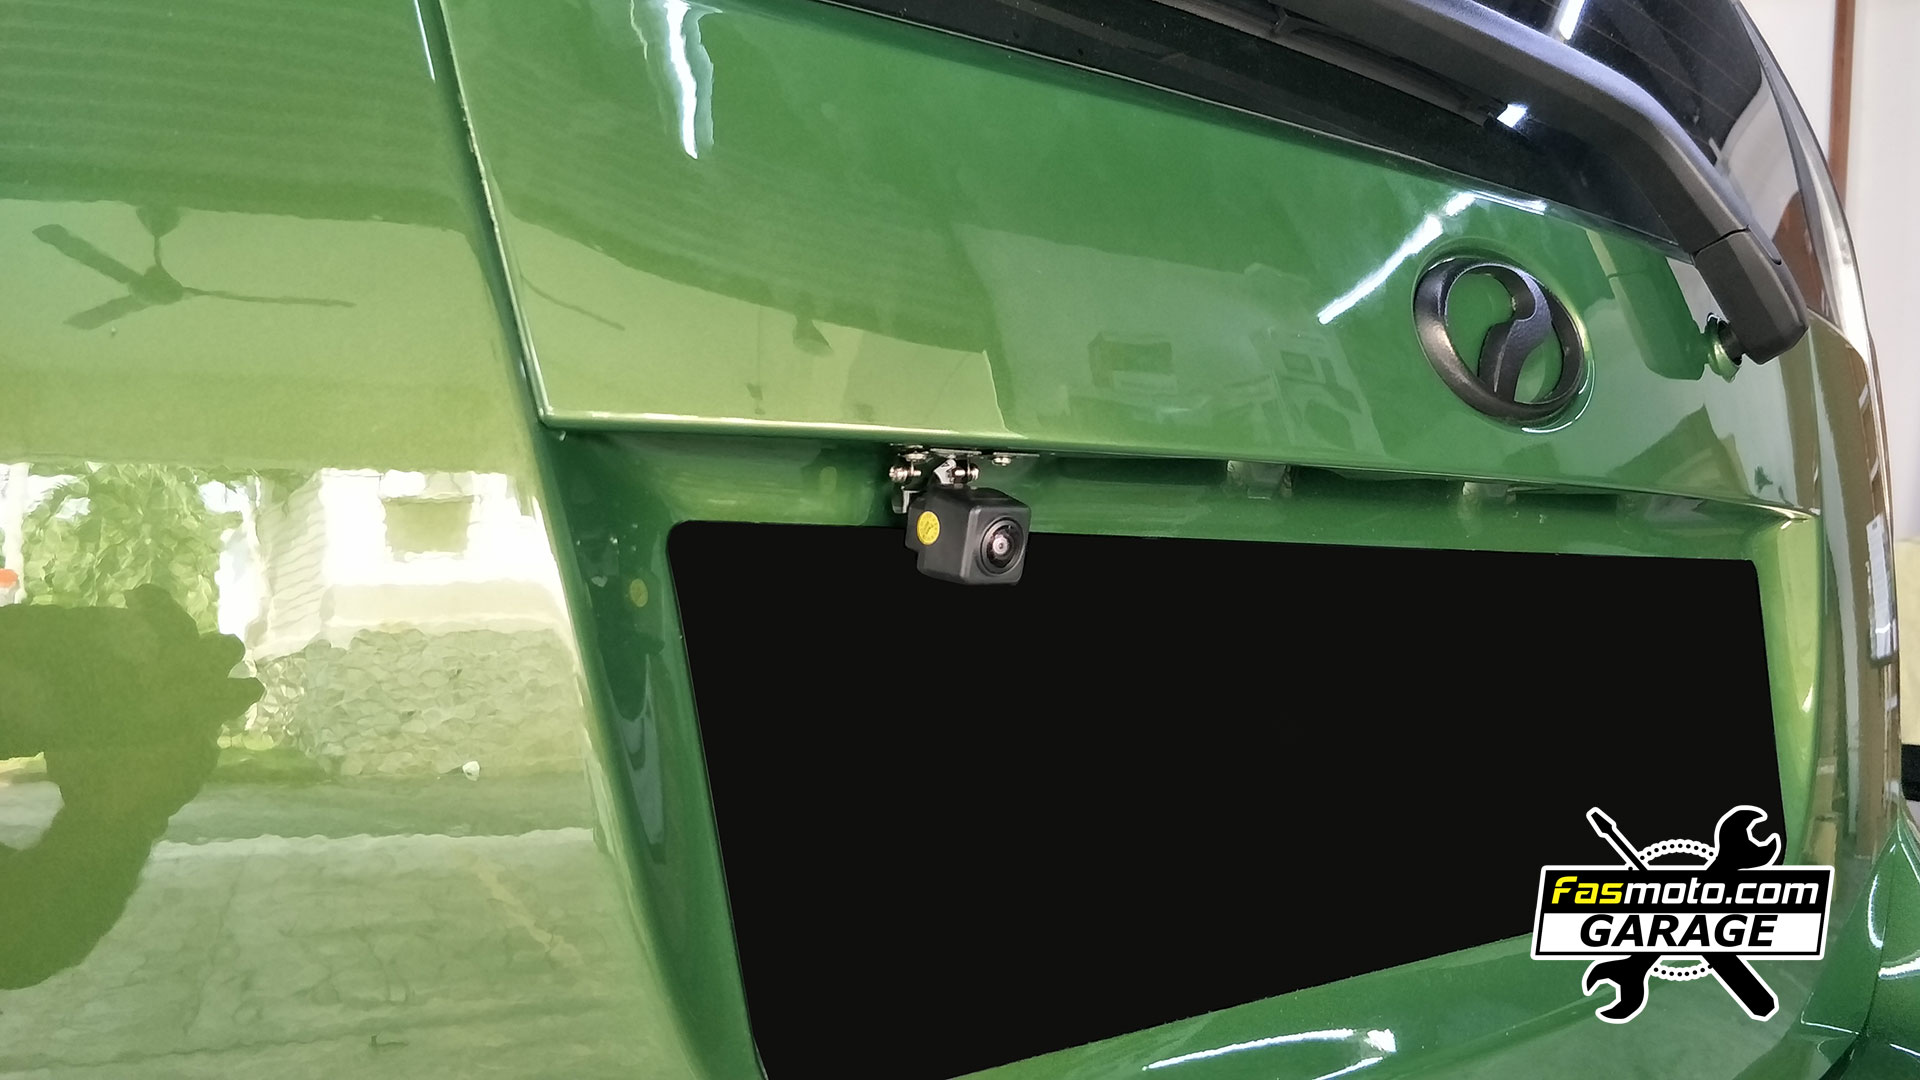
Another look of the Blaupunkt RC 3.0 rear camera.
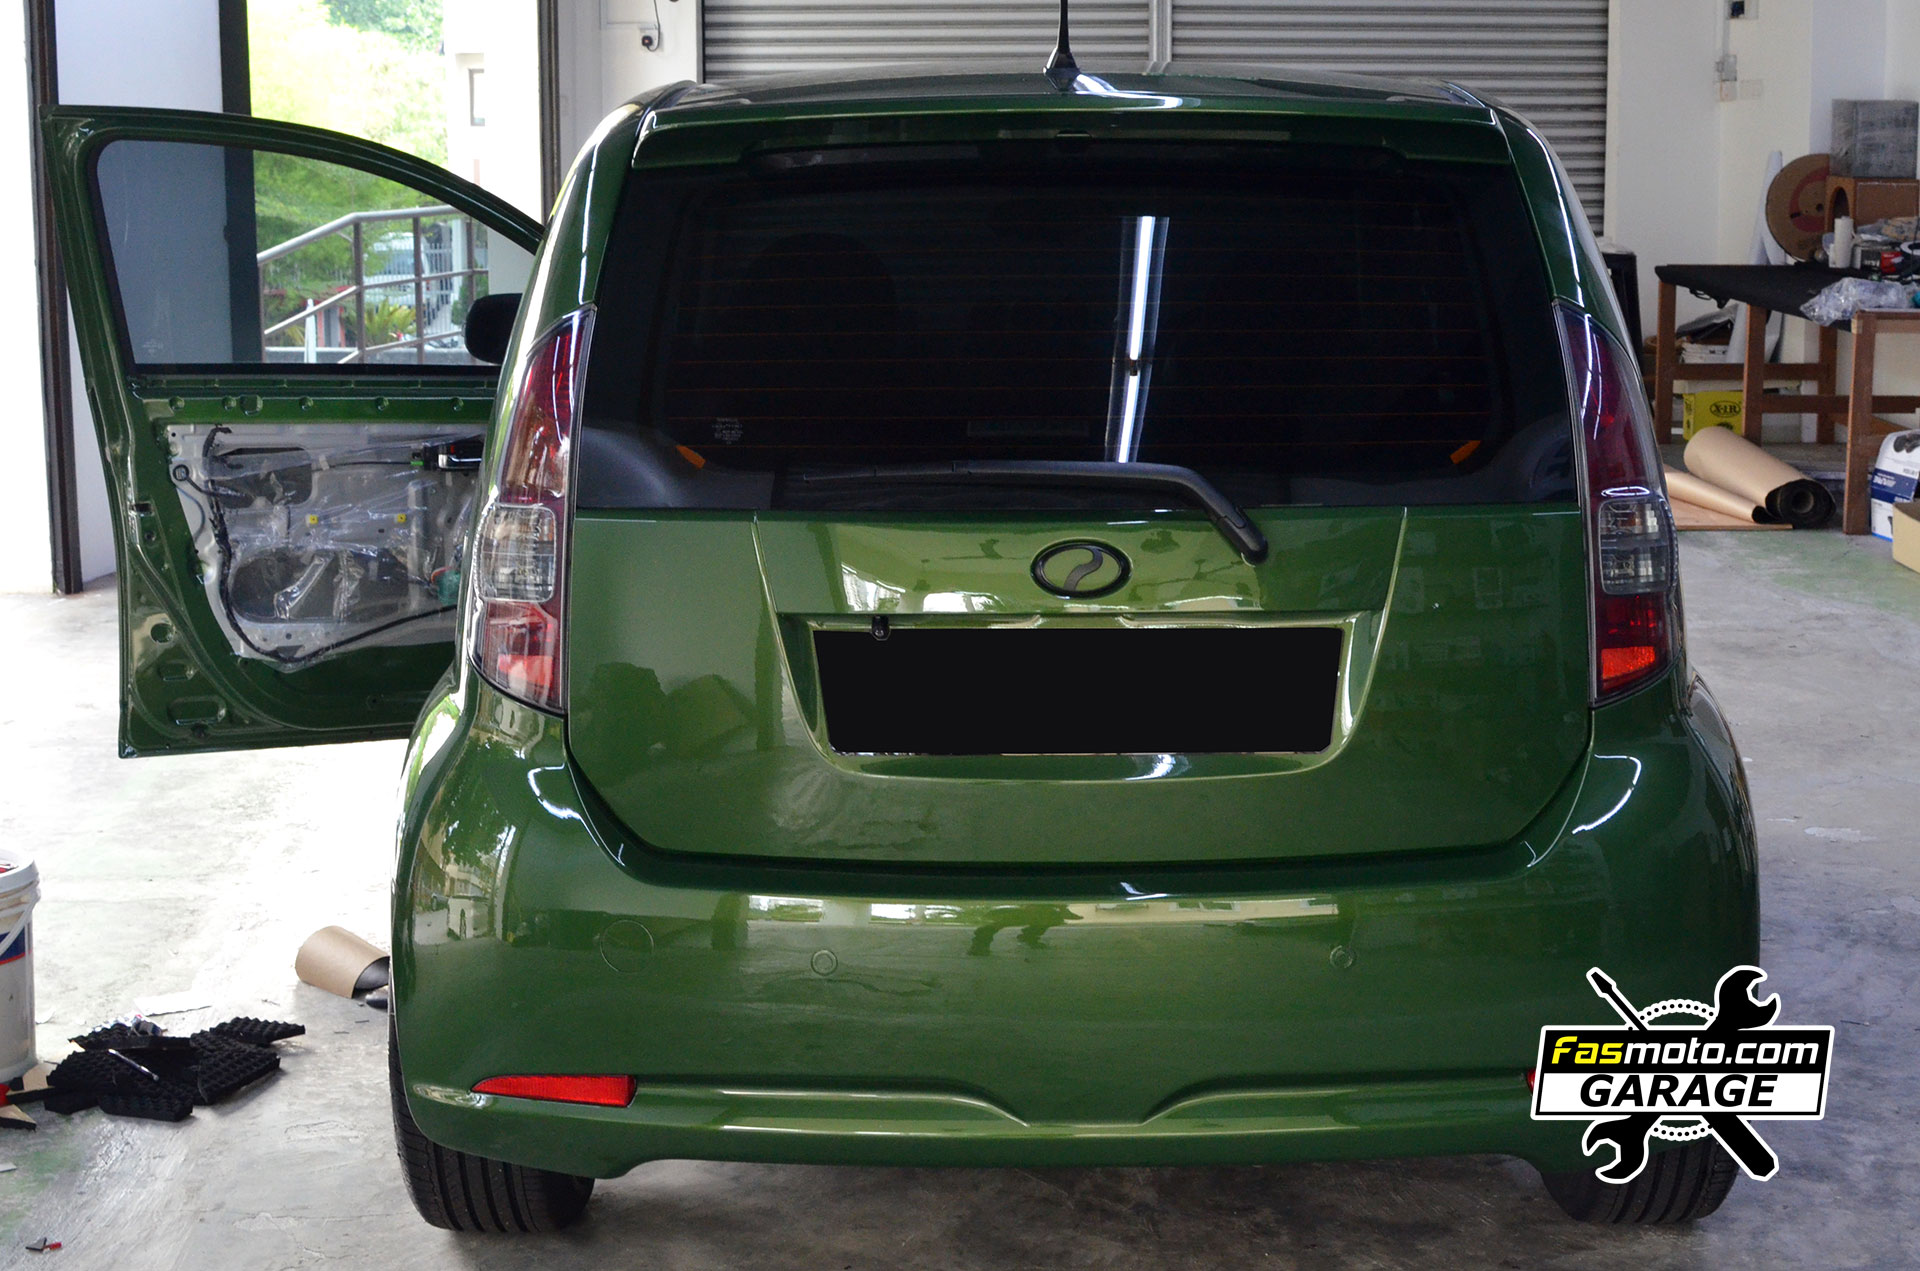
Jobs done! Time to get a drink and enjoy the results.