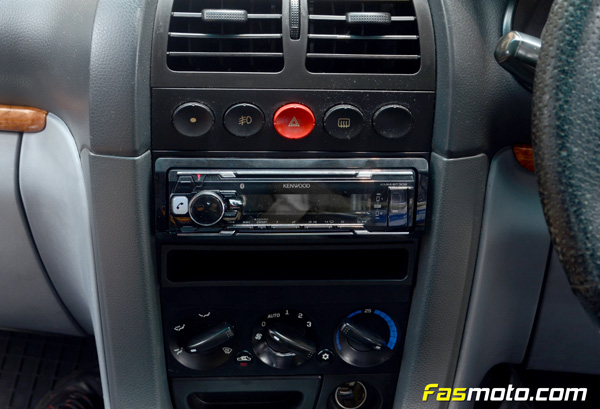
Kenwood KMM-BT302 on a Proton Waja

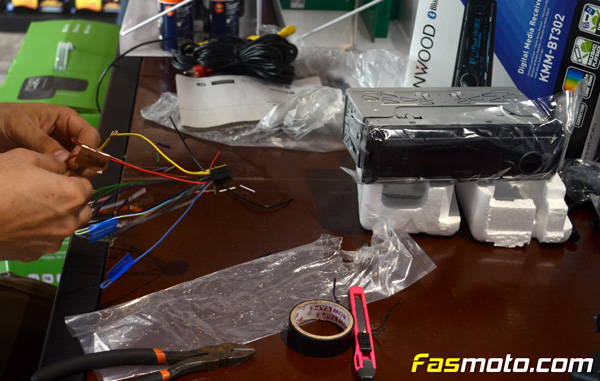
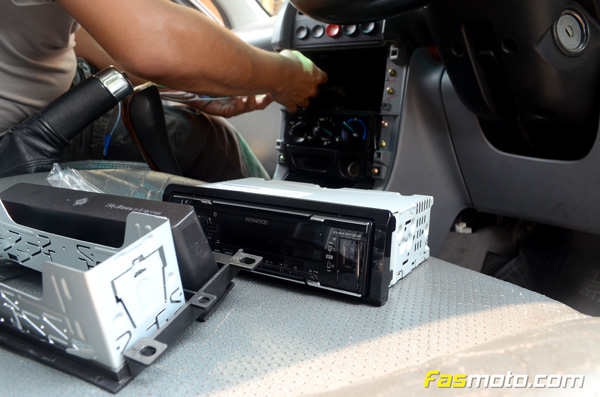
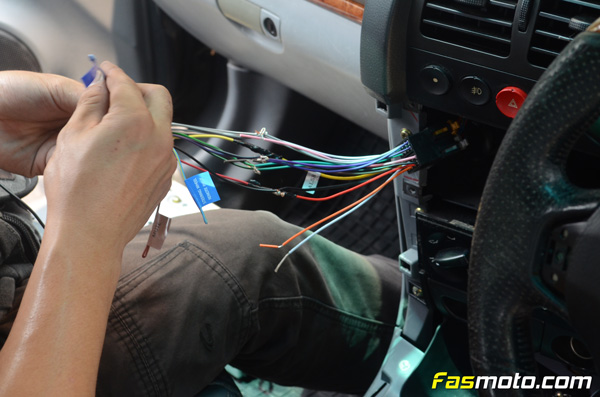
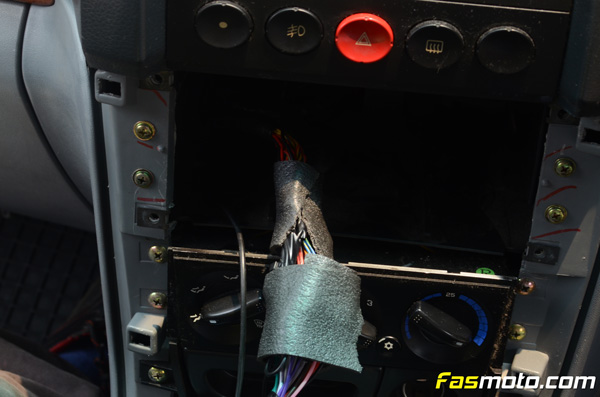
Over the weekend, we had the chance to work on Ned's Proton Waja. The unit installed is the Kenwood KMM-BT302, a CD-less single DIN that comes with Bluetooth functionality. Here are some visuals from the installation just to give you an idea how it went. The installation took about 25 minutes. Here's getting wiring ready. No vehicle wirings nor socket is cut during the installation.
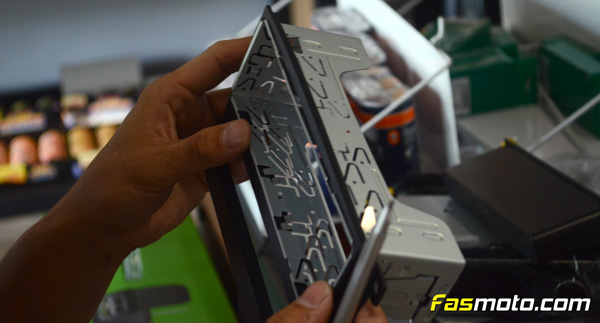
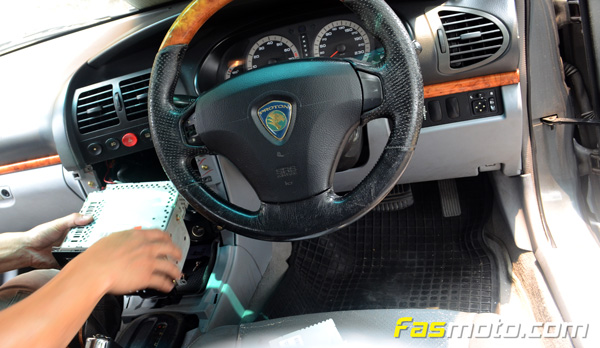
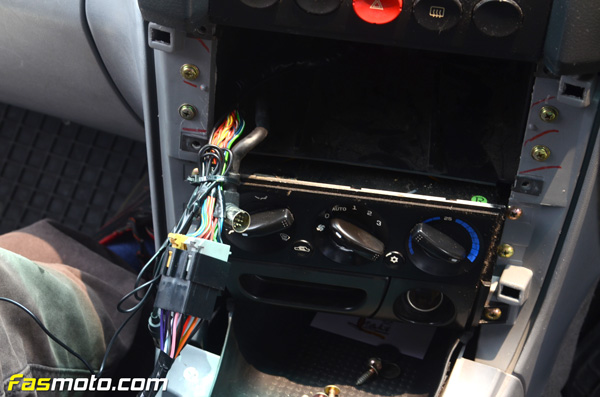
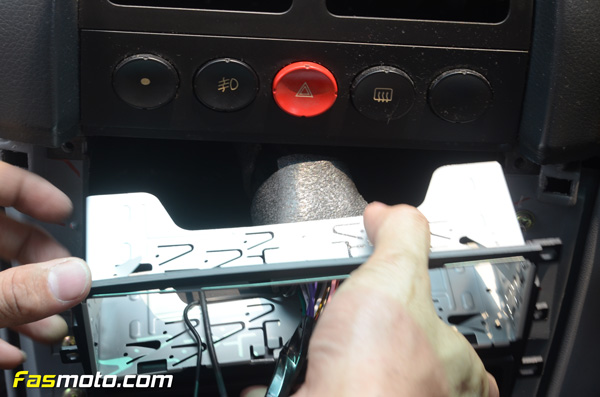
Removing the stock Clarion unit from the dash panel requires experience and a high degree of caution because any unnecessary force would break the clips that is holding everything together. Cars that has been under the sun for quite some time are especially prone to damage as the plastic are worn out under pro-longed extreme temperature.
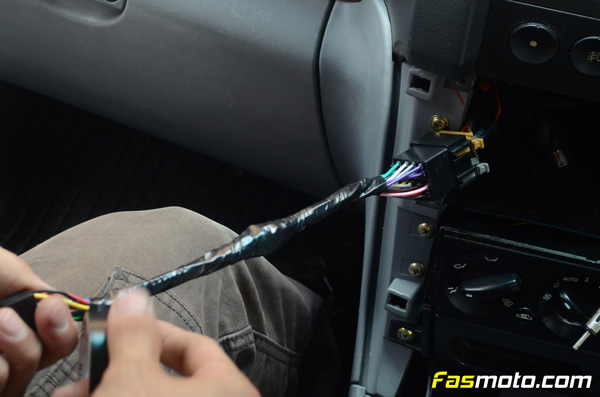
Electrical tapes are wrapped around the wires to keep things tidy and avoid any tangling with existing wirings inside the dash panel.
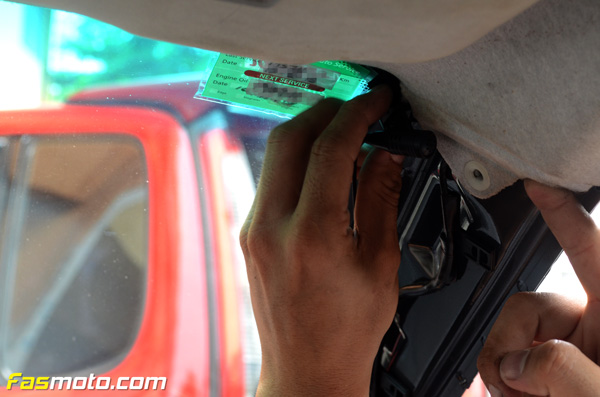
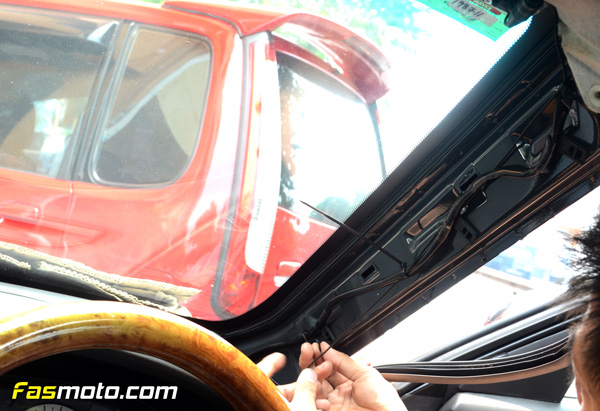
The Kenwood KMM-BT302 comes with a remote microphone for hands-free Bluetooth connectivity with your mobile phones, up to 2 connection simultaneously. Usually, the top corner is the best place to position the microphone. Unfortunately, the KMM-BT302 does not come with karaoke feature.
Cable ties are used extensively during installation to ensure the wiring fits nicely in place.
More cable ties to keep everything tidy.
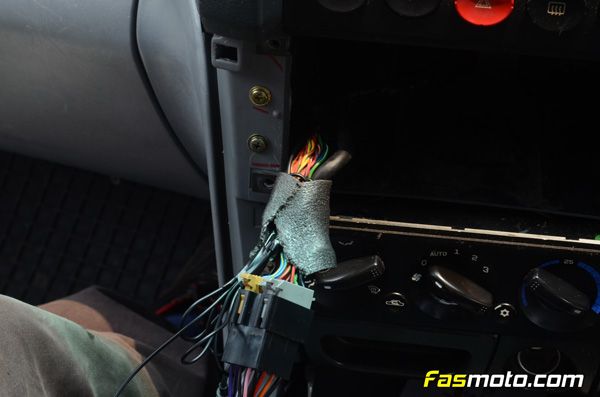
Quality heat-resistant foams are used to wrap around the wires to avoid the sockets and adapters from vibrating against the dashboard panels and steel frames within the dashboard.
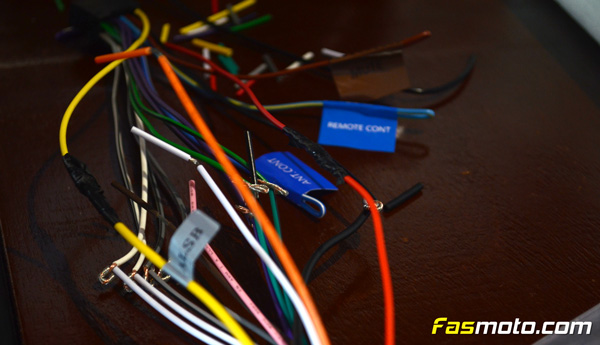
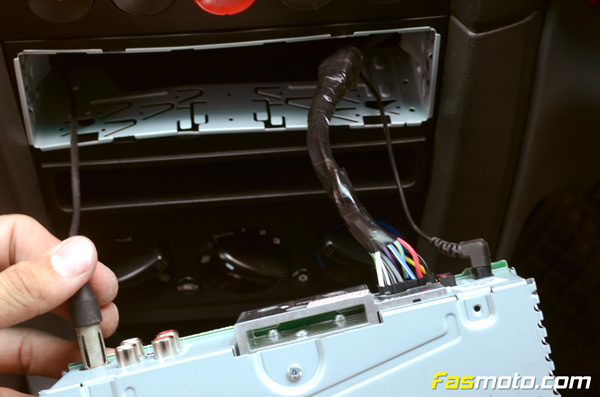
Plugging in the antenna sockets and the wiring harness to the KMM-BT302.
And, there you go, the KMM-BT302 looking good in its new home.