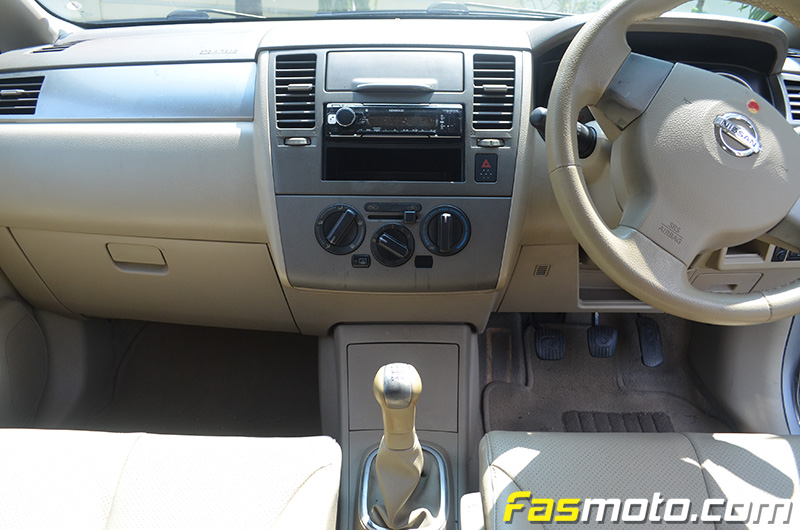
Kenwood KMM-BT302 Installation on Nissan Latio

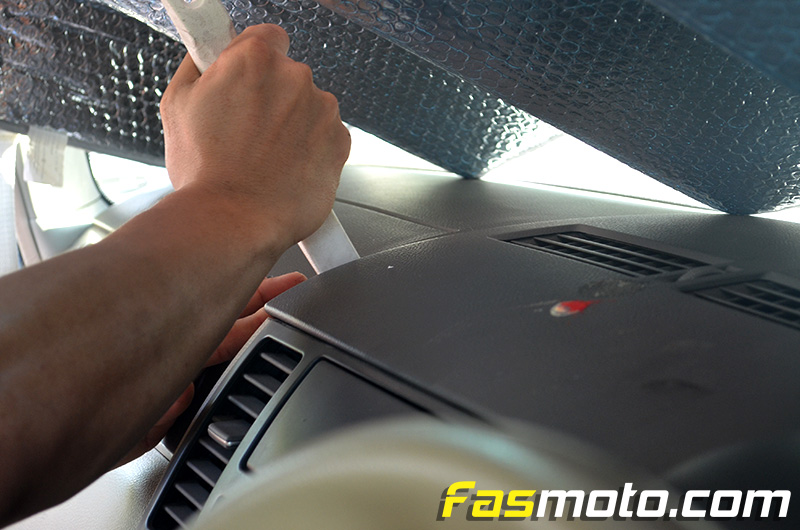
Jeya shares with us his installation of the Kenwood KMM-BT302 on his Nissan Latio. First cut is the deepest.
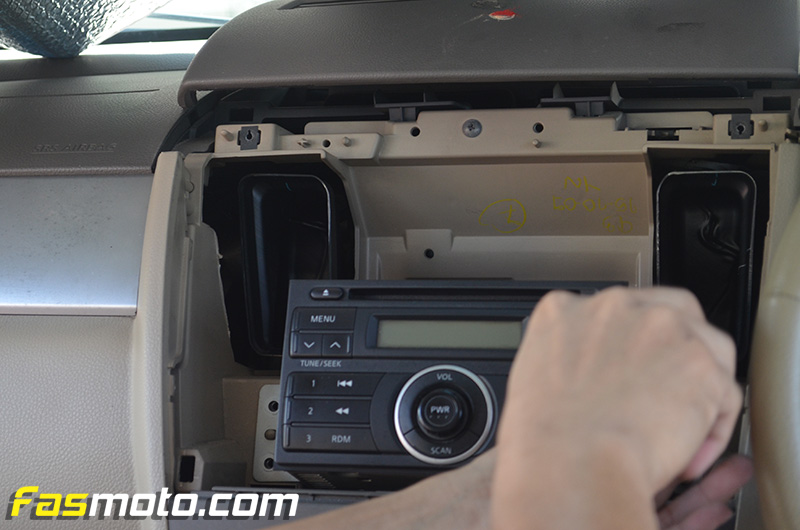
Off with the old, in with the new.
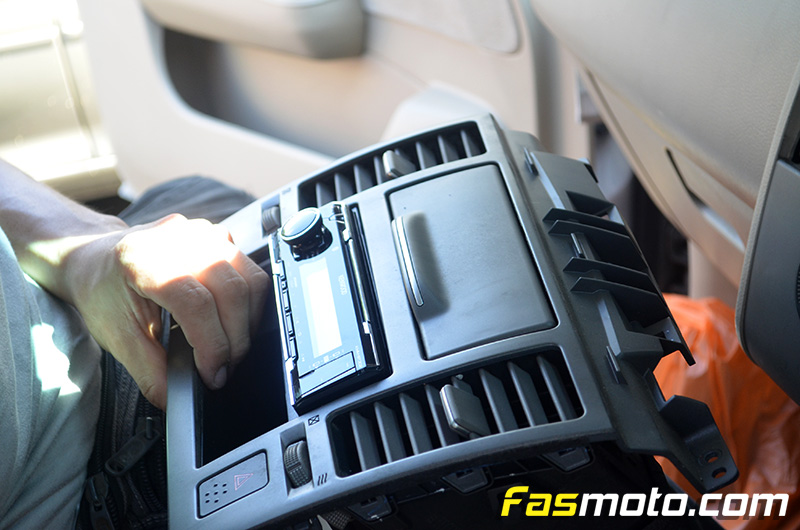
Test fitting the KMM-BT302 with a single DIN drawer.
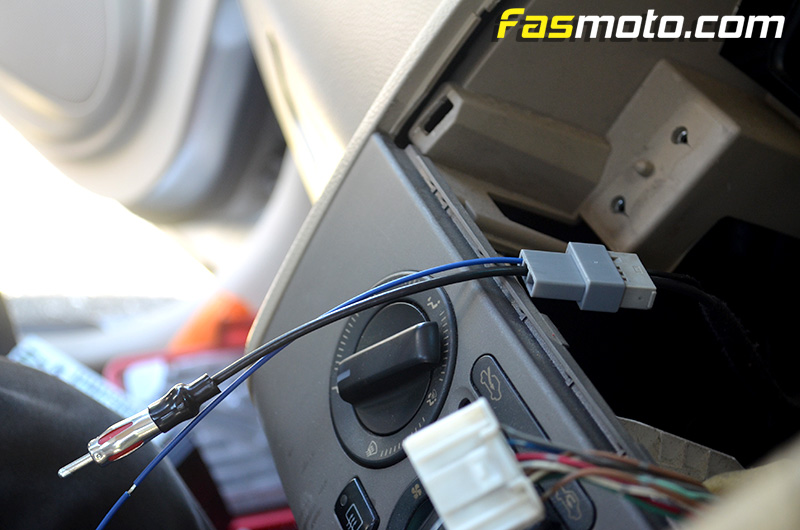
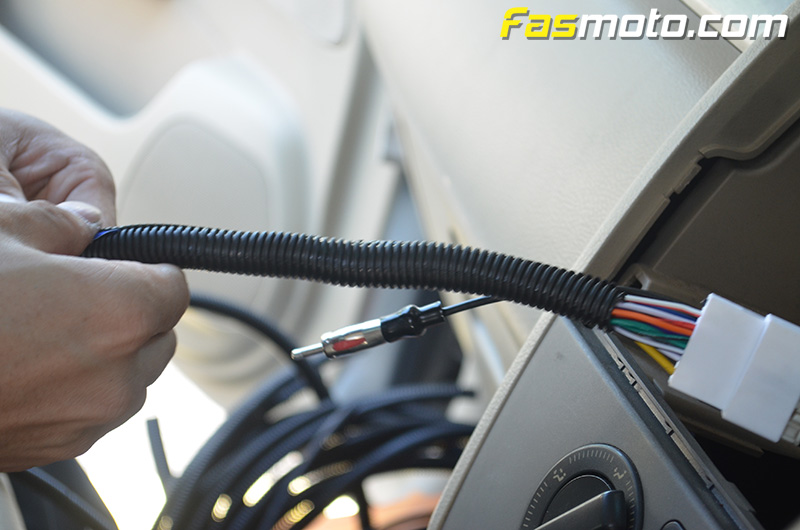
Never forget to reconnect the antenna joint from the vehicle to the player. Otherwise, your FM reception will suffer during bad weather. Adding the antenna adapter below prevents unnecessary cutting of your vehicle's original wiring.
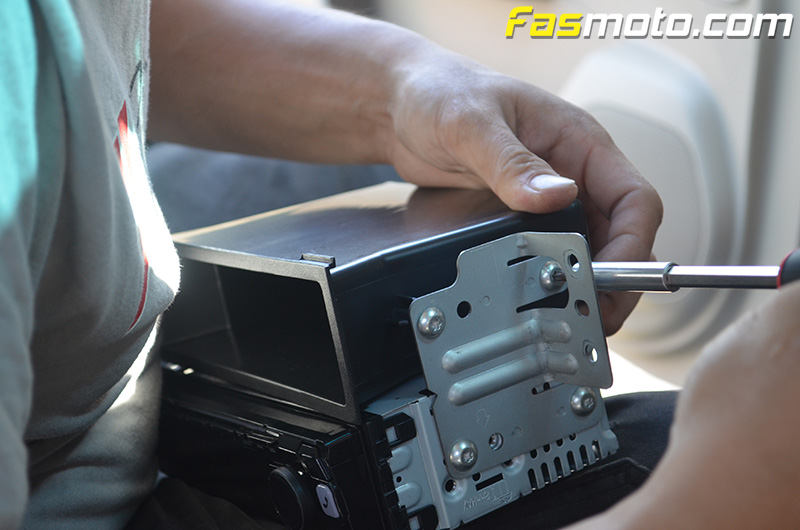
Screwing the side steel bracket so that the KMM-BT302 fits snugly into place.
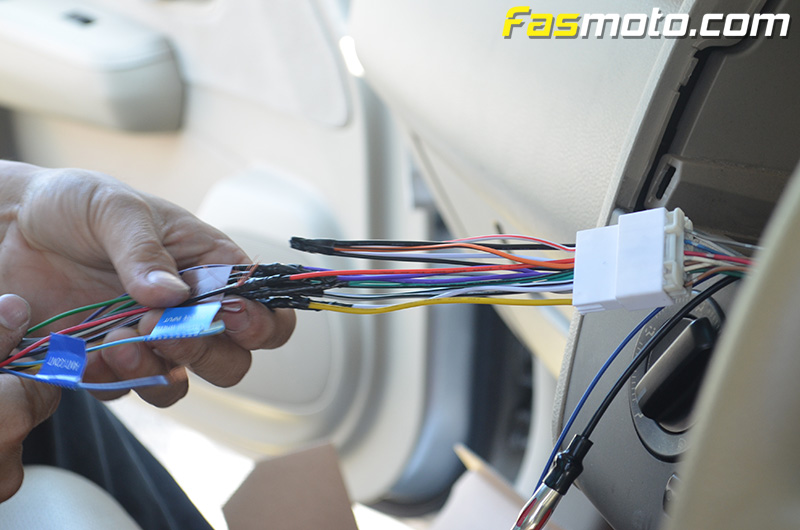
Connecting the wires from the vehicle to the KMM-BT302.
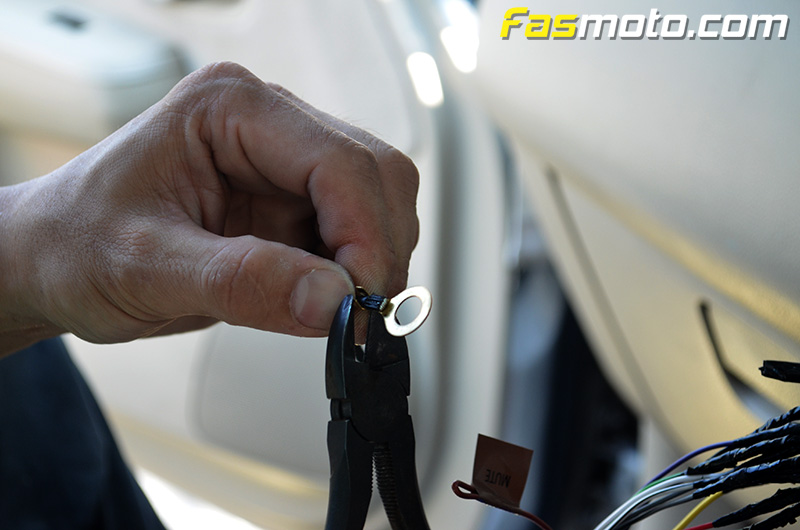
Grounding the wires with the metal ring eyelets. This ensures the grounding contact can be permanently fixed to the body of the steel bracket with a screw.
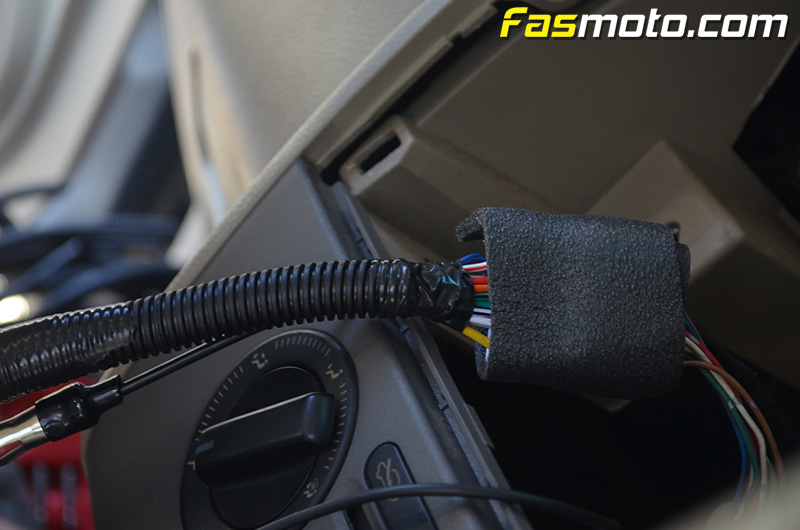
Cable wrapping to make the wiring neat and tidy. Definitely appeals to the OCD in us.
Wrapping up the bigger pieces with foam wrap to prevent vibrations.
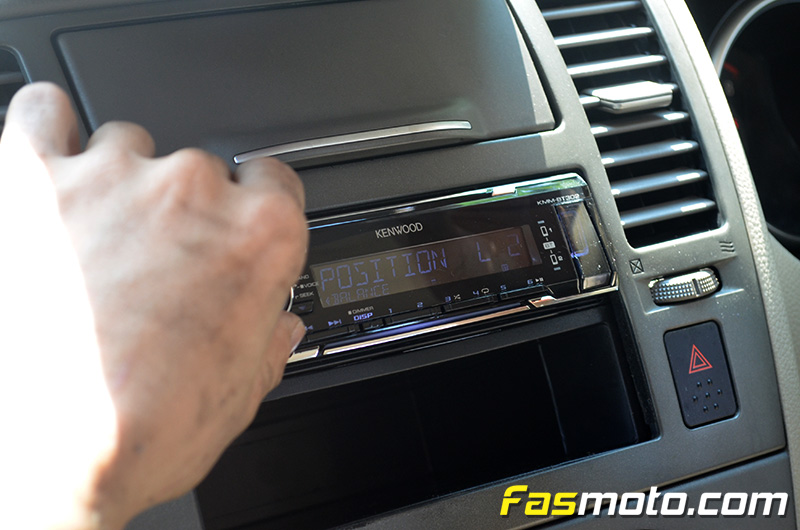
Tuning and adjusting the KMM-BT302 in its new home.
Done!